
In Blender, the concept of a “pivot point” refers to the point around which transformations such as scaling, rotating, and translating occur. Understanding and manipulating the pivot point is crucial for efficient and precise 3D modeling, animation, and general scene manipulation.
Default Pivot Point:
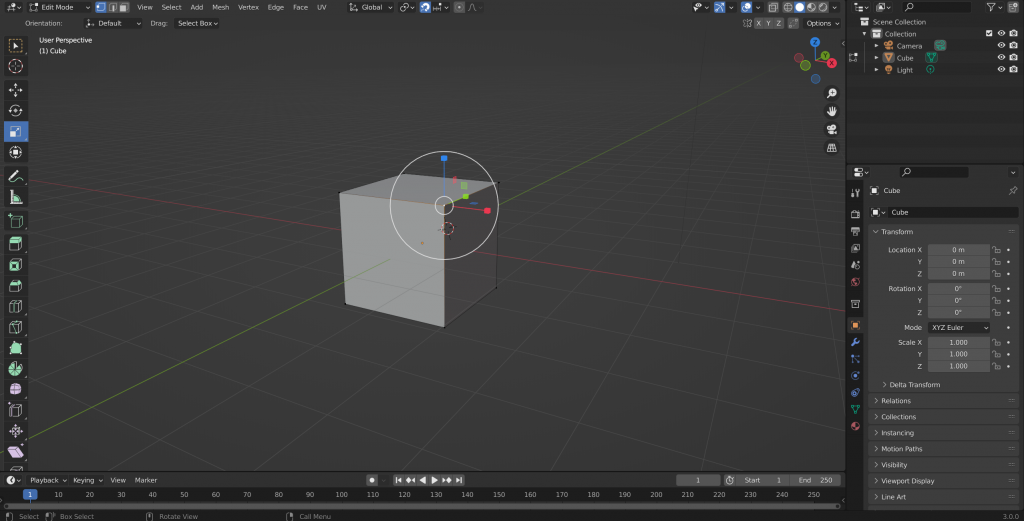
By default, Blender uses the median point of the selected objects as the pivot point. This means that when you perform a transformation operation, it takes place around the center of the selected objects.
Types of Pivot Points
In Blender, pivot points play a crucial role in determining the center around which transformations occur. Blender offers various types of pivot points, each serving specific purposes in 3D modeling, animation, and scene manipulation. Understanding these pivot points is essential for achieving precision and control in your work. Here are the main types of pivot points in Blender:
1. Median Point (Default):
- Description: The median point is the default pivot point in Blender. It is the average position of all selected elements.
- Use Case: Generally used for balanced transformations around the center of selected objects.
2. Individual Origins:
- Description: Pivot point is set for each selected element individually. Transformations occur relative to each element’s own origin.
- Use Case: Useful when you want to perform operations independently on multiple objects.
3. Active Element:
- Description: The pivot point is set to the location of the active (last selected) object.
- Use Case: Handy when you want transformations to revolve around a specific object.
4. Bounding Box Center:
- Description: The center of the bounding box that encloses all selected objects is used as the pivot point.
- Use Case: Ensures transformations occur around the overall center of the selected objects’ volume.
5. 3D Cursor:
- Description: Pivot point is set to the location of the 3D cursor, a movable point in 3D space.
- Use Case: Useful for setting a custom pivot point, allowing precise control over transformations based on a specific point in the scene.
6. Object Center:
- Description: Pivot point is set to the origin point of the active object.
- Use Case: Useful for making transformations based on an object’s local coordinates.
Changing Pivot Points:
To change the pivot point in Blender, you can use the pivot point menu in the 3D View header, press the keyboard shortcut period (.), or access the “Transform Pivot Point” dropdown menu in the toolbar on the left side of the 3D View.
Practical Considerations:
- Precise Rotation: Choosing the right pivot point is crucial for achieving precise rotations, especially in complex scenes.
- Scaling Control: Different pivot points are useful for controlling scaling behavior, maintaining symmetry or scaling each element individually.
- Animation: Pivot points play a role in defining the center of rotation for animated objects. Choosing the appropriate pivot point ensures smooth and realistic motion.
Understanding and utilizing the various pivot points in Blender empowers artists to have greater control over their creative process, facilitating a more intuitive and efficient 3D workflow.
Changing Pivot Points in Blender
Changing pivot points in Blender is a fundamental aspect of 3D modeling and animation, allowing users to control the center around which transformations occur. Blender offers multiple methods to change pivot points, providing flexibility in adapting to different scenarios. Here’s a guide on changing pivot points in Blender:
1. User Interface Options:
- Header Menu:
- In the 3D View header, you can find the pivot point menu on the far right.
- Click on the pivot point icon to reveal a dropdown menu with available options.
- Toolbar:
- On the left side of the 3D View, you can find the “Transform Pivot Point” dropdown menu in the toolbar. This offers a convenient way to switch pivot points.
2. Keyboard Shortcuts:
- Period (.) Key:
- Pressing the period key cycles through the available pivot points.
- This is a quick way to switch between pivot points without navigating menus.
- Comma (, ) Key:
- Pressing the comma key resets the pivot point to the default median point.
3. 3D Cursor Placement:
- Move the 3D Cursor:
- Place the 3D cursor at a specific location by using Shift + Right Click.
- Set the pivot point to the 3D cursor, making transformations revolve around that point.
4. Active Element:
- Set Active Element:
- Make an object the active element by selecting it last.
- The pivot point will be set to the location of the active object.
5. Hotkey and Pie Menu:
- Ctrl + Alt + Space:
- This keyboard shortcut opens a pie menu with various pivot point options.
- Allows for quick and direct selection of the desired pivot point.
6. Pivot Point in Transform Panel:
- Object Properties Panel:
- In the Object Properties panel, there is a “Transform” section where you can find the pivot point options.
- This provides an alternative way to set the pivot point.
Practical Tips:
- Experiment with Different Pivot Points:
- Depending on your task, experiment with different pivot points to find the one that suits your workflow.
- Use 3D Cursor for Precision:
- Placing the 3D cursor at specific locations allows for precise control over the pivot point, especially when working on detailed models.
- Combine Pivot Point Techniques:
- Combine keyboard shortcuts, menu selections, and 3D cursor placement for a versatile approach to pivot point manipulation.
Changing pivot points in Blender is a skill that enhances your ability to control transformations in 3D space. By understanding and utilizing the available options, you can optimize your workflow, improve precision, and streamline the 3D modeling and animation process in Blender.
Advanced Pivot Point Techniques
Advanced pivot point techniques in Blender involve using more nuanced methods to control the center of transformations, providing increased precision and flexibility in 3D modeling and animation. Here are some advanced techniques for manipulating pivot points in Blender:
1. Custom Transform Orientations:
- Description:
- Blender allows you to define custom transform orientations based on selected elements.
- This enables transformations to occur along specific axes related to the selected elements rather than the global or local coordinates.
- Use Case:
- Ideal for scenarios where standard axes don’t align with the geometry of the object.
2. Proportional Editing and Pivot Points:
- Description:
- When using proportional editing (O key), the pivot point becomes crucial in determining the falloff range.
- Different pivot points can result in varied falloff behaviors during proportional editing.
- Use Case:
- Useful for creating smooth and natural deformations in complex models.
3. Snap to Vertex for Dynamic Pivot Points:
- Description:
- Use the “Snap to Vertex” feature to dynamically change the pivot point during transformations.
- Hold down the Ctrl key while dragging to snap the pivot point to the nearest vertex.
- Use Case:
- Provides a dynamic way to align transformations with specific points in the mesh.
4. Parenting and Pivot Points:
- Description:
- Parenting objects can influence the pivot point during transformations.
- The child object’s origin or the active element in the parenting relationship can act as the pivot point.
- Use Case:
- Useful for complex animations where objects need to move relative to a parent.
5. Driver-Driven Pivot Points:
- Description:
- Use drivers, which are expressions linking properties, to dynamically control the pivot point.
- This allows for automated changes to the pivot point based on specific conditions.
- Use Case:
- Useful in animation scenarios where the pivot point needs to change based on the movement or state of other objects.
6. Python Scripting for Custom Pivot Point Logic:
- Description:
- Leverage Blender’s Python scripting capabilities to create custom pivot point logic.
- This can involve creating add-ons or scripts that dynamically set the pivot point based on user-defined rules.
- Use Case:
- Advanced users can tailor the pivot point behavior to specific project requirements.
7. Animated Pivot Points:
- Description:
- Blender allows animating the pivot point over time.
- This involves setting keyframes for the pivot point property in the timeline.
- Use Case:
- Useful in animation to create dynamic and complex transformations.
8. Pivot Point Constraints:
- Description:
- Use constraints to restrict the pivot point’s movement or orientation.
- Constraints offer precise control over how the pivot point behaves in relation to other objects or bones.
- Use Case:
- Beneficial in animation setups where strict control over pivot point movement is required.
Practical Tips:
- Combine Techniques for Complex Workflows:
- Advanced users often combine multiple techniques to create intricate workflows that suit the complexity of their projects.
- Experiment with Drivers and Expressions:
- Utilize the power of Blender’s drivers and expressions to create dynamic and automated pivot point behaviors.
- Learn Python Scripting for Fine Control:
- For ultimate control over pivot point behavior, consider delving into Blender’s Python scripting capabilities.
Mastering advanced pivot point techniques in Blender empowers users to handle complex scenarios with greater precision and efficiency. These techniques are especially valuable in professional settings where intricate 3D models and animations demand a high level of control and customization.
Conclusion
Understanding pivot points in Blender is an essential skill for any 3D artist or animator. The pivot point serves as the anchor around which transformations occur, influencing the outcome of modeling, animation, and scene manipulation. As demonstrated, Blender offers a range of pivot point options, from the default median point to more advanced techniques like custom orientations, dynamic snapping, and scripting.
By grasping the significance of each pivot point type, users gain the ability to tailor their workflow to specific tasks. Whether it’s achieving precise rotations, maintaining symmetry during scaling, or orchestrating complex animations, the choice of pivot point plays a pivotal role. The flexibility provided by Blender’s various pivot point options allows for a dynamic and efficient approach to 3D content creation.
Furthermore, the advanced pivot point techniques discussed open up possibilities for intricate and customizable workflows. Custom orientations, proportional editing, dynamic snapping, and even scripted logic enable users to handle complex projects with greater finesse and control. The ability to animate pivot points, employ drivers, and set up constraints adds another layer of sophistication to the toolset, facilitating the creation of dynamic and expressive 3D content.
In practical terms, mastering pivot points in Blender involves a combination of experimentation, hands-on practice, and understanding the specific demands of your projects. The knowledge of pivot points is not only about memorizing menu options or shortcuts but about leveraging these tools to enhance creativity and efficiency in the world of 3D design and animation.
As Blender continues to evolve, a solid understanding of pivot points remains a foundational skill, contributing to a more intuitive and streamlined creative process. Whether you are a beginner exploring the basics or an advanced user incorporating custom scripting, the mastery of pivot points in Blender is a journey that unlocks the full potential of this powerful 3D software.