
A loop is the moment automation stops being a trick and becomes a tool. Write the instruction once, and Blender repeats it as many times as you want, changing one number each pass. This lesson builds a flat square of blocks, then turns it into a step pyramid with one extra line.
Step 1: the flat square, again
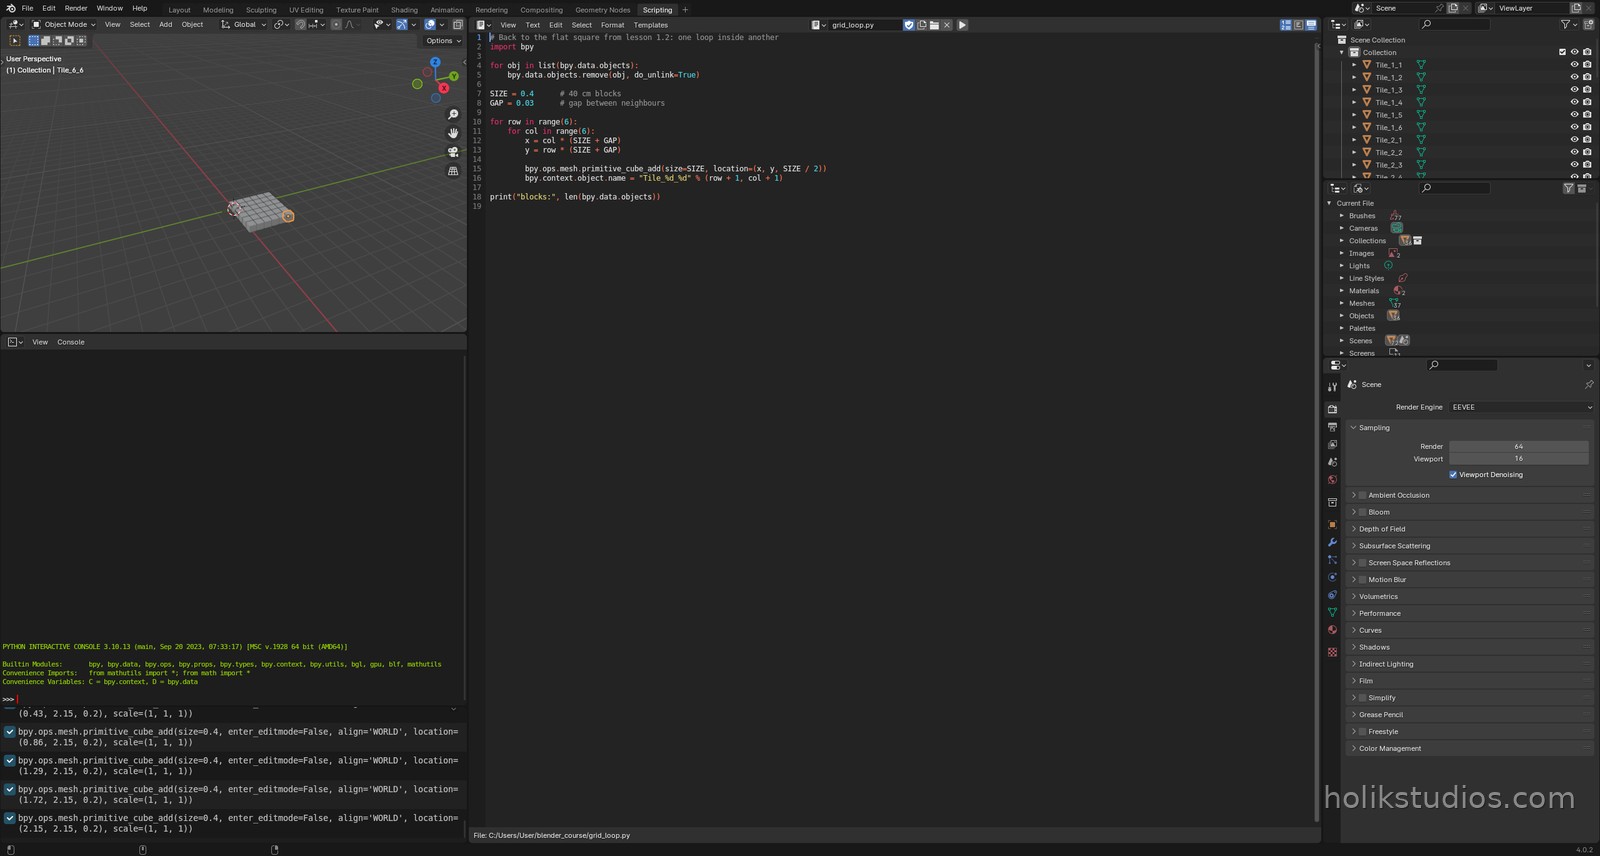
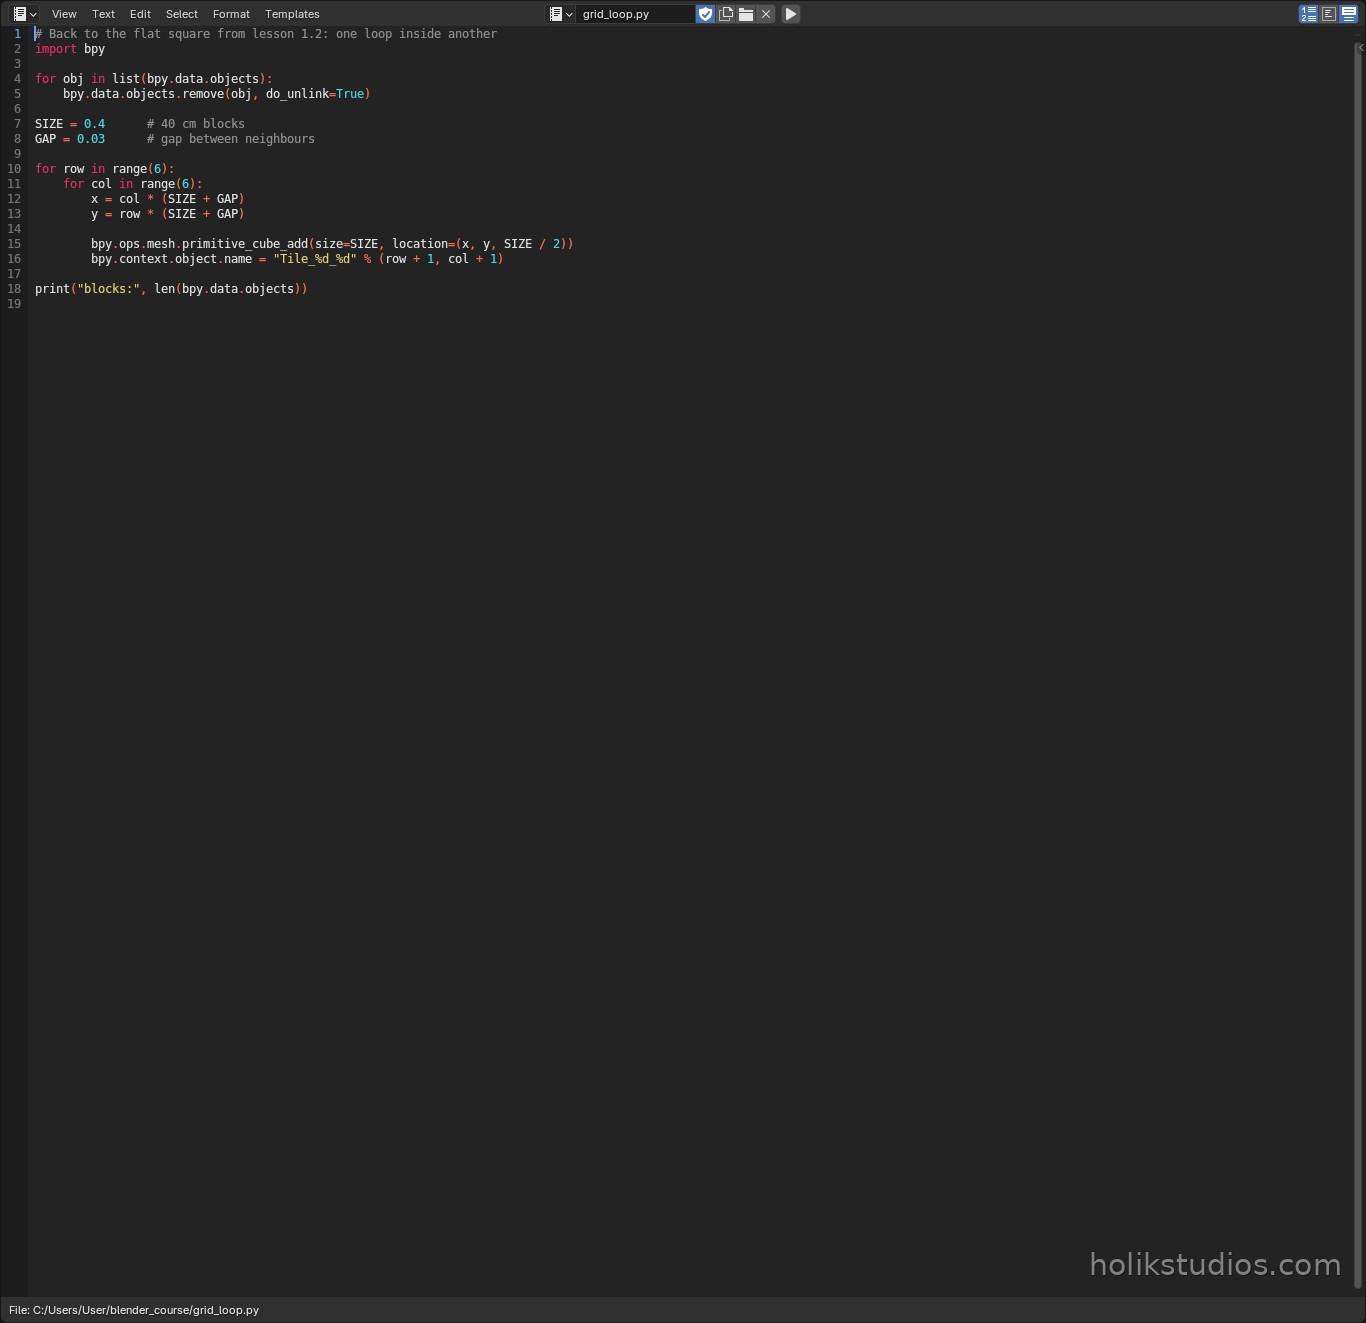
We built this in lesson 1.2, and it is worth seeing once more because now we are going to read it closely. Two loops, one inside the other: the outer loop walks the rows, the inner loop walks the columns, and the indent tells Python which loop is inside which.
grid_loop.py
# Back to the flat square from lesson 1.2: one loop inside another
import bpy

for obj in list(bpy.data.objects):
    bpy.data.objects.remove(obj, do_unlink=True)

SIZE = 0.4      # 40 cm blocks
GAP = 0.03      # gap between neighbours

for row in range(6):
    for col in range(6):
        x = col * (SIZE + GAP)
        y = row * (SIZE + GAP)

        bpy.ops.mesh.primitive_cube_add(size=SIZE, location=(x, y, SIZE / 2))
        bpy.context.object.name = "Tile_%d_%d" % (row + 1, col + 1)

print("blocks:", len(bpy.data.objects))
Step 2: a loop inside the loop, going up
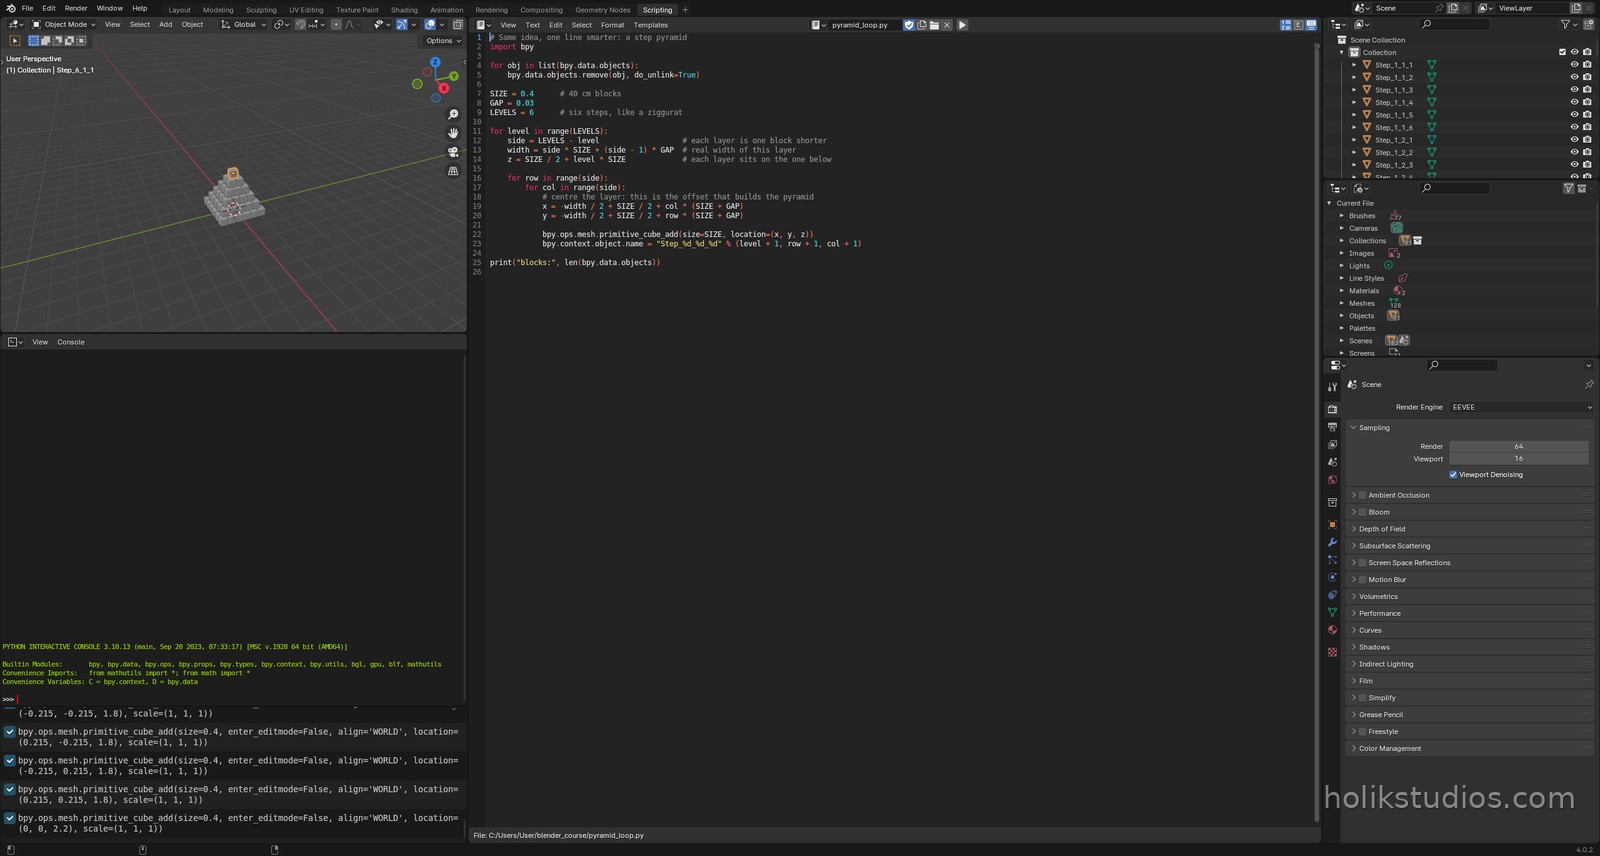
Now the interesting part. We add an outer loop over levels. Each level is one block shorter than the one below, sits one block higher, and is centred on the layer below it. That centring is the offset that produces the shape: a stepped pyramid, the same silhouette as the terraces of a Giza-style monument built from blocks.
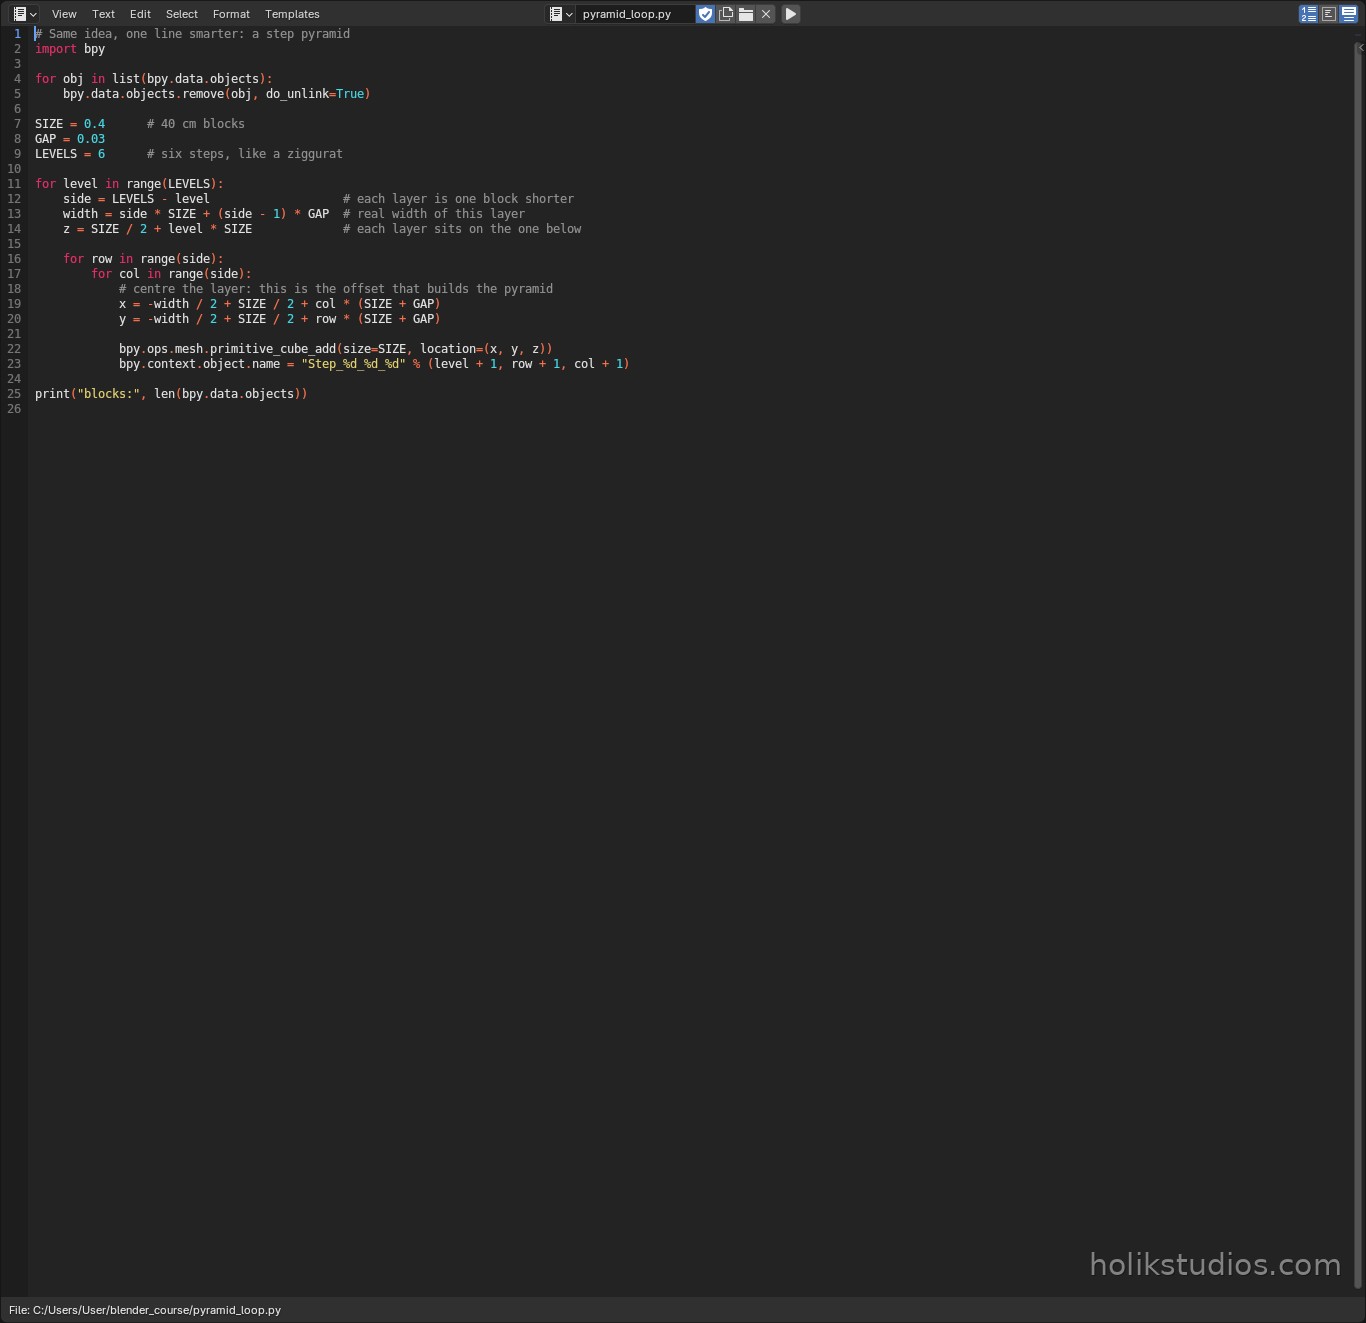
side = LEVELS - level: the layer shrinks as we go up, so we get 6, 5, 4, 3, 2, 1 blocks per side.width: the real width of that layer, so it can be centred on the layer below.z = SIZE / 2 + level * SIZE: every level sits directly on top of the previous one.- The last level has side = 1, which is the single block in the middle at the top.
pyramid_loop.py
# Same idea, one line smarter: a step pyramid
import bpy

for obj in list(bpy.data.objects):
    bpy.data.objects.remove(obj, do_unlink=True)

SIZE = 0.4      # 40 cm blocks
GAP = 0.03
LEVELS = 6      # six steps, like a ziggurat

for level in range(LEVELS):
    side = LEVELS - level                   # each layer is one block shorter
    width = side * SIZE + (side - 1) * GAP  # real width of this layer
    z = SIZE / 2 + level * SIZE             # each layer sits on the one below

    for row in range(side):
        for col in range(side):
            # centre the layer: this is the offset that builds the pyramid
            x = -width / 2 + SIZE / 2 + col * (SIZE + GAP)
            y = -width / 2 + SIZE / 2 + row * (SIZE + GAP)

            bpy.ops.mesh.primitive_cube_add(size=SIZE, location=(x, y, z))
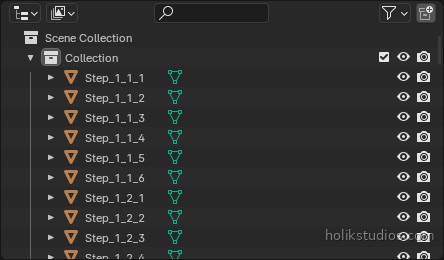
            bpy.context.object.name = "Step_%d_%d_%d" % (level + 1, row + 1, col + 1)

print("blocks:", len(bpy.data.objects))
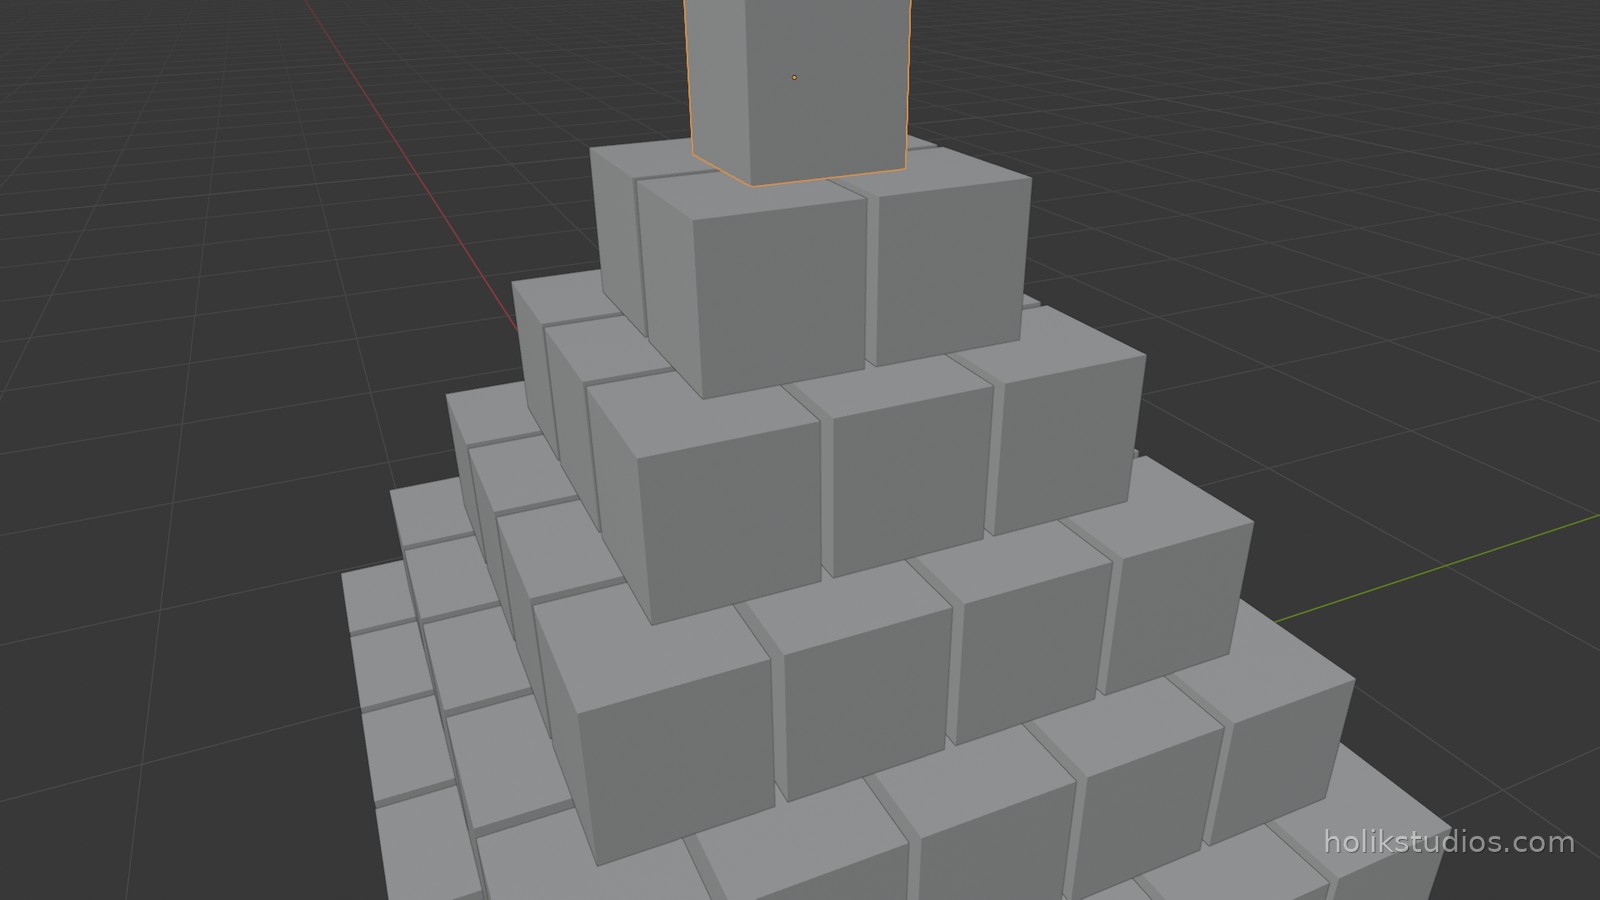
What you just learned
- Loops repeat work, and nesting them builds shapes in two directions (here: across and up).
- One number (
level) can drive width, height and position at the same time. - That is the difference between placing 91 blocks and describing them: the description is what you keep, edit and reuse.
- The same pattern builds racks, plates, steps, shelves, terraces and lattice structures.
Why this pays off in real work
Nested loops are how a script turns a size into a structure. A staircase with a given rise and run, a pallet pattern, a set of shelves with adjustable spacing, a stepped base for a display model: all of them are two loops and three numbers. Change the numbers and the structure rebuilds itself, still aligned, still on dimension.
Next: circles. Same idea, but instead of rows and columns we use an angle, which is how you get rings of objects without a single manual placement.