
Audio and visual effects play a crucial role in game development, enhancing the overall immersive experience for players. When it comes to creating games in Unity, the importance of audio and visual effects cannot be overstated. These elements contribute to the atmosphere, storytelling, gameplay, and overall enjoyment of the game.
Adding Audio Effects
dding audio effects in Unity is a vital step in creating an immersive and engaging experience for players. Whether it’s background music, sound effects, or environmental audio, these effects help bring the game world to life and enhance the overall gameplay. Unity offers a comprehensive audio system that provides developers with the tools and features necessary to implement various audio effects seamlessly.
Here are the steps to add audio effects in Unity:
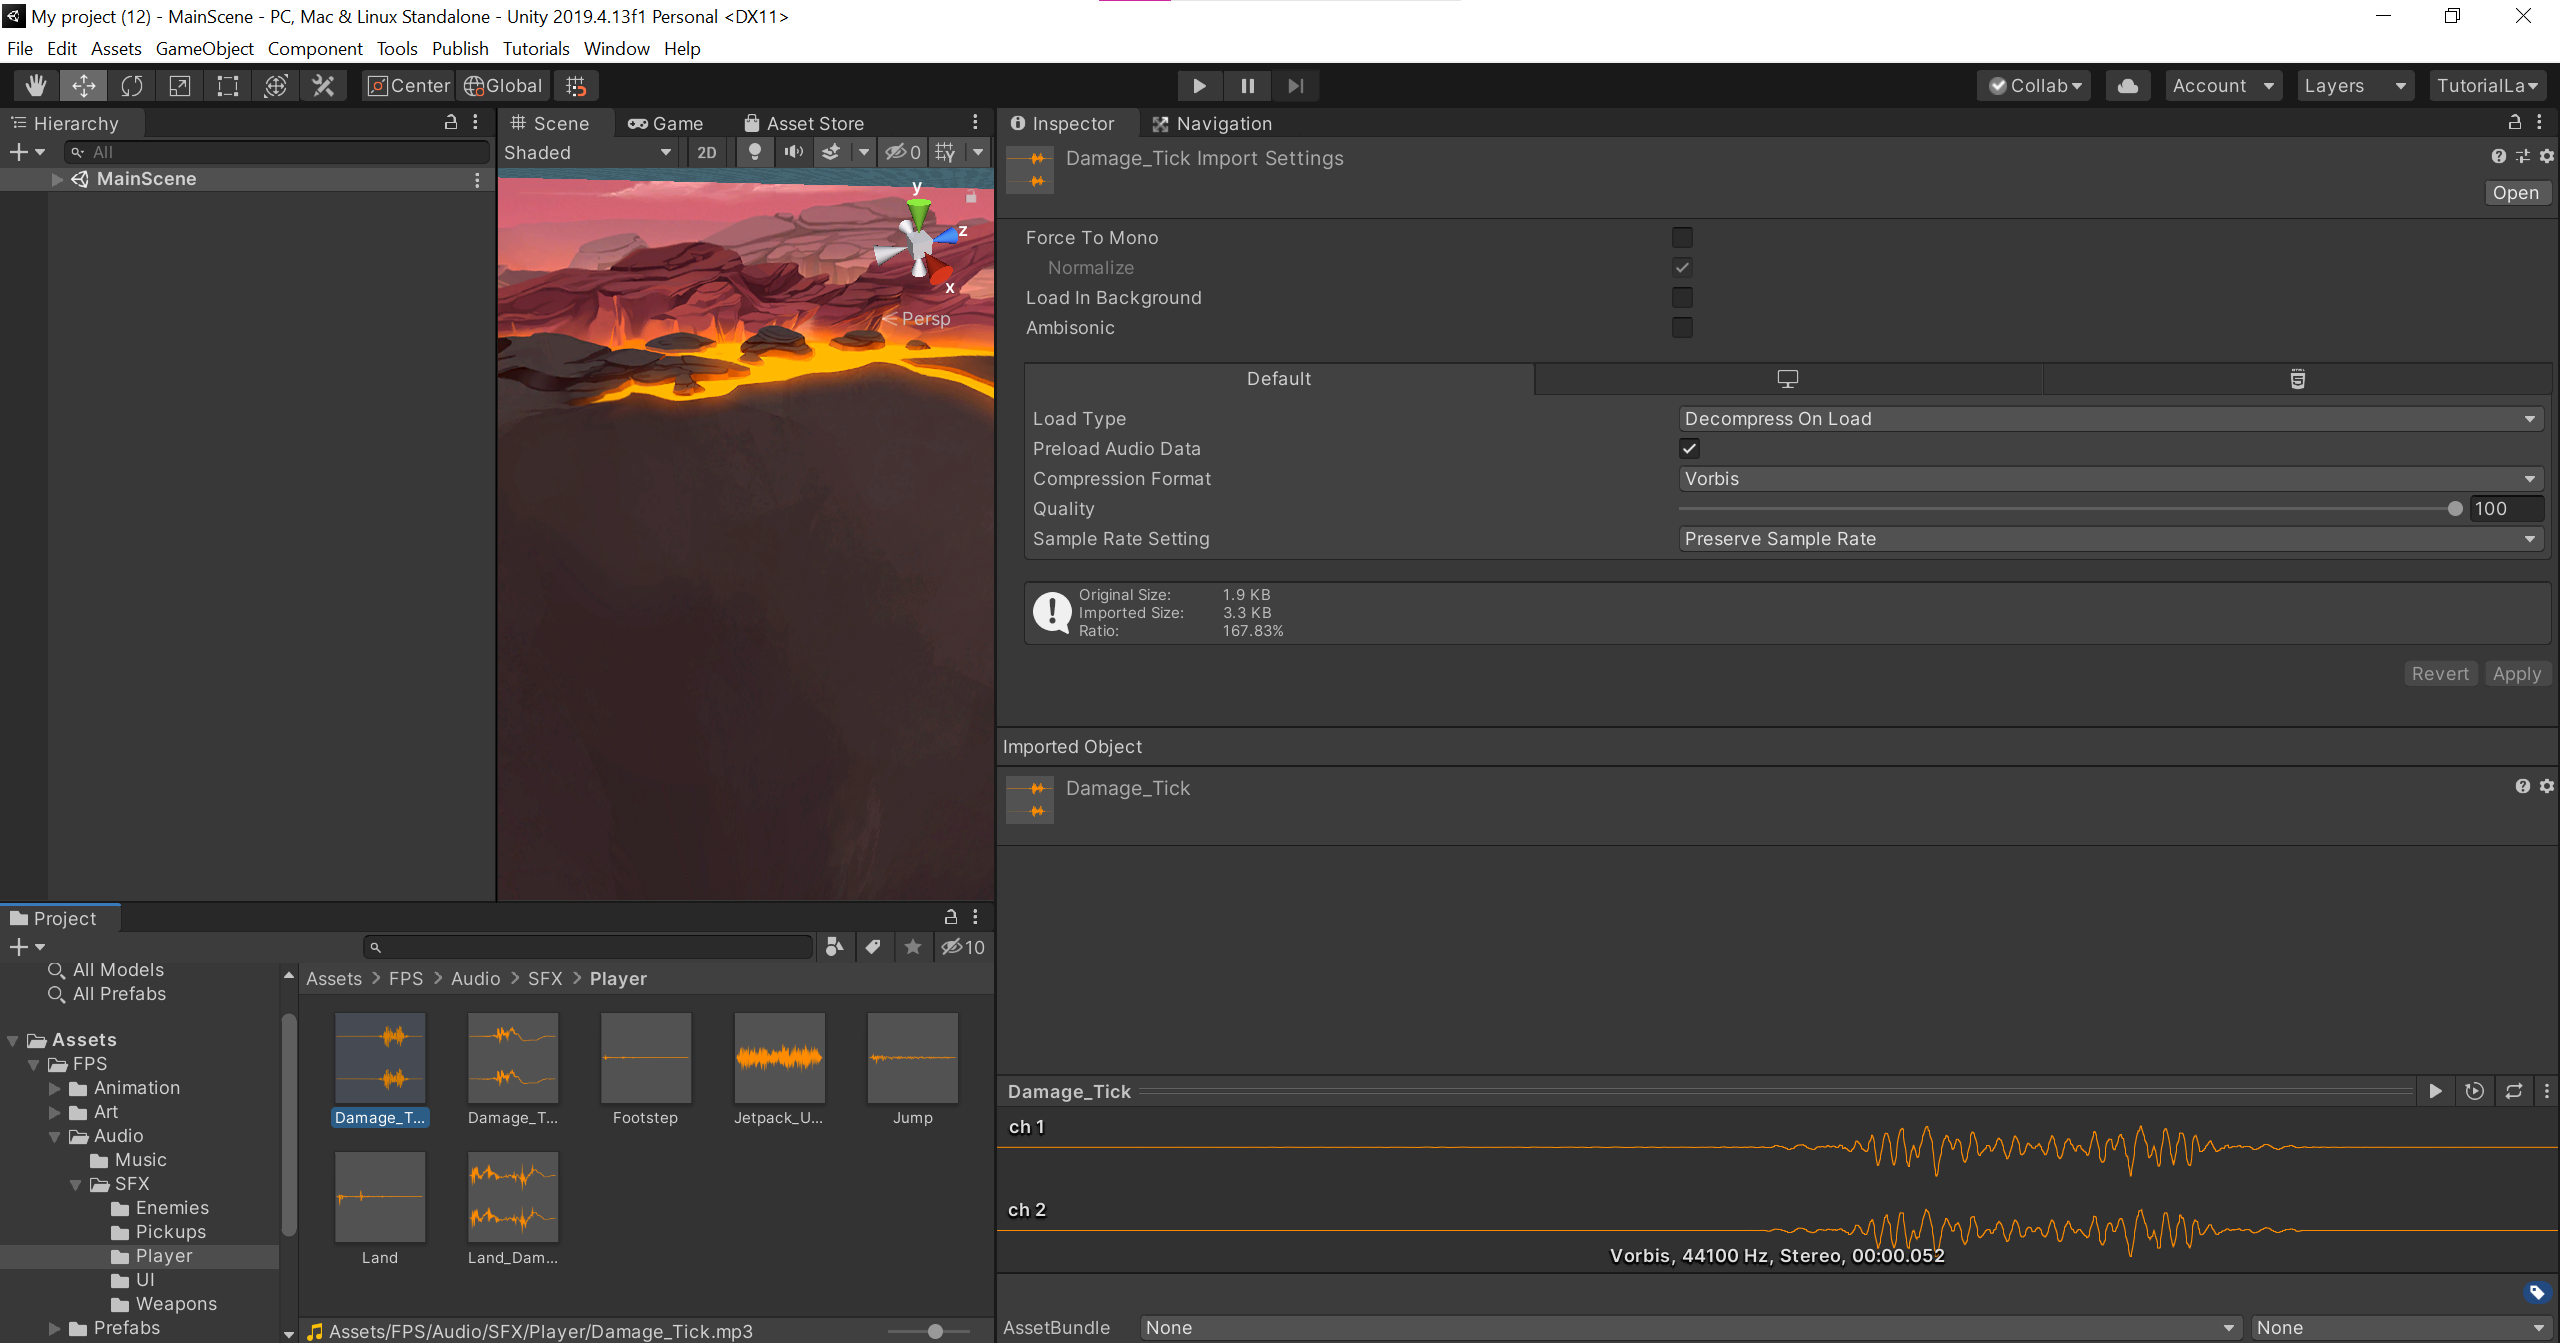
- Importing Audio Assets: The first step is to import the audio files into your Unity project. You can do this by navigating to the project window, right-clicking on the desired folder, and selecting “Import New Asset.” Unity supports various audio formats, including WAV, MP3, and OGG.
- Creating Audio Sources: To play audio in Unity, you need to create Audio Source components. Audio Sources are responsible for emitting sound and can be attached to game objects such as characters, environmental objects, or empty GameObjects dedicated solely to audio management. To create an Audio Source, select the GameObject to which you want to attach the audio, go to the Inspector window, and click on “Add Component.” Then, search for “Audio Source” and add it to the GameObject.
- Setting Audio Properties: Once you’ve added an Audio Source component, you can adjust its properties in the Inspector window. Here are a few key properties:
- Audio Clip: Assign the imported audio file to the Audio Clip property of the Audio Source. This defines the sound that will be played when the Audio Source is triggered.
- Volume: Adjust the volume property to control the loudness of the sound. You can set it to a specific value or use scripting to manipulate it dynamically.
- Spatial Blend: If you want the sound to have a spatial effect, which means the audio’s loudness and directionality change based on the listener’s position, set the Spatial Blend property accordingly. A value of 0 means 2D sound (non-directional), while a value of 1 means 3D sound (directional).
- Loop: Enable the Loop property if you want the audio to play continuously in a loop. This is useful for background music or ambient sounds.
- Implementing Audio Effects: Unity provides various audio effects that you can apply to Audio Sources to enhance the audio experience. These effects include:
- Reverb Zones: You can create Reverb Zones in Unity to simulate different acoustic environments. By adjusting parameters like reverb decay time and reverb intensity, you can achieve effects such as cavernous echoes or tight room acoustics.
- Filters: Unity offers audio filters such as Low Pass and High Pass filters. These filters can be used to modify the frequency content of the sound, creating effects like muffled sounds or emphasis on specific frequencies.
- Pitch Modification: Changing the pitch of the audio can create interesting effects, such as slow-motion or fast-forward effects. You can adjust the pitch property of the Audio Source to achieve this.
- Triggering Audio Effects: Finally, you need to trigger the audio effects based on game events or conditions. This can be done through scripting in Unity. For example, you can use collision detection, button presses, or timers to play specific sounds or activate audio effects.
By following these steps, you can add audio effects to your Unity game and enhance the overall player experience. Experimenting with different effects, adjusting properties, and scripting audio behaviors will allow you to create dynamic and engaging audio environments that complement the gameplay and immerse players in your game world.
Adding Visual Effects
Adding visual effects in Unity is an essential part of game development, as it enhances the overall visual appeal and immersion of the game. Whether it’s particle systems, shaders, or post-processing effects, Unity provides a wide range of tools and features to create stunning visual effects. Here’s a step-by-step guide on how to add visual effects in Unity:
- Particle Systems: Particle systems are a powerful tool for creating dynamic and realistic effects such as fire, explosions, smoke, sparks, and magical spells. To add a particle system to your game, go to the GameObject menu, select Effects, and choose the type of particle system you want to create. Unity provides a variety of pre-configured particle system templates to choose from, or you can customize your own.
Once you’ve added a particle system, you can adjust its properties in the Inspector window. Parameters like emission rate, size, color, velocity, and lifetime can be tweaked to achieve the desired effect. Unity also offers modules for manipulating particle behaviors, including shape, force, collision, and sub-emitters, allowing for complex and interactive effects.
- Shaders: Shaders are responsible for controlling how light interacts with objects in your game, allowing you to achieve stunning visual effects and realistic rendering. Unity supports both surface shaders and vertex/fragment shaders.
Surface shaders are a high-level way of writing shaders that simplify the process by automatically handling lighting calculations, shadows, and other common tasks. To create a surface shader, you can either create a new shader file or modify an existing one. Surface shaders use Unity’s ShaderLab syntax and can be edited in the built-in Shader Graph or a text editor.
Vertex and fragment shaders offer more control and are useful for advanced effects. They allow you to manipulate vertices and pixels directly, enabling effects like custom lighting models, procedural animations, and post-processing effects. To create a custom shader, you’ll need to write shader code using a shader language such as HLSL or Cg.
- Post-Processing Effects: Post-processing effects are applied to the camera to modify the final rendered image before it’s displayed on the screen. Unity’s Post-Processing Stack provides a wide range of effects such as bloom, depth of field, motion blur, color grading, and more.
To enable post-processing effects, you need to import the Post-Processing package into your project. Once imported, you can add the Post-Processing Volume component to your camera object. The volume allows you to control the intensity and settings of the post-processing effects globally or per-scene.
Within the Post-Processing Volume, you can add and configure various post-processing effects using the Post-Processing Profile. Each effect has its own set of parameters that can be adjusted to achieve the desired visual style or mood.
- Custom Effects and Plugins: Unity’s extensibility allows you to create and integrate custom visual effects and plugins into your game. If you have specific visual effects in mind that aren’t covered by built-in tools, you can develop your own scripts, shaders, or plugins to achieve those effects. Unity provides a flexible and open API that allows you to hook into the rendering pipeline and modify or add custom effects as needed.
By following these steps, you can add visual effects to your Unity game and create stunning and immersive visuals. Experimenting with different particle systems, shaders, and post-processing effects will help you achieve the desired aesthetic and atmosphere, enhancing the overall player experience and making your game visually captivating.
Optimizing Audio and Visual Effects
Optimizing audio and visual effects in Unity is crucial for ensuring smooth performance and efficient resource utilization in your game. Well-optimized effects can enhance the player experience without causing unnecessary strain on the hardware or impacting the overall gameplay. Here are some strategies to optimize audio and visual effects in Unity:
Optimizing Audio Effects:
- Audio Compression: Compressing audio files can significantly reduce their file size without compromising audio quality. Unity supports various audio compression formats, such as Ogg Vorbis and MP3. Choose the appropriate compression settings to strike a balance between audio quality and file size, ensuring efficient memory usage and faster loading times.
- Audio Pooling: Instead of instantiating and destroying Audio Source components dynamically, consider using an object pooling technique. Pooling allows you to reuse Audio Source instances, reducing the overhead of creating and destroying them frequently. By keeping a pool of pre-initialized Audio Sources, you can minimize performance spikes and reduce memory allocations.
- Spatial Audio Optimization: If you’re using 3D spatial audio effects, be mindful of their impact on performance. Limit the number of active spatial audio sources, as each source requires computational resources for positional calculations. Consider reducing the maximum audible distance and adjusting attenuation settings to strike a balance between audio realism and performance.
- Audio Occlusion and Culling: Implement occlusion and culling techniques to optimize audio. Occlusion refers to reducing or muting audio when it’s blocked by objects or walls. Culling involves disabling or reducing the audibility of sounds that are outside the player’s field of view or beyond a certain distance. These techniques help focus audio processing on relevant sounds, reducing unnecessary computations and improving performance.
Optimizing Visual Effects:
- Level of Detail (LOD): Implement LOD systems for complex models and visual effects. LOD reduces the level of detail for distant or less significant objects, minimizing the number of polygons, texture resolution, and shader complexity. This approach helps maintain performance by reducing the GPU load and memory bandwidth requirements.
- Particle System Optimization: Particle systems can have a significant impact on performance, especially when there are many particles or complex effects. Use the Particle System’s optimization settings, such as maximum particle count, start lifetime, or emission rate, to balance the visual quality and performance. Additionally, consider culling particles that are outside the camera’s frustum or occluded by other objects to further optimize performance.
- Shader Optimization: Shaders can be optimized by reducing the number of texture lookups, minimizing costly calculations, and eliminating unnecessary computations. Utilize Unity’s shader profiling tools to identify performance bottlenecks and optimize shader code accordingly. Additionally, consider using Unity’s built-in shader variants or shader graph optimization options to streamline shader complexity and reduce overhead.
- Post-Processing Optimization: Post-processing effects, such as bloom, depth of field, or color grading, can be computationally intensive. Adjust the settings to find a balance between visual quality and performance impact. You can reduce the resolution or intensity of effects for lower-end devices or optimize them using shader techniques like downsampling or adaptive effects.
- Performance Profiling: Regularly profile your game’s performance using Unity’s Profiler tool to identify performance bottlenecks related to audio and visual effects. The profiler can help pinpoint inefficient code, excessive memory usage, or performance spikes caused by effects. Optimize the identified areas by improving algorithms, reducing unnecessary computations, or using more efficient techniques.
Remember to test your game on various target platforms and devices to ensure optimal performance across different hardware configurations. Optimization is an iterative process, so monitor performance metrics and make adjustments as needed throughout the development cycle. By optimizing audio and visual effects, you can deliver an immersive and visually appealing experience while maintaining smooth performance and maximizing the player’s enjoyment of your game.
Conclusion
Adding audio and visual effects in Unity is a crucial aspect of game development that significantly enhances the overall player experience. Audio effects, such as background music, sound effects, and environmental audio, contribute to the atmosphere, storytelling, and immersion of the game. Visual effects, including particle systems, shaders, and post-processing effects, create stunning and captivating visuals that bring the game world to life.
Unity provides developers with powerful tools and features to implement these effects seamlessly. Particle systems enable the creation of dynamic and realistic phenomena, while shaders allow for precise control over lighting, reflections, and other visual elements. Post-processing effects add an extra layer of visual polish and can greatly enhance the overall aesthetic.
To ensure optimal performance, it is essential to optimize audio and visual effects in Unity. This can involve compressing audio files, implementing audio pooling techniques, optimizing spatial audio, and utilizing occlusion and culling. Visual effects can be optimized through LOD systems, particle system optimization, shader optimization, and post-processing adjustments. Regular performance profiling and testing on various platforms help fine-tune the effects and ensure smooth gameplay.
By carefully balancing the creative vision with performance considerations, developers can create captivating games with immersive audio and visually stunning effects. The combination of well-executed audio and visual effects in Unity not only enhances the gameplay experience but also draws players deeper into the game world, making it more engaging, memorable, and enjoyable.