
In Blender, meshes play a crucial role in creating virtual objects and scenes. Blender uses a mesh-based approach, and understanding how meshes function is fundamental for anyone working with the software. Here’s an explanation of meshes in 3D modeling within Blender:
- Vertices:
- In Blender, meshes are composed of vertices. These are the individual points in 3D space that define the shape of the object.
- Each vertex has a set of coordinates (X, Y, Z) that determine its position in the 3D space of the Blender scene.
- Edges:
- Edges in Blender connect pairs of vertices. They form the lines or boundaries between vertices.
- Edges define the structure of the mesh, creating the basic framework for the object.
- Faces:
- Faces are polygons formed by connecting three or more vertices with edges. Triangles and quads (four-sided polygons) are common in Blender meshes.
- Faces define the surface of the object and contribute to its appearance.
- Mesh Objects:
- In Blender, a mesh is represented as a collection of vertices, edges, and faces. Mesh objects can take various forms, from simple geometric shapes to complex models of characters, buildings, or landscapes.
- Blender supports the creation of multiple mesh objects within a single scene.
- Edit Mode and Object Mode:
- Blender provides two primary modes for working with meshes: Edit Mode and Object Mode.
- Edit Mode allows you to manipulate the vertices, edges, and faces of a mesh, enabling detailed editing and refinement.
- Object Mode is used for selecting, moving, and transforming entire mesh objects.
- Modifiers:
- Blender offers a wide range of modifiers that can be applied to meshes to modify their appearance or structure. Examples include the Subdivision Surface modifier for smoothing surfaces and the Mirror modifier for creating symmetrical objects.
- Materials and Textures:
- In addition to defining the geometry, meshes in Blender can also be assigned materials and textures to give them color, reflectivity, and other surface properties.
- UV Mapping:
- UV mapping is the process of unwrapping a 3D mesh onto a 2D plane to apply textures accurately. Blender provides tools for UV mapping to enhance the visual realism of a model.
Understanding how to create, edit, and manipulate meshes in Blender is fundamental to 3D modeling within the software. It allows artists and designers to bring their creative visions to life by shaping and detailing virtual objects in a three-dimensional space.
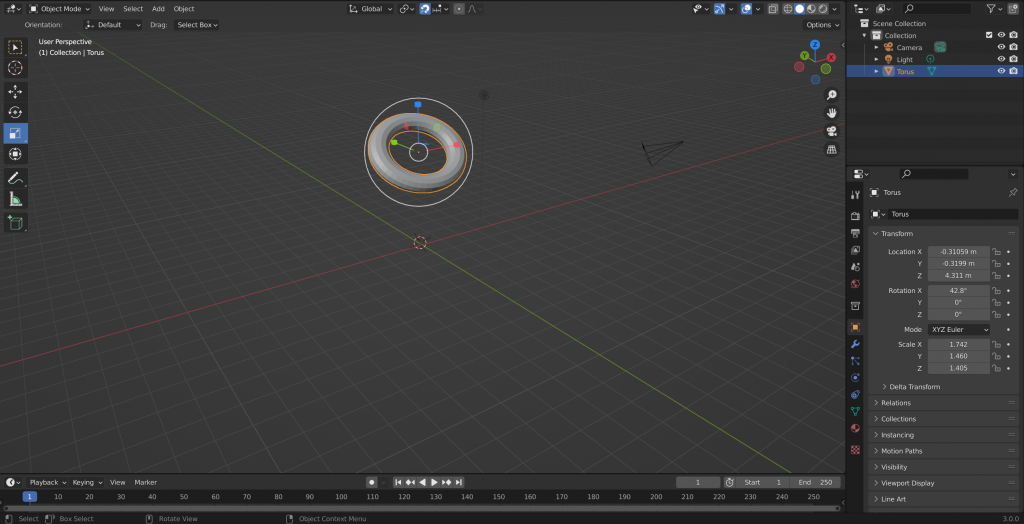
Creating Basic Mesh Objects
Creating basic mesh objects is one of the foundational skills in 3D modeling, and in Blender, this process involves using various primitive shapes and tools. Here’s a step-by-step guide on creating basic mesh objects in Blender:
1. Open Blender and Set Up Your Scene:
- Launch Blender and set up your workspace. You can choose a 3D View layout for modeling.
2. Add a Mesh Object:
- In Object Mode, press
Shift+Aor go to the “Add” menu at the bottom of the 3D View and select “Mesh.” Here, you’ll find options for basic primitive shapes like Cube, Sphere, Cylinder, etc.
3. Adjusting Parameters:
- Once you add a primitive shape, you can adjust its parameters. For example, if you add a cube, you can change its dimensions by pressing
Sto scale,Gto grab/move, andRto rotate.
4. Editing in Edit Mode:
- Switch to Edit Mode by pressing
Tab. Here, you can manipulate individual vertices, edges, and faces. UseCtrl+Tabto switch between Vertex, Edge, and Face select modes.
5. Subdividing and Extruding:
- In Edit Mode, you can subdivide faces (
W> Subdivide) or extrude (E) to create more complex shapes. Extruding involves pulling selected geometry outward.
6. Deleting and Adding Geometry:
- In Edit Mode, select vertices, edges, or faces and press
Xto delete orFto create a face between selected vertices.
7. Smooth Shading:
- For a smoother appearance, you can enable smooth shading. In Object Mode, go to the Object Data Properties tab, and under Normals, check “Auto Smooth.”
8. Duplicating Objects:
- In Object Mode, select an object and press
Shift+Dto duplicate. You can move the duplicate to create more complex arrangements.
9. Joining and Separating Objects:
- To join objects, select them and press
Ctrl+J. To separate parts of an object, go to Edit Mode, select the part, and pressP.
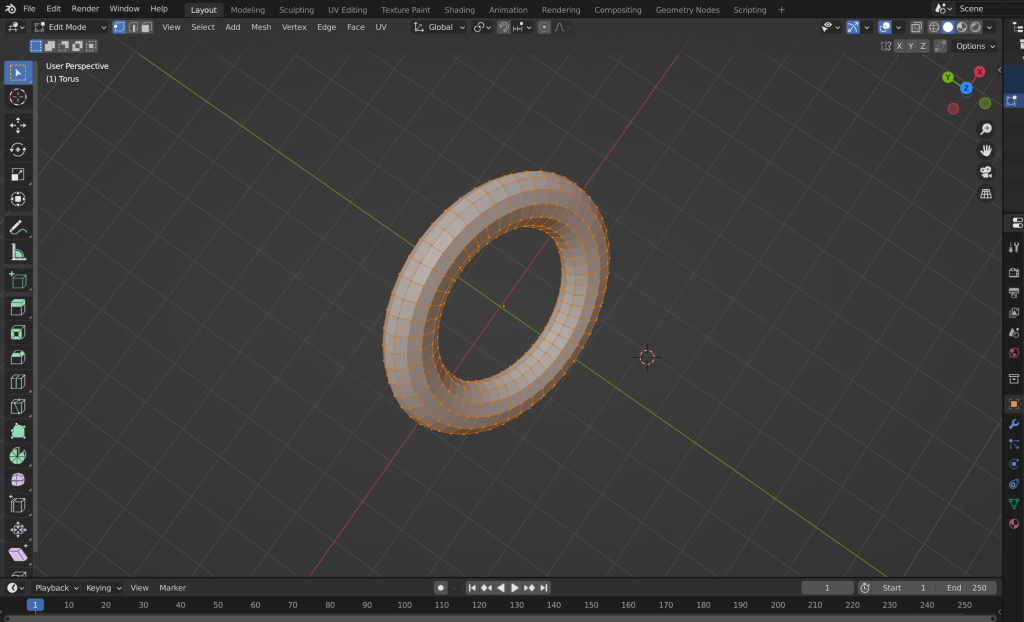
Editing Meshes in Edit Mode
Editing meshes in Edit Mode is a crucial aspect of 3D modeling in Blender. Edit Mode allows you to manipulate the geometry of a mesh by modifying vertices, edges, and faces. Here’s a comprehensive guide on editing meshes in Edit Mode:
1. Accessing Edit Mode:
- Select the object you want to edit in Object Mode.
- Press
Tabto enter Edit Mode.
2. Vertex Editing:
- Selecting Vertices:
- Right-click on a vertex to select it.
- Use
Ato select/deselect all vertices.
- Moving Vertices:
- Press
Gto grab/move selected vertices. - Press
X,Y, orZafterGto restrict movement along a specific axis.
- Press
- Scaling Vertices:
- Press
Sto scale selected vertices.
- Press
- Rotating Vertices:
- Press
Rto rotate selected vertices.
- Press
3. Edge Editing:
- Selecting Edges:
- Right-click on an edge to select it.
- Moving Edges:
- Press
Gto grab/move selected edges.
- Press
- Scaling Edges:
- Press
Sto scale selected edges.
- Press
- Loop Cut:
- Press
Ctrl+Rto add a loop cut. Slide the cut with the mouse and left-click to confirm.
- Press
4. Face Editing:
- Selecting Faces:
- Right-click on a face to select it.
- Extruding Faces:
- Press
Eto extrude selected faces. Extruding creates new geometry by extending the selected faces outward.
- Press
- Insetting Faces:
- Press
Ito inset selected faces. Inset creates a new set of faces within the selected faces.
- Press
- Deleting Faces:
- Press
Xand choose “Faces” to delete selected faces.
- Press
5. Selecting Modes:
- Toggle between Vertex, Edge, and Face selection modes using
Ctrl+Tab. Alternatively, use the mode buttons at the bottom of the 3D View.
6. Proportional Editing:
- Enable proportional editing by pressing
O. This allows you to influence surrounding vertices when editing, creating smoother deformations.
7. Snapping:
- Enable snapping (
Shift+Tab) to align vertices, edges, or faces to specific points or other elements in the scene.
8. Mirror Editing:
- If your mesh is symmetrical, you can enable the Mirror modifier in Object Mode. This mirrors your edits across the specified axis.
9. Exiting Edit Mode:
- Press
Tabto exit Edit Mode and return to Object Mode.
10. Applying and Modifiers:
- Many edits in Edit Mode can be applied in Object Mode. Before doing so, consider using modifiers like Subdivision Surface for non-destructive editing.
11. Undo and Redo:
- Use
Ctrl+Zto undo andShift+Ctrl+Zto redo your edits.
12. Saving Your Work:
- Save your progress regularly using
Ctrl+S.
Mastering Edit Mode is essential for creating detailed and intricate 3D models in Blender. Experiment with different tools and techniques to understand how they affect the geometry of your mesh, and remember to utilize Blender’s extensive keyboard shortcuts for a more efficient workflow.
Using Polygonal Meshes
Polygonal meshes are a fundamental component in 3D modeling, and Blender, being a versatile 3D modeling software, extensively utilizes polygonal meshes for creating virtual objects. Here’s an overview of using polygonal meshes in Blender:
1. Introduction to Polygonal Meshes:
- In Blender, 3D objects are primarily represented as polygonal meshes, which consist of vertices, edges, and faces.
- Polygons, such as triangles and quads, are the faces of the mesh and define the surfaces of the objects.
2. Creating Mesh Objects:
- Use the “Add” menu (
Shift+A) in Object Mode to create basic mesh objects like cubes, spheres, cylinders, and more. - These objects are initially created as polygonal meshes.
3. Edit Mode:
- Enter Edit Mode (
Tab) to manipulate the mesh’s geometry. - Edit Mode allows you to interact with individual vertices, edges, and faces.
4. Vertex, Edge, and Face Operations:
- In Edit Mode, select vertices (
1), edges (2), or faces (3) using the number keys. - Perform operations like moving (
G), rotating (R), scaling (S), extruding (E), and more on selected elements.
5. Subdivision Surfaces:
- Blender supports subdivision surface modeling to achieve smoother surfaces. Apply the Subdivision Surface modifier to increase mesh detail.
6. Loop Cuts and Edge Loops:
- Use
Ctrl+Rto create loop cuts, allowing you to add more geometry to your mesh. - Edge loops are essential for maintaining even topology during modeling.
7. Beveling:
- Beveling (
Ctrl+B) adds rounded edges to your mesh, enhancing realism and preventing sharp, unnatural-looking edges.
8. Boolean Operations:
- Perform Boolean operations (
Union,Difference,Intersect) to combine or cut out shapes from meshes, creating complex forms.
9. UV Mapping:
- UV mapping is crucial for applying textures to polygonal meshes. In Edit Mode, unwrap the mesh (
U) and adjust UVs in the UV Editor.
10. Normals and Shading:
- Normals dictate how light interacts with the mesh. Recalculate normals (
Shift+N) for proper shading. - Switch between smooth and flat shading in the Object Data Properties tab.
11. Modifiers:
- Blender offers various modifiers that affect mesh geometry. Examples include Mirror, Array, and Bevel modifiers.
12. Sculpting:
- Blender’s sculpting mode allows you to deform meshes like digital clay, providing an alternative to traditional polygonal modeling.
13. Symmetry and Proportional Editing:
- Enable symmetry for faster modeling. Activate proportional editing (
O) to influence nearby vertices during transformations.
14. Particle Systems and Hair:
- Polygonal meshes can be used for particle systems, simulating hair, fur, or other complex effects.
15. Exporting and Rendering:
- Export polygonal meshes to various formats for use in other software or game engines.
- Set up materials, lighting, and camera in Blender’s rendering environment to create the final output.
Understanding the intricacies of polygonal mesh modeling in Blender is essential for creating detailed and realistic 3D models. Experiment with different tools, modifiers, and techniques to achieve the desired results in your 3D projects.
Parametric Meshes
Here are some approaches to create parametric-like effects in Blender:
1. Modifiers:
- Array Modifier: The Array modifier can be used to create arrays of objects based on specified parameters such as count, offset, and rotation.
- Curve Modifier: This modifier allows you to deform an object along a curve, providing a degree of parametric-like control.
2. Procedural Textures:
- Texture Displacement: You can use procedural textures, such as clouds or noise, in combination with the Displace modifier to add parametric-like details to a mesh.
3. Python Scripting:
- Scripted Mesh Generation: For more advanced users, Blender’s Python API allows the creation of scripts that generate parametric-like geometry based on equations and algorithms. This provides a high level of flexibility but requires programming skills.
4. Add-ons:
- Sverchok: Sverchok is a node-based parametric tool for Blender. It allows users to create parametric geometry using a visual node-based interface. This add-on is popular for procedural modeling.
5. Animation Nodes:
- Animation Nodes Add-on: Animation Nodes is another powerful add-on for Blender that enables users to create complex parametric animations and procedural effects through a node-based system.
6. Geometry Nodes (Blender 2.93 and later):
- Geometry Nodes: In more recent versions of Blender (2.93 and later), the Geometry Nodes system has been introduced, allowing for more procedural and parametric modeling workflows. It enables users to create and modify geometry using a node-based approach.
7. Dynamic Paint:
- Dynamic Paint: While not strictly parametric modeling, Dynamic Paint allows objects to interact and change based on their contact with other objects. This can be used for dynamic and responsive effects.
Importing and Using Meshes
mporting and using meshes in Blender is a fundamental aspect of 3D modeling, as it allows you to incorporate external models or assets into your Blender projects. Here’s a step-by-step guide on how to import and use meshes in Blender:
1. Importing Meshes:
- File Format: Blender supports various file formats for importing meshes, including OBJ, FBX, STL, and more.
- Menu Access: Go to “File” > “Import” and select the appropriate format for your mesh.
2. Navigating the 3D View:
- Viewport Navigation: Use the middle mouse button to rotate the view, the scroll wheel to zoom, and
Shift+ middle mouse button to pan.
3. Object Selection:
- Right-Click: Right-click on an object to select it. Use
Ato select/deselect all objects.
4. Basic Transformations:
- G, R, S: Use
Gto grab/move,Rto rotate, andSto scale the selected object.
5. Material Assignment:
- Shading Workspace: In the Shading workspace, assign materials to your mesh. Use the Material Properties tab to create and modify materials.
6. Editing the Mesh:
- Edit Mode: Enter Edit Mode (
Tab) to manipulate the mesh’s geometry. Here, you can edit vertices, edges, and faces.
7. Modifiers:
- Add Modifiers: In Object Mode, use the “Add Modifier” dropdown in the Properties panel to apply modifiers for additional effects or changes to the mesh.
8. UV Mapping:
- UV Editing Workspace: If the imported mesh requires textures, go to the UV Editing workspace to unwrap and adjust UV maps.
9. Joining Meshes:
- Ctrl + J: To join multiple meshes into one object, select them and press
Ctrl+Jin Object Mode.
10. Parenting:
- Ctrl + P: Parenting allows you to create a hierarchical relationship between objects. Select the child object, then the parent, and press
Ctrl+P.
11. Exporting Meshes:
- File > Export: If you need to share or use your model in other software, export it in the desired format.
12. Working with Textures:
- Texture Properties: In the Texture Properties tab, add textures to your materials. Adjust mapping and coordinates for precise texture placement.
13. Duplicating Meshes:
- Shift + D: Duplicate selected objects using
Shift+D. Move, rotate, or scale the duplicate to create variations.
14. Applying Scale and Rotation:
- Ctrl + A: Apply scale and rotation to ensure consistent behavior, especially when using physics simulations.
15. Rendering:
- Render Workspace: Set up lighting, camera, and render settings in the Render workspace for the final output.
16. Save Your Work:
- Ctrl + S: Save your Blender project regularly to avoid losing progress.
17. Viewport Shading:
- Z Key: Toggle between different viewport shading modes (Wireframe, Solid, Material Preview, Rendered) using the
Zkey.
Conclusion
Ability to use different types of meshes is a cornerstone of versatile and dynamic 3D modeling in applications such as Blender. Whether working with basic polygonal meshes, parametric models, or imported assets, each type brings its own set of advantages and considerations to the creative process.
The flexibility of polygonal meshes in modeling provides a hands-on, detailed approach, allowing artists to shape and refine objects with precision. Understanding the intricacies of manipulating vertices, edges, and faces in both Object and Edit modes is fundamental for creating a wide range of 3D models.
Exploring parametric meshes, although not native to Blender, opens up possibilities for procedural modeling, where geometry is defined by mathematical equations and parameters. This approach introduces a level of adaptability and efficiency, particularly for artists seeking dynamic changes and variations in their designs.
Importing meshes into Blender is a practical necessity for many projects, allowing users to leverage assets created in other software or shared by the community. It broadens the scope of possibilities by integrating diverse models seamlessly into Blender scenes.
Ultimately, the ability to fluidly switch between different types of meshes empowers 3D artists and designers to select the most suitable approach for their specific needs. Whether it’s the precise control offered by polygonal modeling, the procedural advantages of parametric design, or the integration of external assets, the versatility provided by these approaches collectively contributes to the rich and expansive world of 3D creation. As software continues to evolve, embracing these varied mesh types ensures that artists can adapt to new challenges and push the boundaries of digital creativity.