Creating a Day-Night Cycle in Roblox Studio
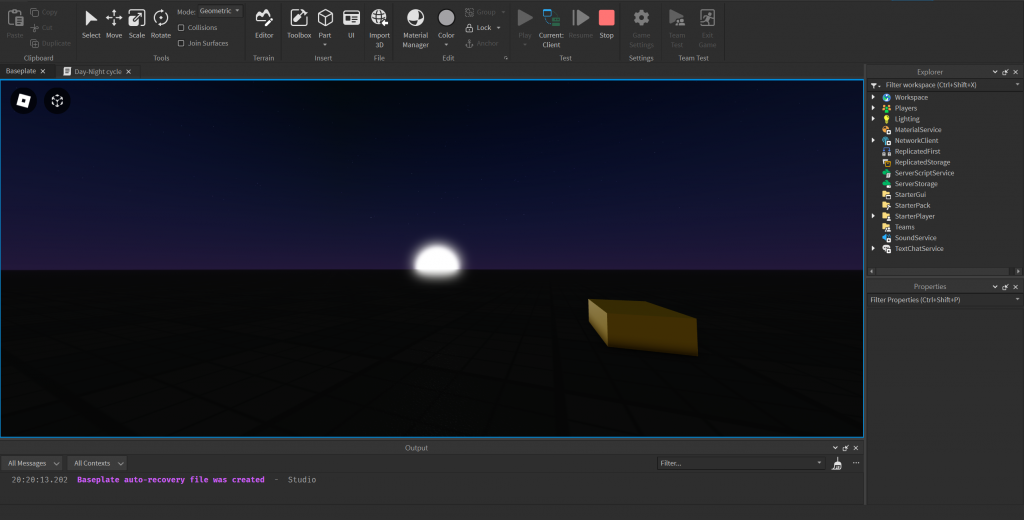
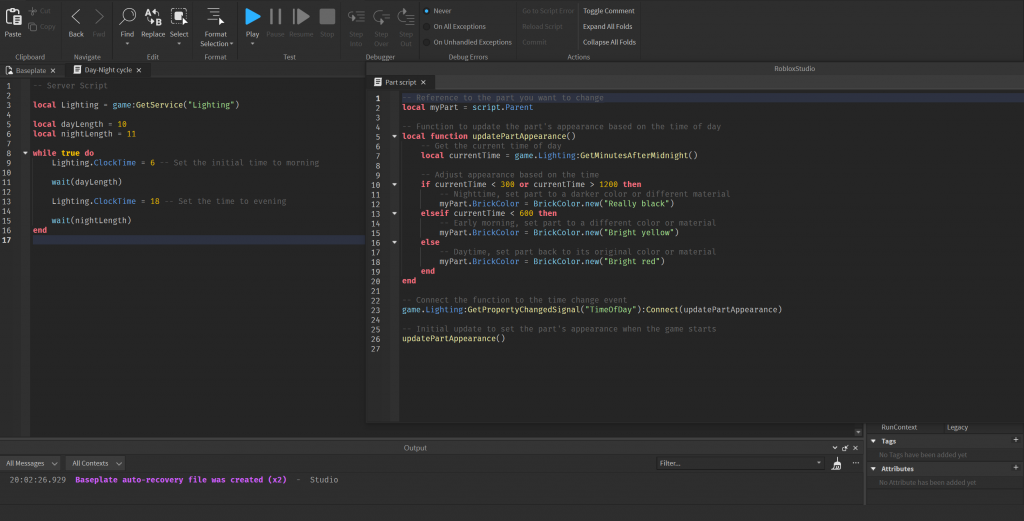
In this lesson, we will go through the provided script that creates a basic day-night cycle in Roblox Studio using a server script. The script manipulates the Lighting service to simulate a cycle of day and night. Let’s break down the script step by step:
-- Server Script

local Lighting = game:GetService("Lighting")

local dayLength = 10
local nightLength = 11
Explanation:
- The script starts by getting a reference to the
Lightingservice, which is used to control environmental lighting in the game. dayLengthandnightLengthvariables are set to control how long the day and night cycles last, respectively, in seconds.
while true do
	Lighting.ClockTime = 6 -- Set the initial time to morning

	wait(dayLength)

	Lighting.ClockTime = 18 -- Set the time to evening

	wait(nightLength)
end
Explanation:
- The script uses an infinite loop (
while true do) to continuously cycle between day and night. - Inside the loop:
Lighting.ClockTime = 6sets the initial time to morning (6 AM).wait(dayLength)pauses the script for the duration of the day.Lighting.ClockTime = 18sets the time to evening (6 PM).wait(nightLength)pauses the script for the duration of the night.
Implementation Steps:
- Open Roblox Studio and create a new place or open an existing one.
- Insert a Server Script into the Workspace or ServerScriptService.
- Copy and paste the provided script into the Server Script.
Now, when you run the game, the script will create a continuous day-night cycle. Players will experience 10 seconds of daylight followed by 11 seconds of nighttime.
Roblox game development often involves creating immersive and dynamic environments. One way to enhance the visual experience is by implementing a day-night cycle. In this article, we’ll explore a simple Lua script that adjusts the appearance of a part based on the time of day, creating a dynamic atmosphere within a Roblox game.

Understanding the Script
Let’s break down the provided Lua script step by step:
-- Reference to the part you want to change
local myPart = script.Parent
The script begins by obtaining a reference to the part that will undergo visual changes based on the time of day. This part is referred to as myPart.
-- Function to update the part's appearance based on the time of day
local function updatePartAppearance()
    -- Get the current time of day
    local currentTime = game.Lighting:GetMinutesAfterMidnight()

    -- Adjust appearance based on the time
    if currentTime < 300 or currentTime > 1200 then
        -- Nighttime, set part to a darker color or different material
        myPart.BrickColor = BrickColor.new("Really black")
    elseif currentTime < 600 then
        -- Early morning, set part to a different color or material
        myPart.BrickColor = BrickColor.new("Bright yellow")
    else
        -- Daytime, set part back to its original color or material
        myPart.BrickColor = BrickColor.new("Bright red")
    end
end
Next, a function named updatePartAppearance is defined. This function retrieves the current time of day using game.Lighting:GetMinutesAfterMidnight(). Depending on the time, it adjusts the appearance of myPart by changing its BrickColor.
-- Connect the function to the time change event
game.Lighting:GetPropertyChangedSignal("TimeOfDay"):Connect(updatePartAppearance)
The script then establishes a connection between the updatePartAppearance function and the “TimeOfDay” property of the game.Lighting service. This ensures that whenever the time of day changes, the appearance of myPart is updated accordingly.
-- Initial update to set the part's appearance when the game starts
updatePartAppearance()
Finally, the script initiates an initial update of the part’s appearance when the game starts, ensuring that the visual settings are applied from the beginning.

Implementing a Dynamic Day-Night Cycle
Step 1: Obtain a Reference to the Target Part
Identify the part in your game that you want to change based on the time of day. Create a reference to it using the script.Parent property.
Step 2: Define the Update Function
Write a function to update the appearance of the part based on the time of day. Use conditional statements to determine the appropriate visual changes for different time intervals.
Step 3: Connect the Function to the Time Change Event
Establish a connection between the update function and the “TimeOfDay” property of game.Lighting. This ensures that the function is called whenever the time changes in the game.
Step 4: Initial Update
Call the update function once at the beginning of the game to set the initial appearance of the part based on the starting time.
Step 5: Customize Appearance
Experiment with different color or material changes for each time of day to create a visually engaging day-night cycle in your Roblox game.
By following these steps, you can enhance the atmosphere of your game by implementing a dynamic day-night cycle that adjusts the appearance of specific parts based on the in-game time.
