
Automation is not about making Blender look clever. It is about removing the part of the job that eats your afternoon: placing, naming and adjusting objects one by one.
If you need three objects, click them. If you need thirty-six objects at exact distances, that is a different kind of task. This is where a script wins, and it wins in three ways: speed, precision and repeatability.
First rule: start from a clean scene
Every script in this course begins by emptying the scene. That is not a detail, it is the habit that makes automation reliable. A fresh Blender file contains a default cube, a camera and a light. If you build on top of that, your result depends on what happened to be there before, and you end up with a stray cube in every screenshot and a file full of objects named Cube.001.
Deleting everything takes three lines. This is the exact snippet we will reuse from now on, and it is the only piece of code in this lesson you should memorise:
Start clean
# 1. empty the scene first
for obj in list(bpy.data.objects):
    bpy.data.objects.remove(obj, do_unlink=True)
bpy.data.objects is the list of every object in the file. We take a copy of that list (that is what list(...) is for, you cannot delete from a list while you walk through it), and we remove each object with do_unlink=True, which takes it out of the scene for good.
An honest answer: not everything should be automated
Artistic work, shape design, the first rough blockout of a model, those stay in your hands. Automation is for the work that is repetitive and measurable: rows, grids, variants, dimensioned parts, exports. Judging which is which is part of the skill.
Tasks where a script beats a mouse
- Anything you would place in a row, a circle or a grid.
- Anything whose position comes from a table of dimensions.
- Anything you need to build more than once with small changes.
- Anything you need to rename, move or export in bulk.
- Anything a client will ask for again next month, slightly different.
A real example: 36 dimensioned blocks
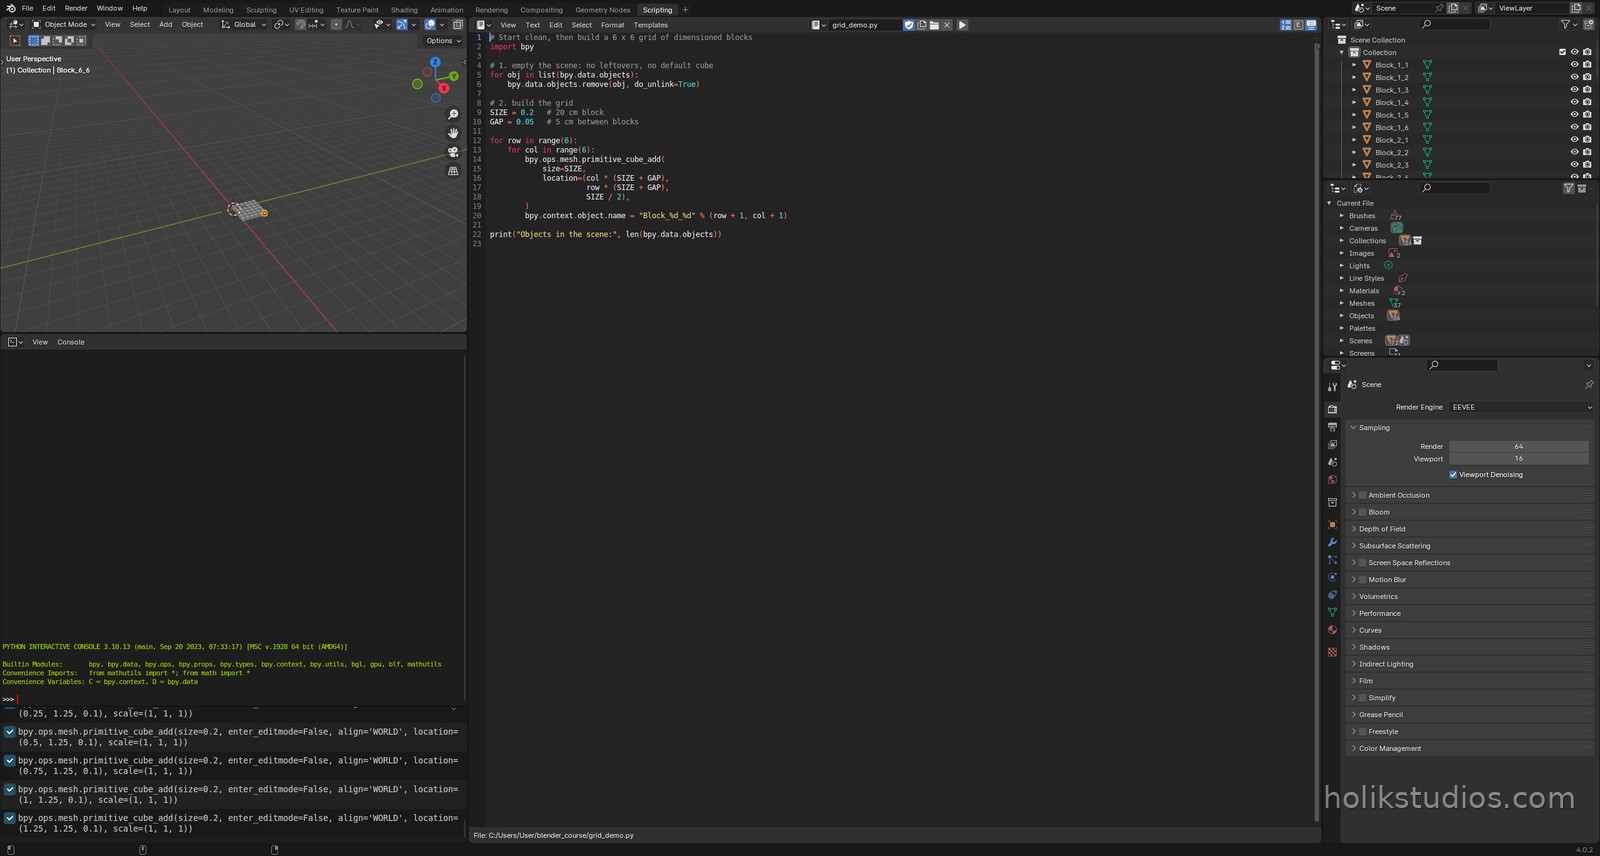
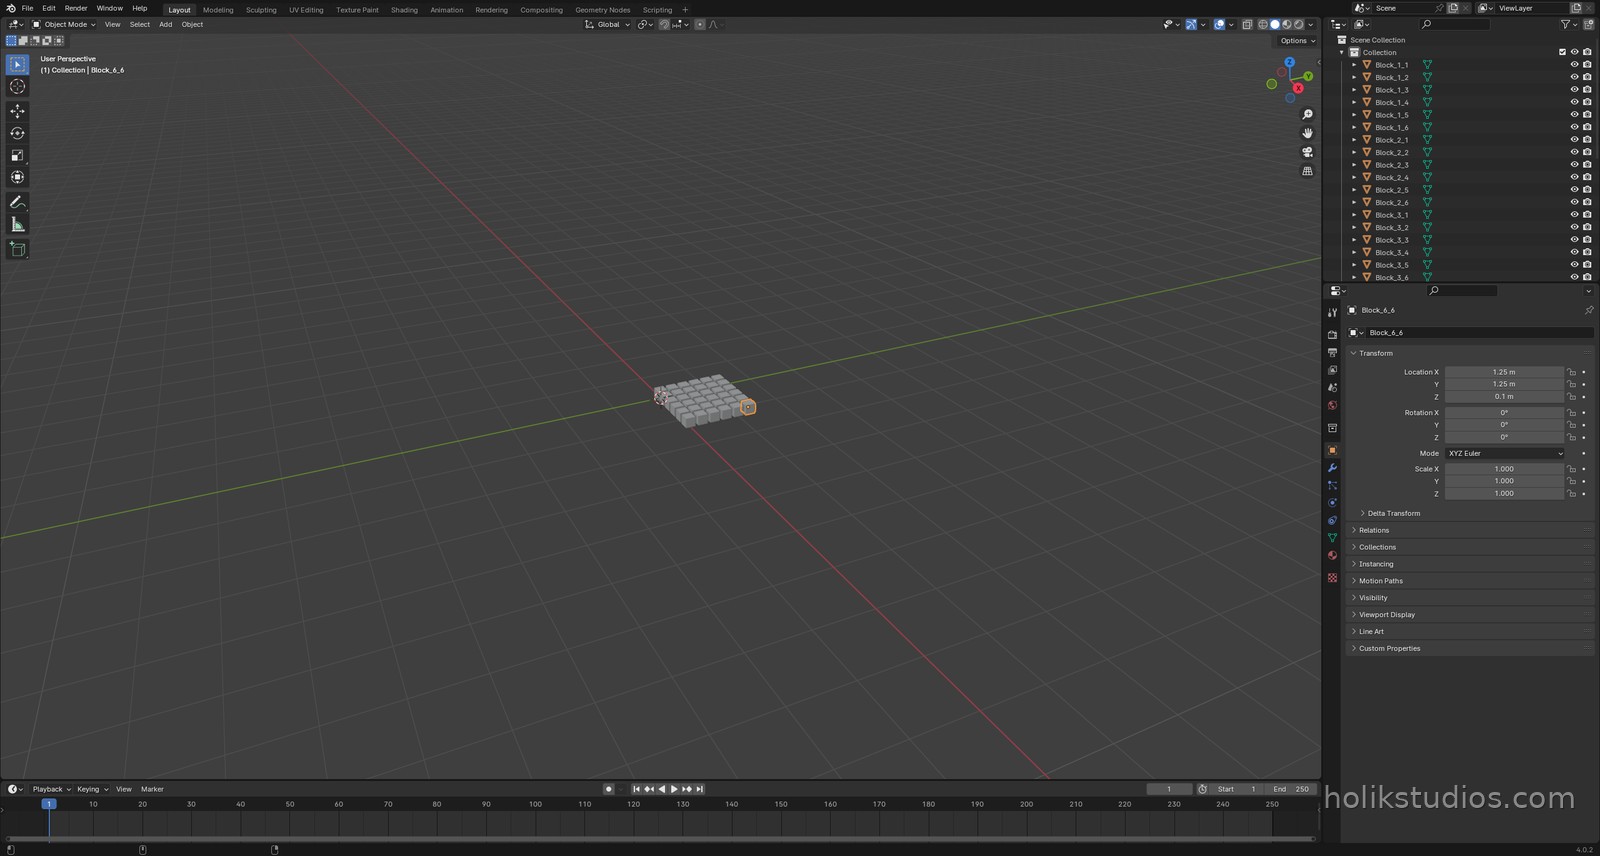
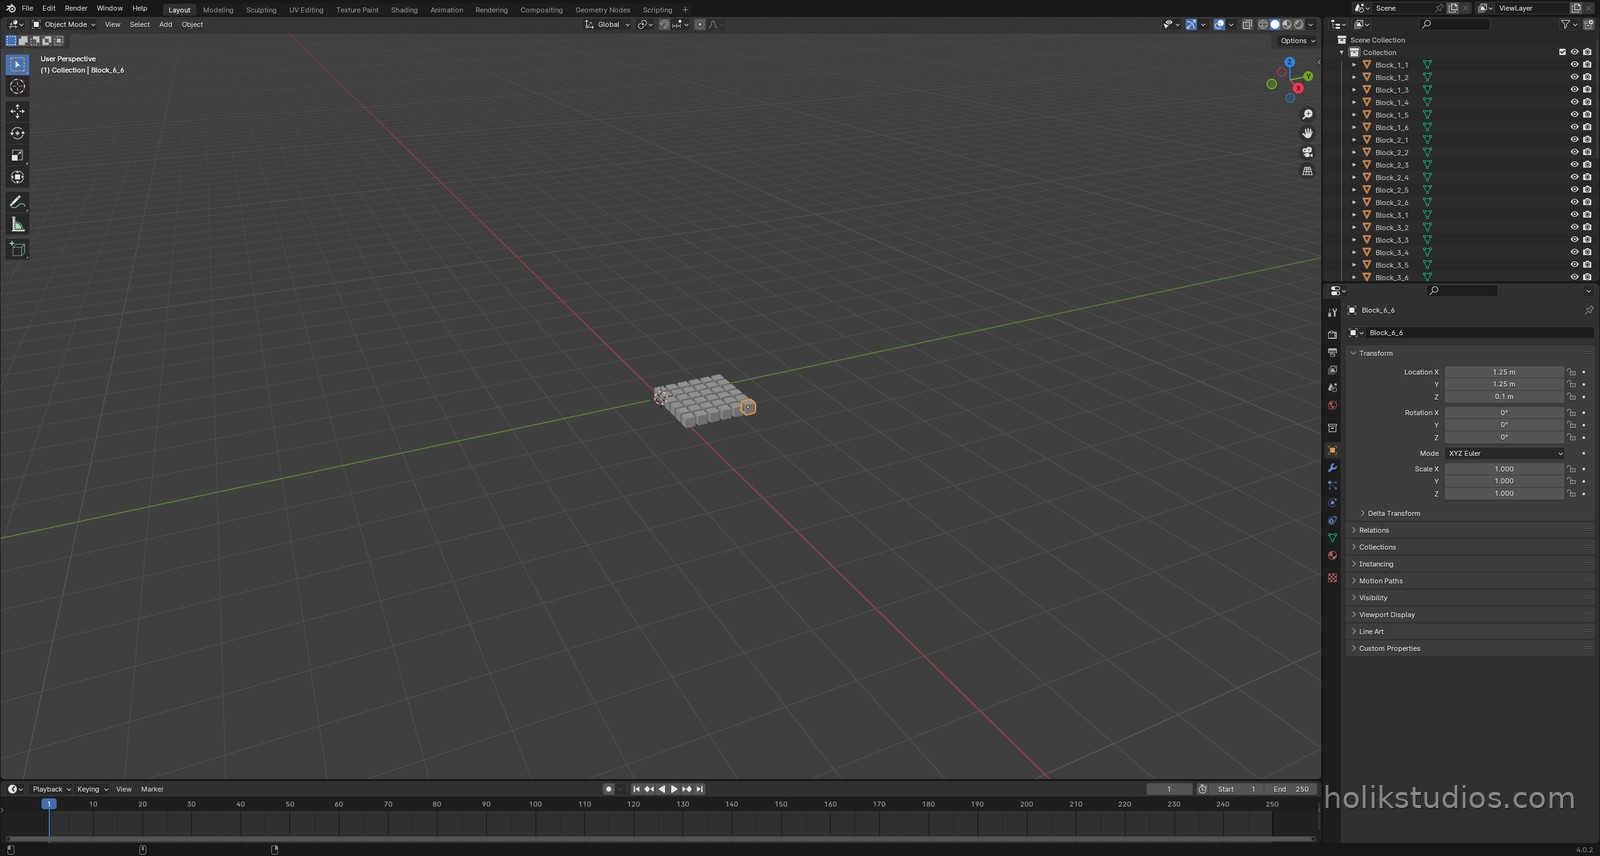
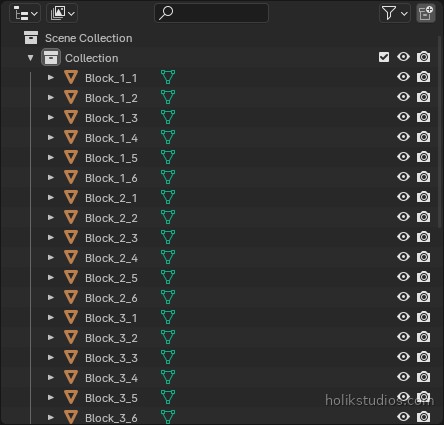
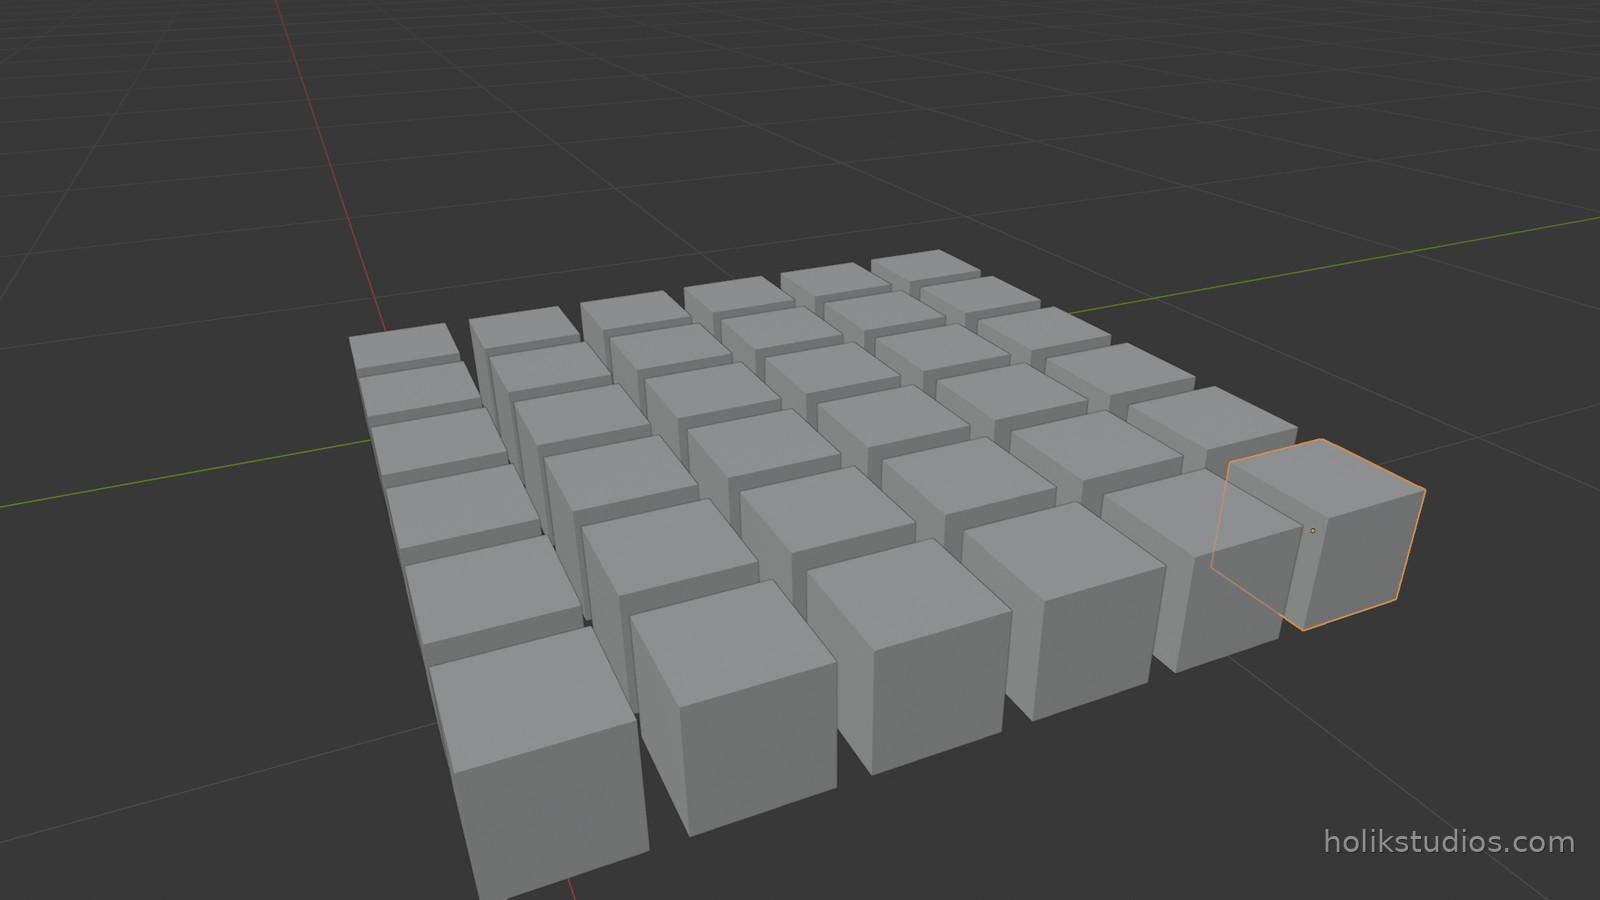
Here is a job that is genuinely painful by hand: a 6 by 6 grid of 20 cm blocks with 5 cm gaps, every block named, positioned to the millimetre. In the script below it is a clean start and a nested loop over three numbers.
Clear the scene, then build the grid
# Start clean, then build a 6 x 6 grid of dimensioned blocks
import bpy

# 1. empty the scene: no leftovers, no default cube
for obj in list(bpy.data.objects):
    bpy.data.objects.remove(obj, do_unlink=True)

# 2. build the grid
SIZE = 0.2   # 20 cm block
GAP = 0.05   # 5 cm between blocks

for row in range(6):
    for col in range(6):
        bpy.ops.mesh.primitive_cube_add(
            size=SIZE,
            location=(col * (SIZE + GAP),
                      row * (SIZE + GAP),
                      SIZE / 2),
        )
        bpy.context.object.name = "Block_%d_%d" % (row + 1, col + 1)

print("Objects in the scene:", len(bpy.data.objects))
Why precision is the bigger win
Speed is nice, but the real argument is accuracy. When you drag objects around a viewport, small errors creep in: one block is 2 mm off, one row is uneven, one part does not match the drawing. When the positions come from numbers, they are correct by construction, every time.
That matters in CAD-style work and in 3D printing, where a part that is slightly wrong is a print that fails. It also matters commercially: a parameterised scene can be rebuilt for the next client in seconds, and the result carries no trace of last week’s rush.
In the next lesson we open the Scripting workspace and see exactly where this code lives inside Blender.