
A model is either the right size or it is scrap. This is where automation earns its keep most visibly: when the drawing says 1200 mm, a script does not “get close”, it is exact.
Blender speaks metres
One Blender unit equals one metre. That is the single most useful thing to remember in this lesson, because drawings, print beds and machine tools usually speak millimeters. The clean habit is to convert once, at the top of the script, and then keep every number in metres.
dimensions_demo.py
# Sizes from a drawing, in millimeters, converted once
import bpy

for obj in list(bpy.data.objects):
    bpy.data.objects.remove(obj, do_unlink=True)

MM = 0.001          # one millimeter in Blender units (metres)

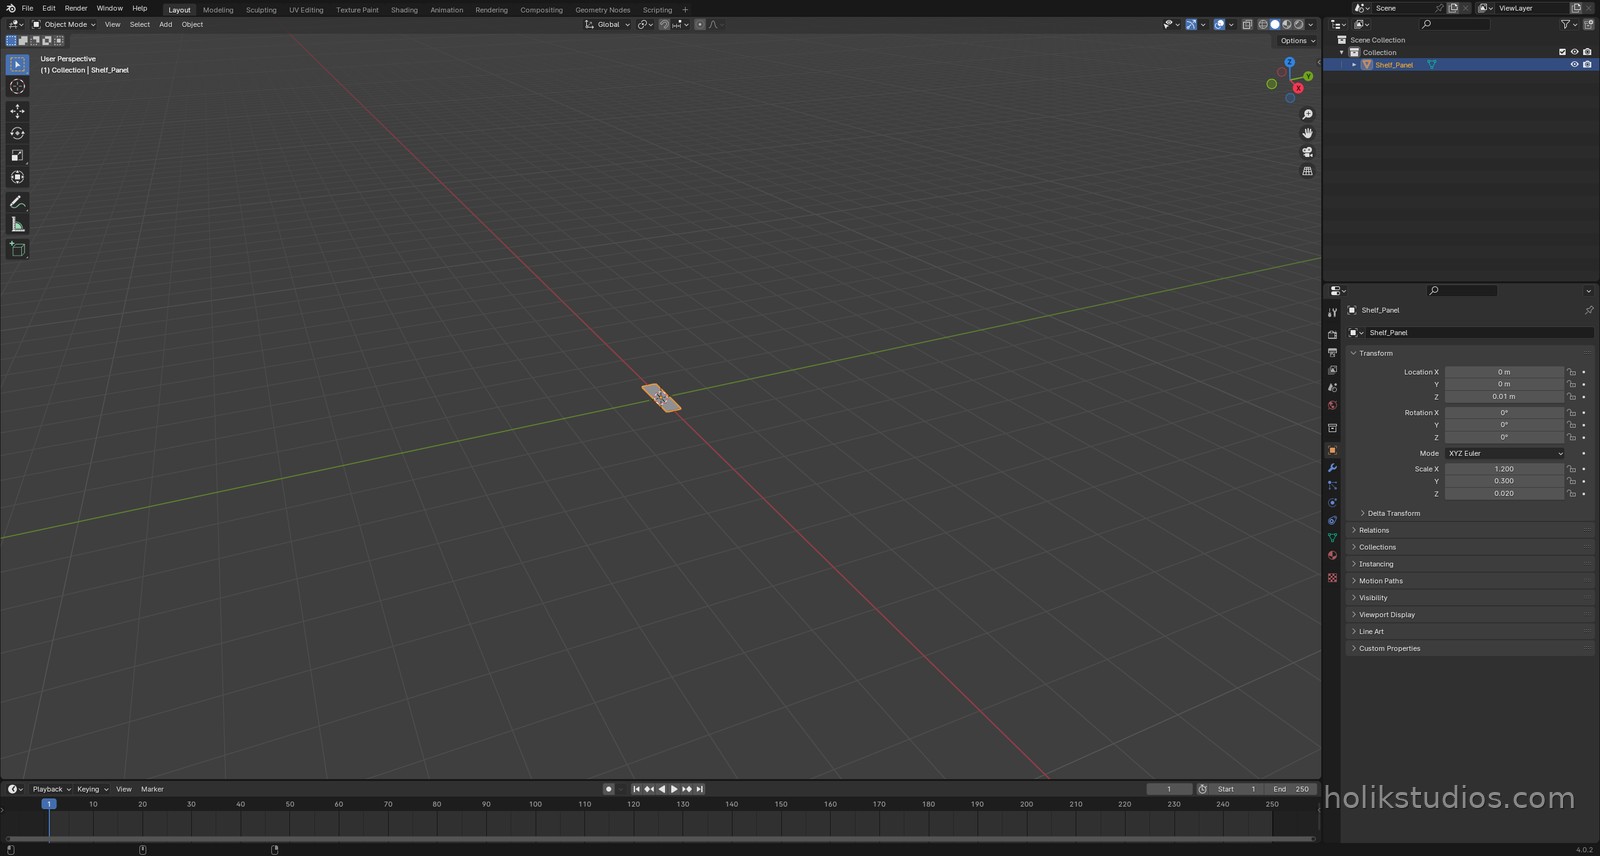
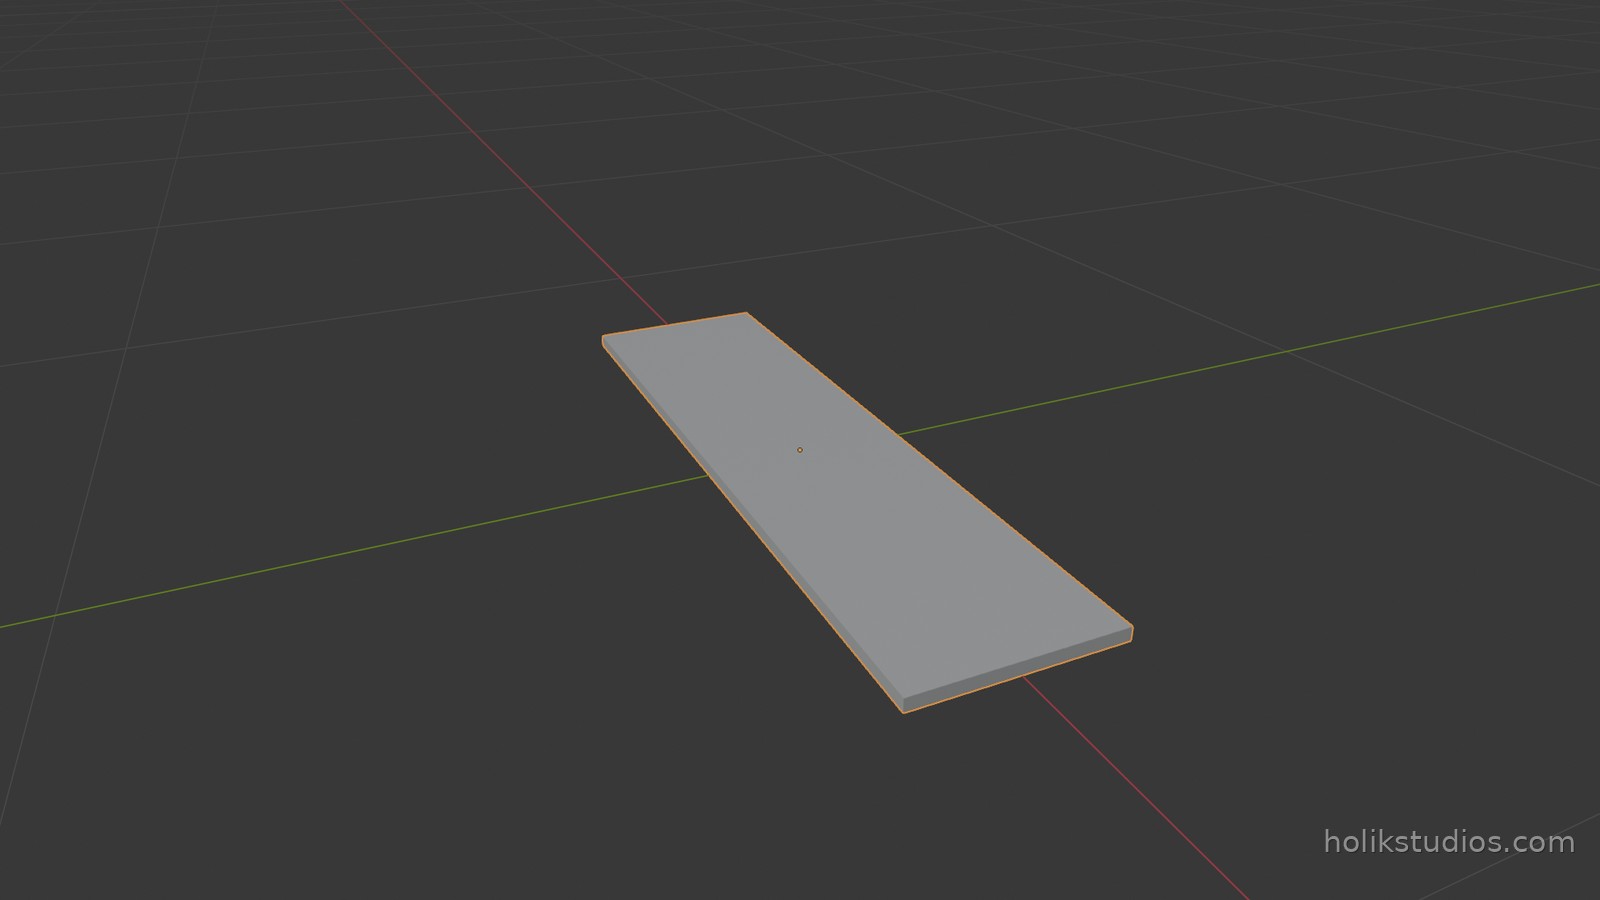
# a shelf panel straight from the drawing: 1200 x 300 x 20 mm
WIDTH, DEPTH, HEIGHT = 1200 * MM, 300 * MM, 20 * MM

bpy.ops.mesh.primitive_cube_add(size=1, location=(0, 0, HEIGHT / 2))
panel = bpy.context.object
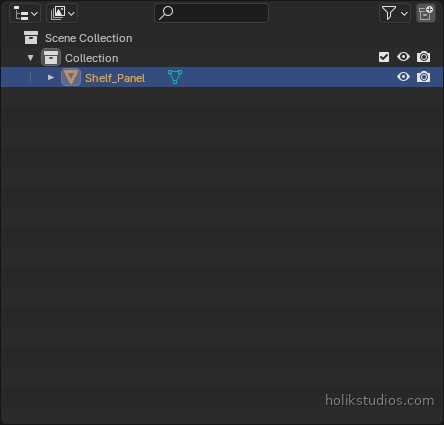
panel.name = "Shelf_Panel"

# set the real outer size, whatever the base cube was
panel.dimensions = (WIDTH, DEPTH, HEIGHT)

# read it back, in metres and in millimeters
print("m :", tuple(round(v, 3) for v in panel.dimensions))
print("mm:", tuple(round(v / MM) for v in panel.dimensions))
size, scale and dimensions are not the same thing
sizeis a parameter of the primitive call, the base size you start with.scaleis a multiplier on top of the base geometry. A cube with scale (2, 1, 1) is twice as long, but its mesh is still the original size, which surprises people at export time.dimensionsis the real bounding size of the object after scale. Setting it is the easiest way to say “I want this part to be exactly this big”.
For fabrication and printing, dimensions is usually what you want, because it matches how you think about a part. Behind the scenes Blender adjusts the scale for you.
Prefer to think in millimeters? Switch the scene
Converting millimeters to metres in your head works, but if your whole project lives in millimeters there is a cleaner option: tell Blender that one unit means one millimeter. Then the numbers you type in the interface are millimeters, the sidebar shows millimeters, and the grid can be set to 1 mm squares.
setup_for_3d_mm_scale.py
# setup_for_3d_mm_scale.py
# Blender setup for 3D printing and CAD work in millimeters.
# Run it once from the Scripting workspace (Alt+P), then save the file as your
# template scene, so every new project starts in millimeters.

import bpy

scene = bpy.context.scene

# ------------------------------------------------------------------ units --
# metric, shown in millimeters, and 1 Blender unit = 1 millimeter
scene.unit_settings.system = "METRIC"
scene.unit_settings.length_unit = "MILLIMETERS"
scene.unit_settings.scale_length = 0.001

# ------------------------------------------------------------------- grid --
# one grid square = 1 mm, floor visible so the Z = 0 plane is obvious
for window in bpy.context.window_manager.windows:
    for area in window.screen.areas:
        if area.type != "VIEW_3D":
            continue

        for space in area.spaces:
            if space.type != "VIEW_3D":
                continue

            space.overlay.grid_scale = 0.001
            space.overlay.show_floor = True

            # optional: a clip range that suits small parts (0.1 mm to 10 m)
            space.clip_start = 0.1
            space.clip_end = 10000.0

print("Millimeter setup applied: %s, unit scale %.4f"
      % (scene.unit_settings.length_unit, scene.unit_settings.scale_length))
There is also a dedicated guide with the full walkthrough, a setup checklist and the FAQ: Setting Up Blender in Millimeter Scale.
unit_settings.system = "METRIC", the measurement system.unit_settings.length_unit = "MILLIMETERS", what the interface displays.unit_settings.scale_length = 0.001, the important one: one unit now represents 1 mm.overlay.grid_scale = 0.001, so one grid square is 1 mm instead of 1 m.- The loop walks every 3D viewport, which is why it works no matter how your workspace is arranged.
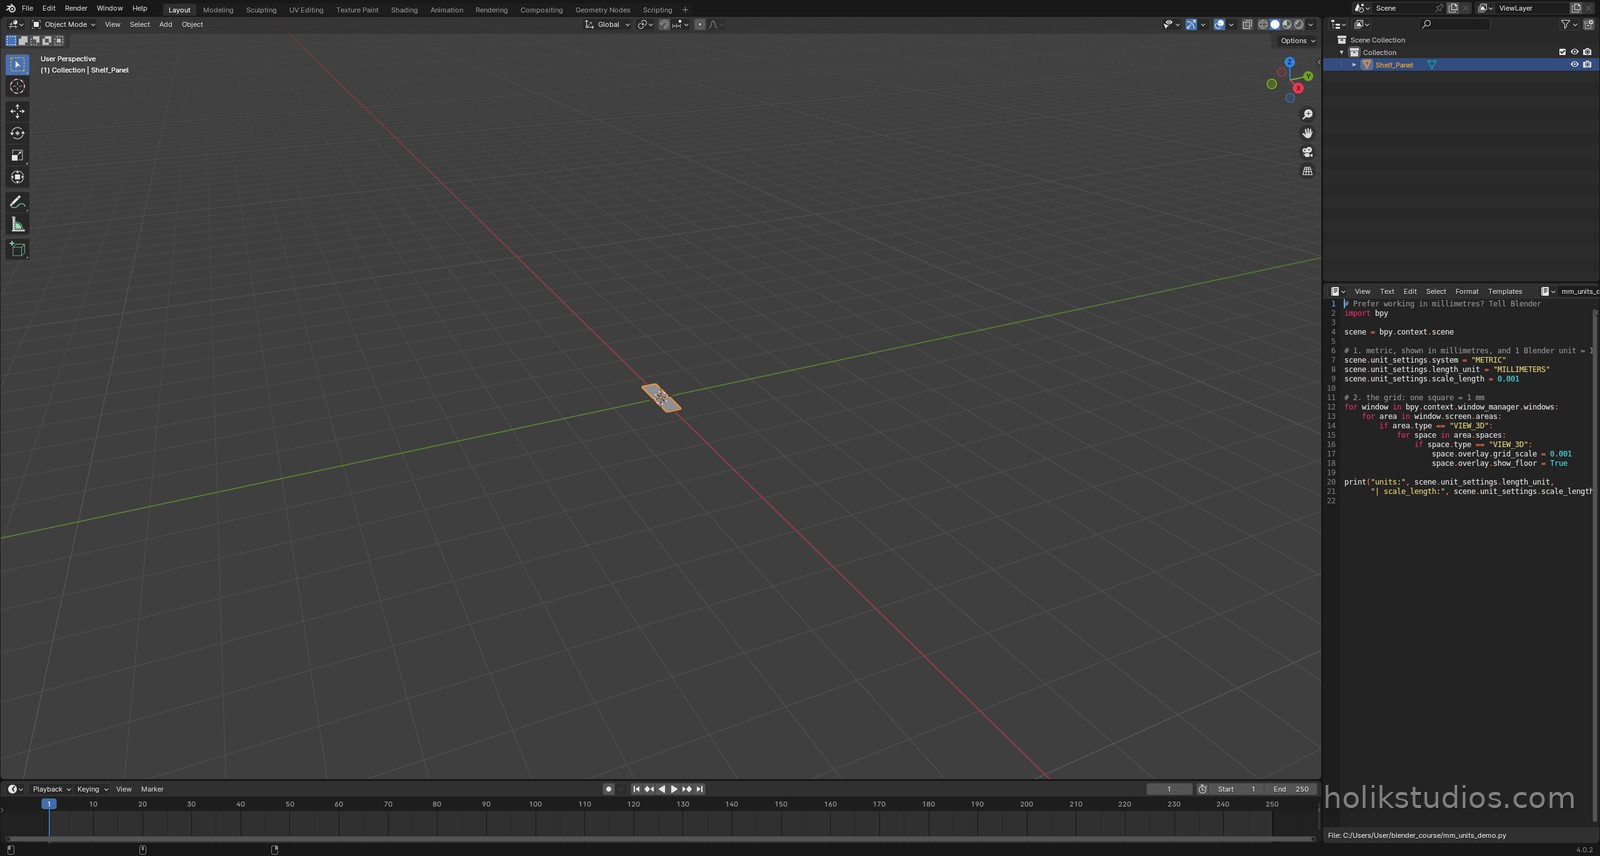
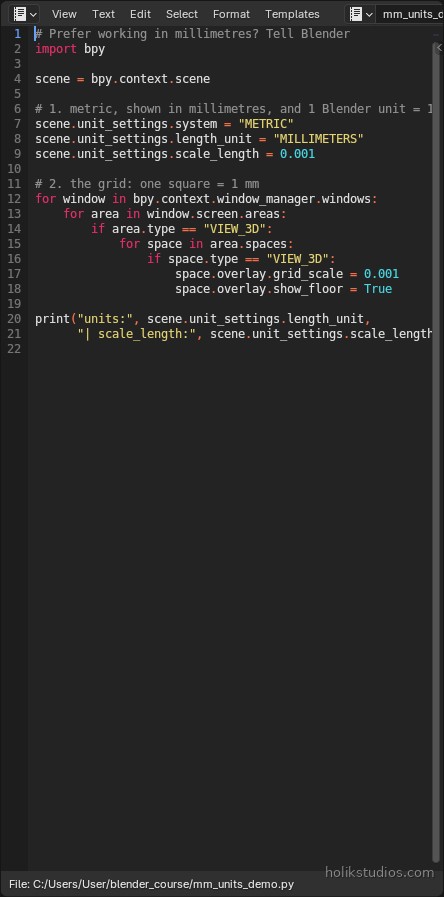
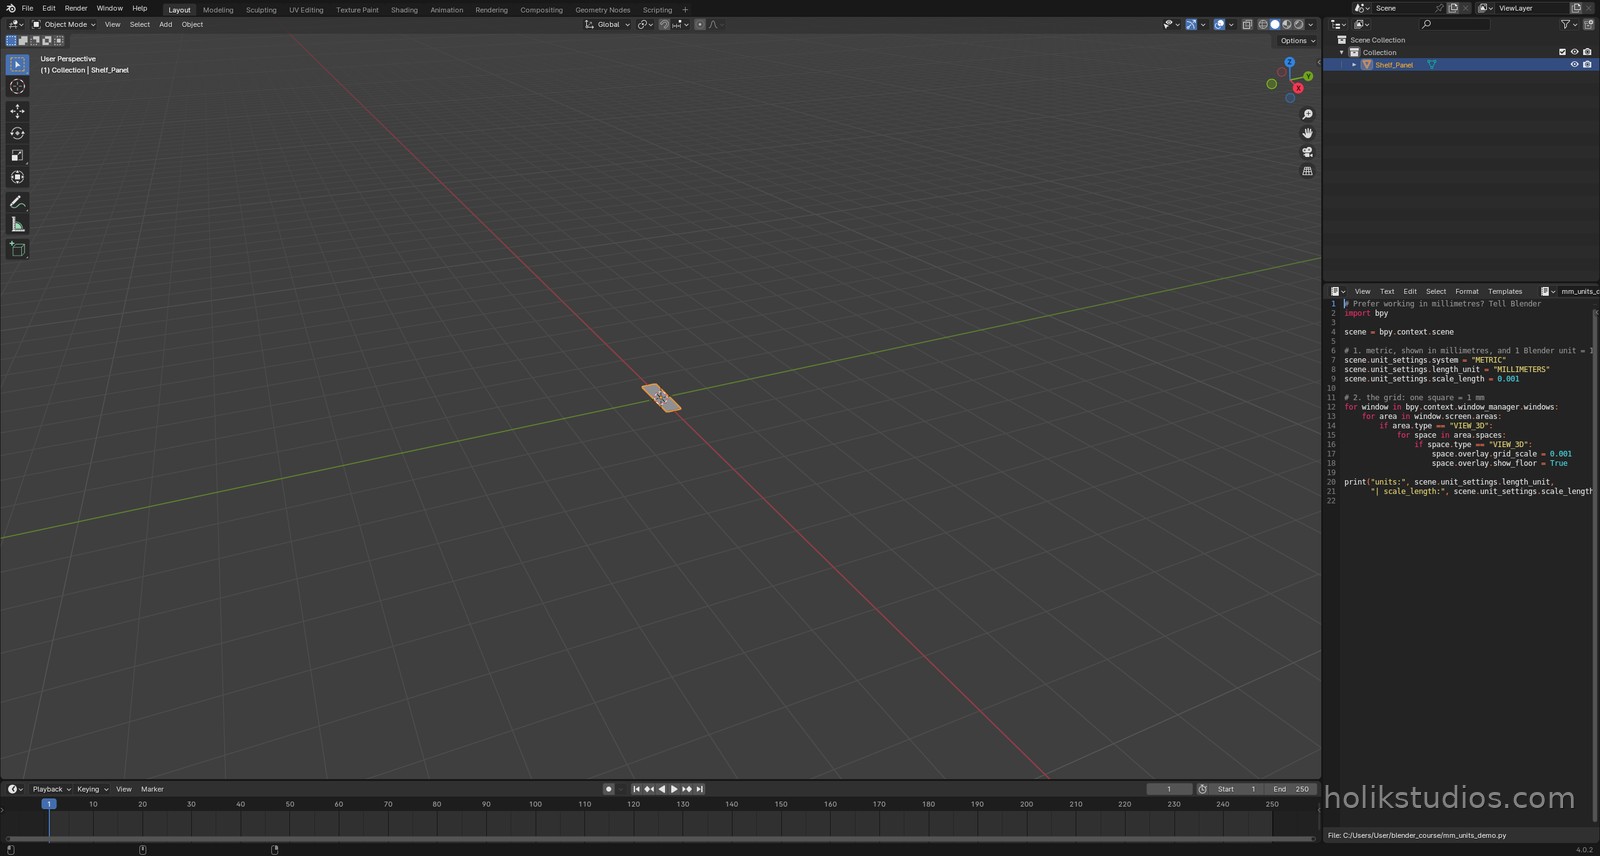
What the millimeter switch really changes
Here is the part almost everybody gets wrong, including the first draft of this lesson. Unit scale does not change the numbers your script writes. The Python API always counts raw Blender units: size=0.02 is 0.02 of a unit, whatever the unit settings say. What changes is what one unit means.
length_unit = "MILLIMETERS"only changes the labels: metre values get displayed in millimeters (0.5 shows as 500 mm).scale_length = 0.001redefines the unit itself: one unit now means one millimeter.- With 0.001 you write millimeter numbers in your scripts too:
size=20is a 20 mm cube, and the sidebar reads 20 mm. - With the default
scale_length = 1.0(metres) you write metre numbers,size=0.02, and convert from millimeter drawings with aMM = 0.001constant.
Two schools, one difference: they put the conversion in different places. For printing there is one rule worth framing: a slicer reads the numbers in an STL as millimeters. A part that is 20 units becomes a 20 mm part in the slicer. That is exactly why the millimeter setup is the comfortable one for 3D printing and CAD work, and why you must not mix the two within one project: 0.02 in a millimeter scene is a 0.02 mm part, and it comes off the printer a thousand times too small.
Pick one convention, write it into your template scene, and stay consistent. The guide Setting Up Blender in Millimeter Scale covers the printing side in more detail.
Business case: from spreadsheet to scene
Give a script a list of parts with millimeter dimensions and it builds every one of them at exactly the right size, in the right place, in seconds. No scaling by eye, no 3 mm surprises at the printer, no rework because someone rounded a number in their head.
Next: transforms. Position, rotation and scale, applied to a whole row of objects from one loop.