
Set up Blender to work in millimeter scale and everything you model reads in millimeters: metric units, one Blender unit equal to one millimeter, and a grid with 1 mm squares. It takes four lines and it is the setup most people use for 3D printing and CAD automation.
How to set up Blender to work in millimeter scale
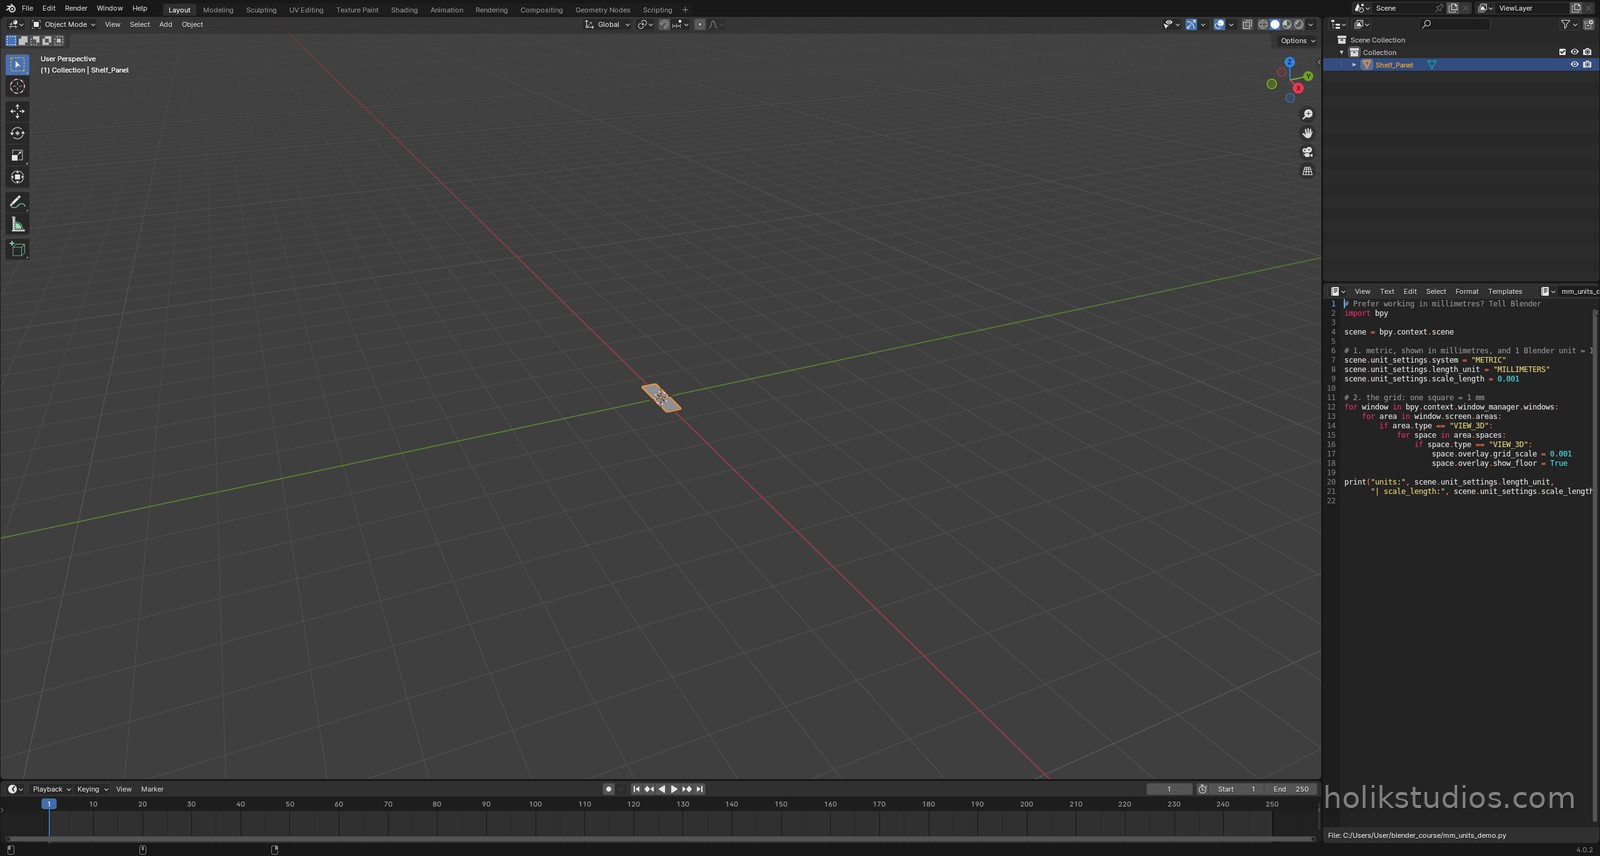
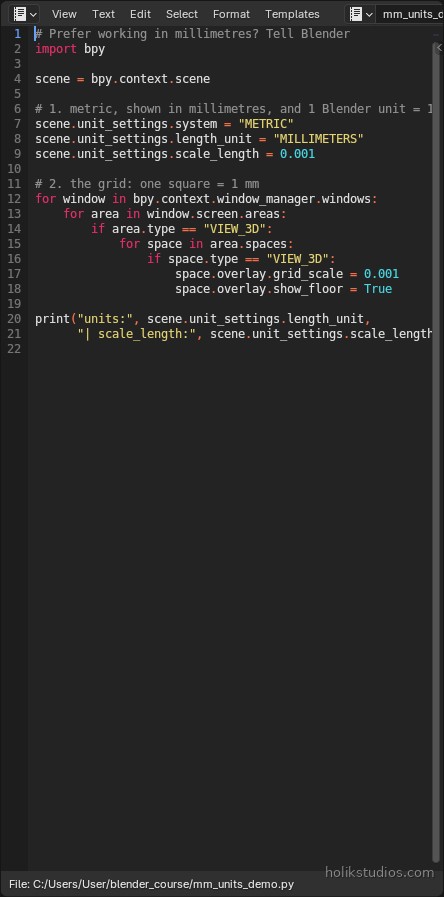
You change two things: the scene units and the viewport grid. It is four settings, and there is a complete, ready-to-run script at the end of this guide: setup_for_3d_mm_scale.py. Run it once in the Scripting workspace, then save the file as your template scene.
The short version: metric system, length unit in millimeters, unit scale 0.001 so that one Blender unit means one millimeter, and a grid whose squares are 1 mm.
What each line does
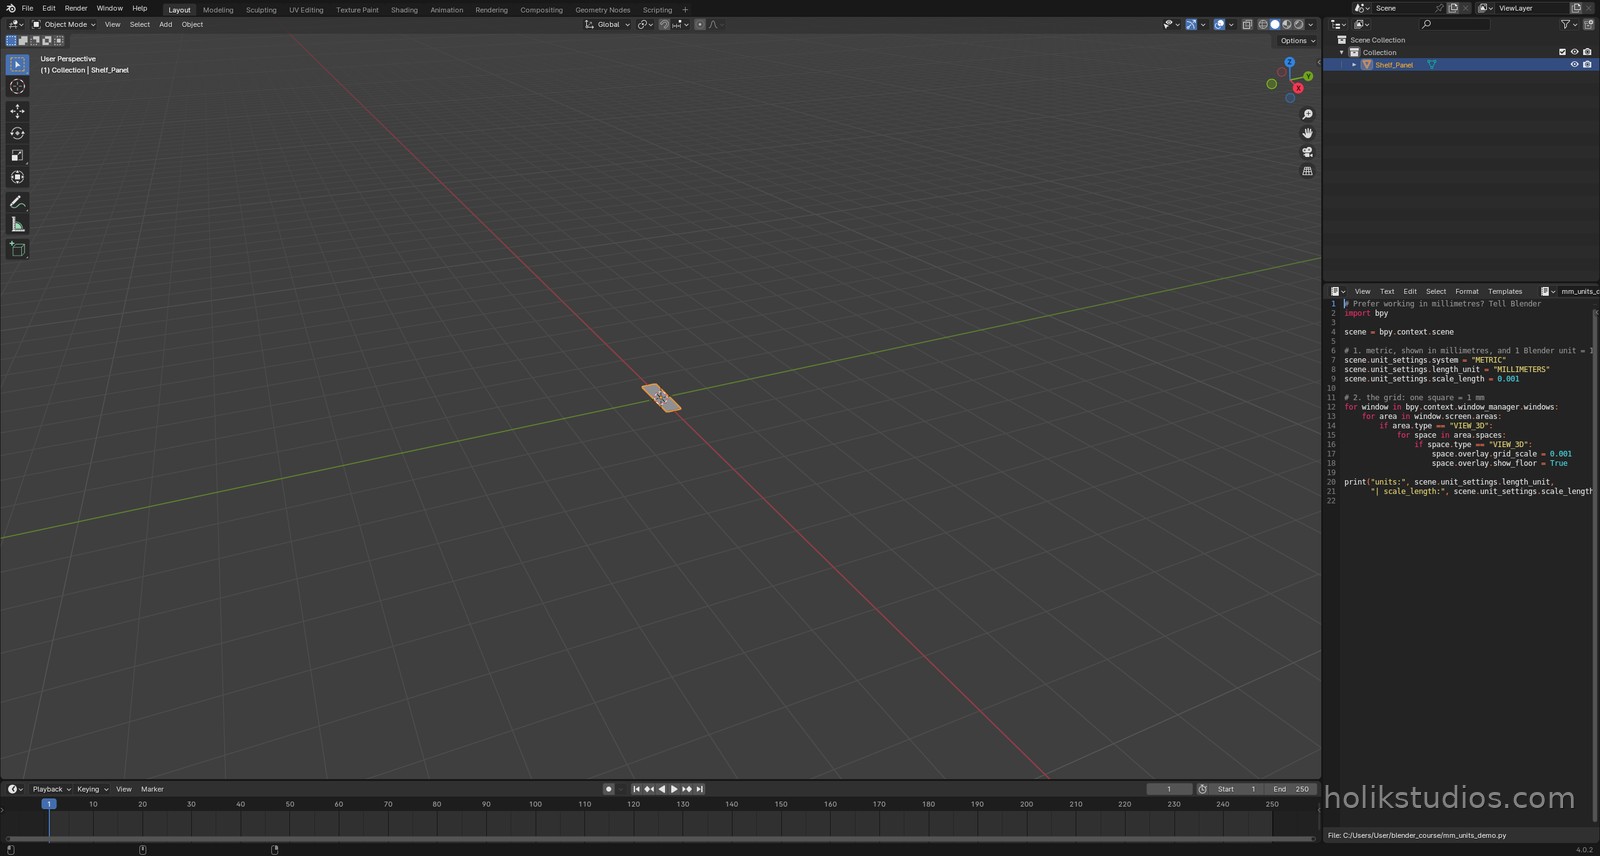
unit_settings.system = "METRIC"picks the measurement system.unit_settings.length_unit = "MILLIMETERS"sets what the interface displays: millimeters instead of metres.unit_settings.scale_length = 0.001is the real switch: one Blender unit now represents one millimeter.overlay.grid_scale = 0.001redraws the grid so one square is 1 mm.- The loop walks every 3D viewport in the file, so it works whatever your workspace looks like.
Why millimeters suit 3D printing and CAD automation
- Print beds and slicers are quoted in millimeters, so your model and your machine speak the same language.
- Technical drawings and CAD parts arrive in millimeters. A 0.2 mm difference can decide whether a part fits, so rounding at the wrong moment is expensive.
- Small parts stay readable: 12.5 instead of 0.0125, which makes typos less likely in a long list of dimensions.
- Automated part sets, plates and variants are built from numbers. Keeping those numbers in the same unit as the drawing removes a whole class of mistakes.
Scripts in a millimeter project
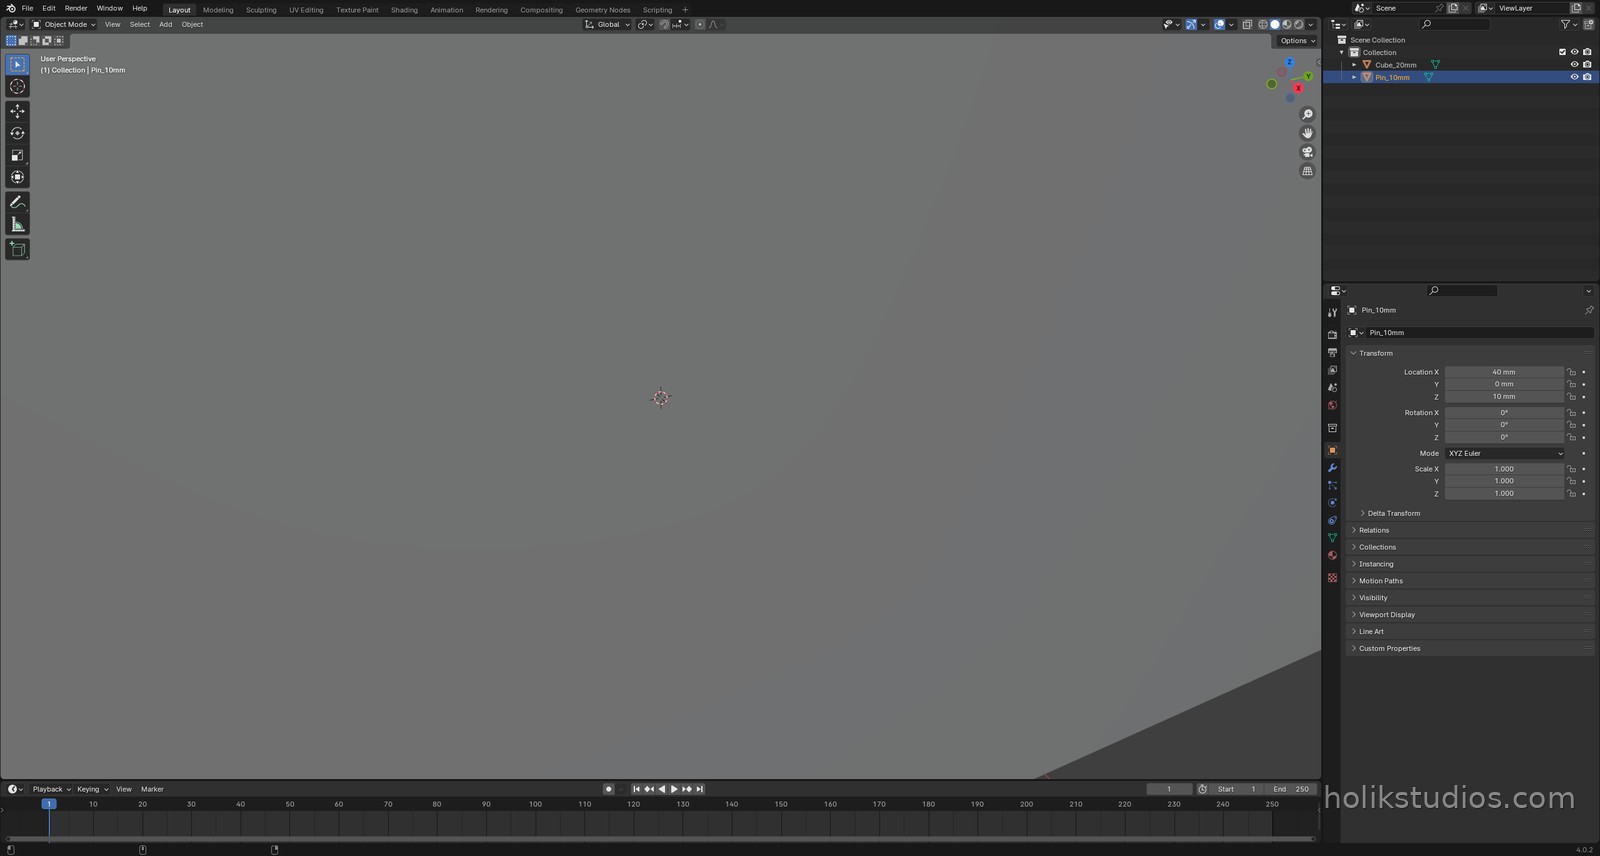
This is the point that surprises people, so it is worth being precise. The Python API always counts raw Blender units: numbers you pass and numbers you read are the file’s numbers. What unit scale changes is what one unit means. Set scale_length = 0.001 and one unit means one millimeter, so you write size=20 for a 20 mm cube, exactly as you would write dimensions from a drawing.
mm_part_demo.py
# In a millimeter scene the script speaks millimeters too
import bpy

for obj in list(bpy.data.objects):
    bpy.data.objects.remove(obj, do_unlink=True)

# 1 Blender unit = 1 mm here, so 20 really means 20 mm
bpy.ops.mesh.primitive_cube_add(size=20, location=(0, 0, 10))
bpy.context.object.name = "Cube_20mm"

bpy.ops.mesh.primitive_cylinder_add(radius=5, depth=20, location=(40, 0, 10))
bpy.context.object.name = "Pin_10mm"

for obj in bpy.data.objects:
    print("%-10s %s (millimeters in this scene)" % (obj.name,
          tuple(round(v, 1) for v in obj.dimensions)))
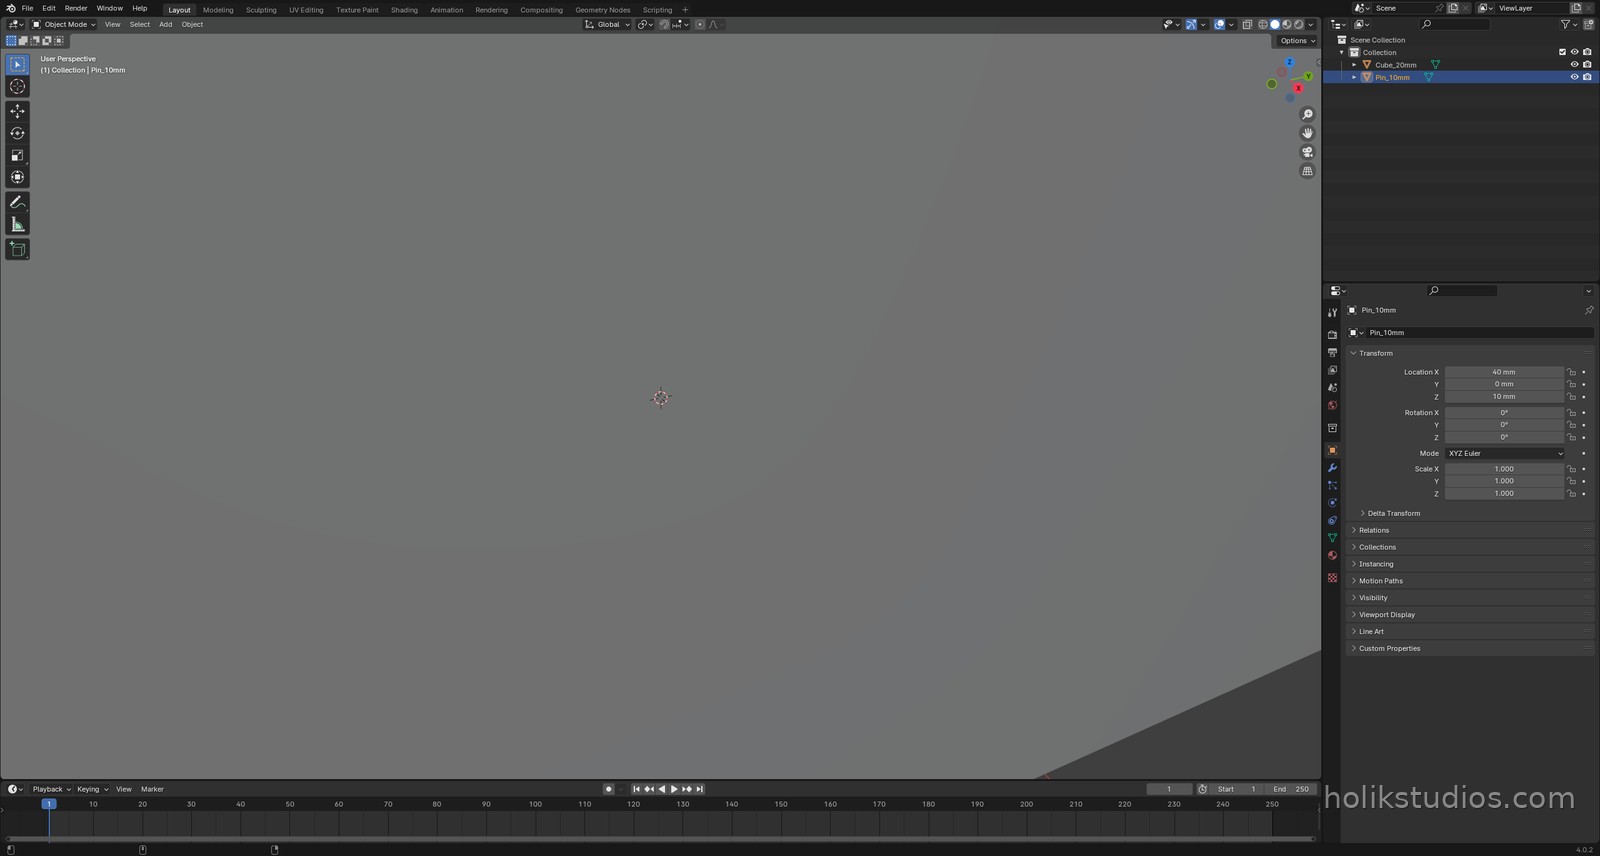
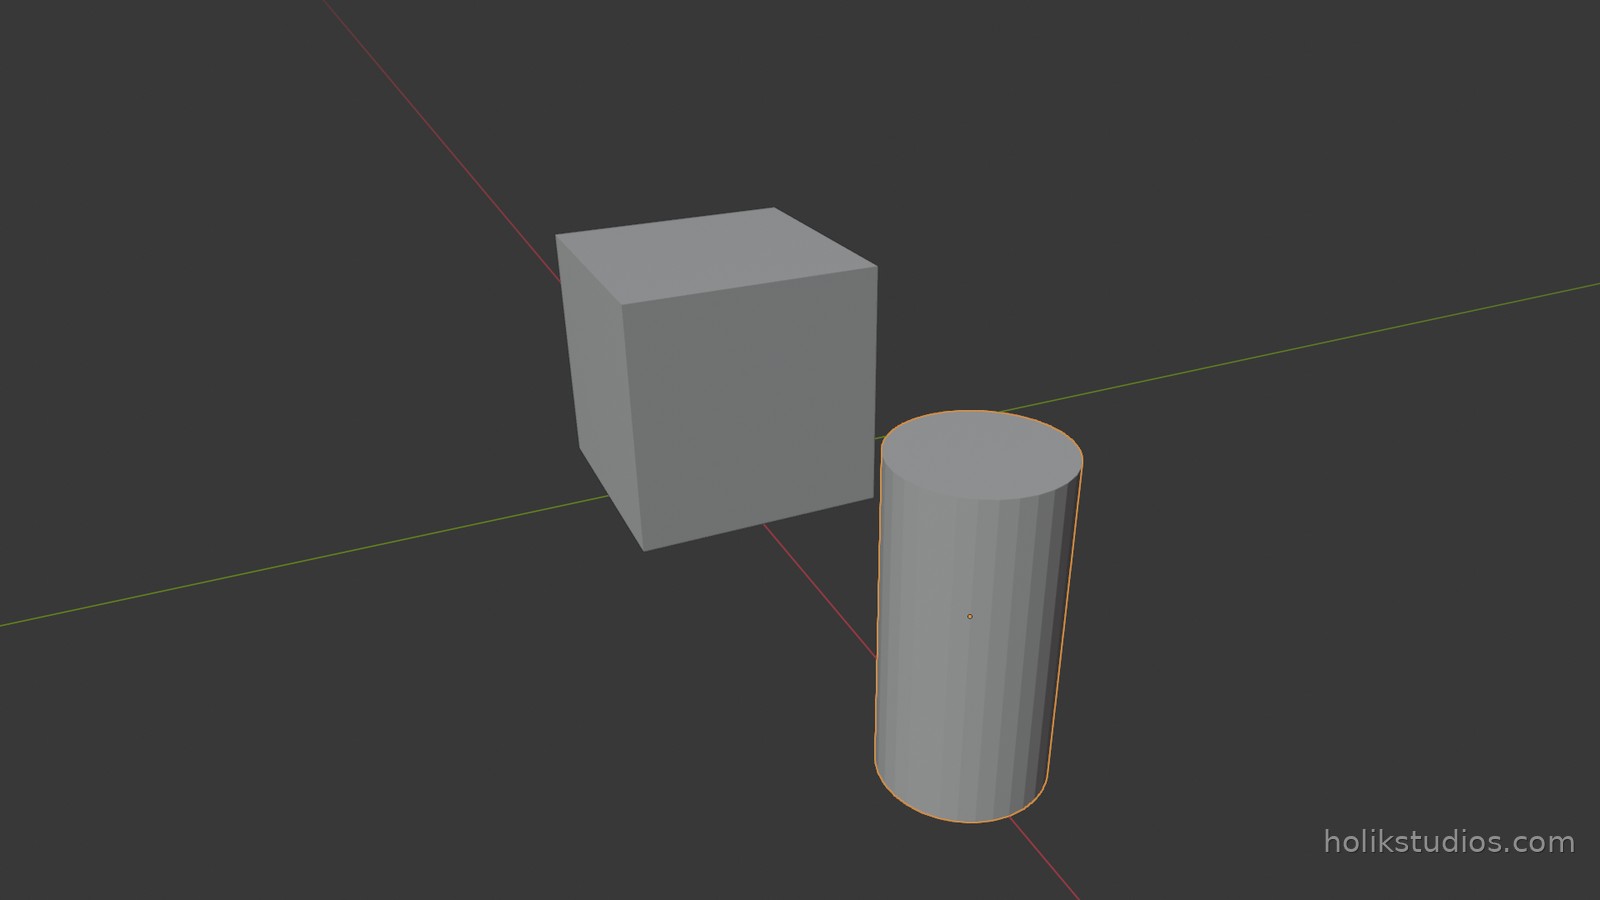
Why this is the right route for printing: a slicer reads the numbers in an STL as millimeters. A 20-unit part arrives as a 20 mm part. If you keep Blender in its default metres while your drawing is in millimeters, you must convert inside the script (MM = 0.001) or export with a 1000x scale, or your part arrives a thousand times too small. Both conventions work; mixing them in one project does not.
Check your setup in ten seconds
- Properties, Scene, Units: Metric, Unit Scale 0.001, Length Millimeters.
- Viewport: grid squares are 1 mm, and the floor is visible.
- Add a cube with size 20 and watch the sidebar show 20 mm, not 20 m.
- Save the file as your template, so new projects start correct.
Frequently asked questions
Does changing the unit scale change my model?
No. It changes how sizes are displayed and interpreted in the interface. The geometry stays the same.
Do I have to change the grid too?
No, but it helps. A 1 mm grid makes small parts readable in the viewport and stops you from placing things 1000 times too far apart.
What about scripts I already wrote?
Check what they assume. Scripts that were written for a metre scene and pass metre values (0.02 for a 20 mm part) would need those numbers multiplied by 1000 once the scene is in millimeters, or the parts jump to a thousandth of the size. Same numbers, different meaning.
Is millimeters better than metres for large scenes?
For furniture, buildings or terrain, metres are easier. Millimeters shine for parts, mechanisms and anything that has to fit a printer or a machine.
The whole setup in one file
Here is the complete setup as one clean file. Save it as setup_for_3d_mm_scale.py next to your other scripts, or paste it into a text block in your template .blend, and run it once per project.
setup_for_3d_mm_scale.py
# setup_for_3d_mm_scale.py
# Blender setup for 3D printing and CAD work in millimeters.
# Run it once from the Scripting workspace (Alt+P), then save the file as your
# template scene, so every new project starts in millimeters.

import bpy

scene = bpy.context.scene

# ------------------------------------------------------------------ units --
# metric, shown in millimeters, and 1 Blender unit = 1 millimeter
scene.unit_settings.system = "METRIC"
scene.unit_settings.length_unit = "MILLIMETERS"
scene.unit_settings.scale_length = 0.001

# ------------------------------------------------------------------- grid --
# one grid square = 1 mm, floor visible so the Z = 0 plane is obvious
for window in bpy.context.window_manager.windows:
    for area in window.screen.areas:
        if area.type != "VIEW_3D":
            continue

        for space in area.spaces:
            if space.type != "VIEW_3D":
                continue

            space.overlay.grid_scale = 0.001
            space.overlay.show_floor = True

            # optional: a clip range that suits small parts (0.1 mm to 10 m)
            space.clip_start = 0.1
            space.clip_end = 10000.0

print("Millimeter setup applied: %s, unit scale %.4f"
      % (scene.unit_settings.length_unit, scene.unit_settings.scale_length))
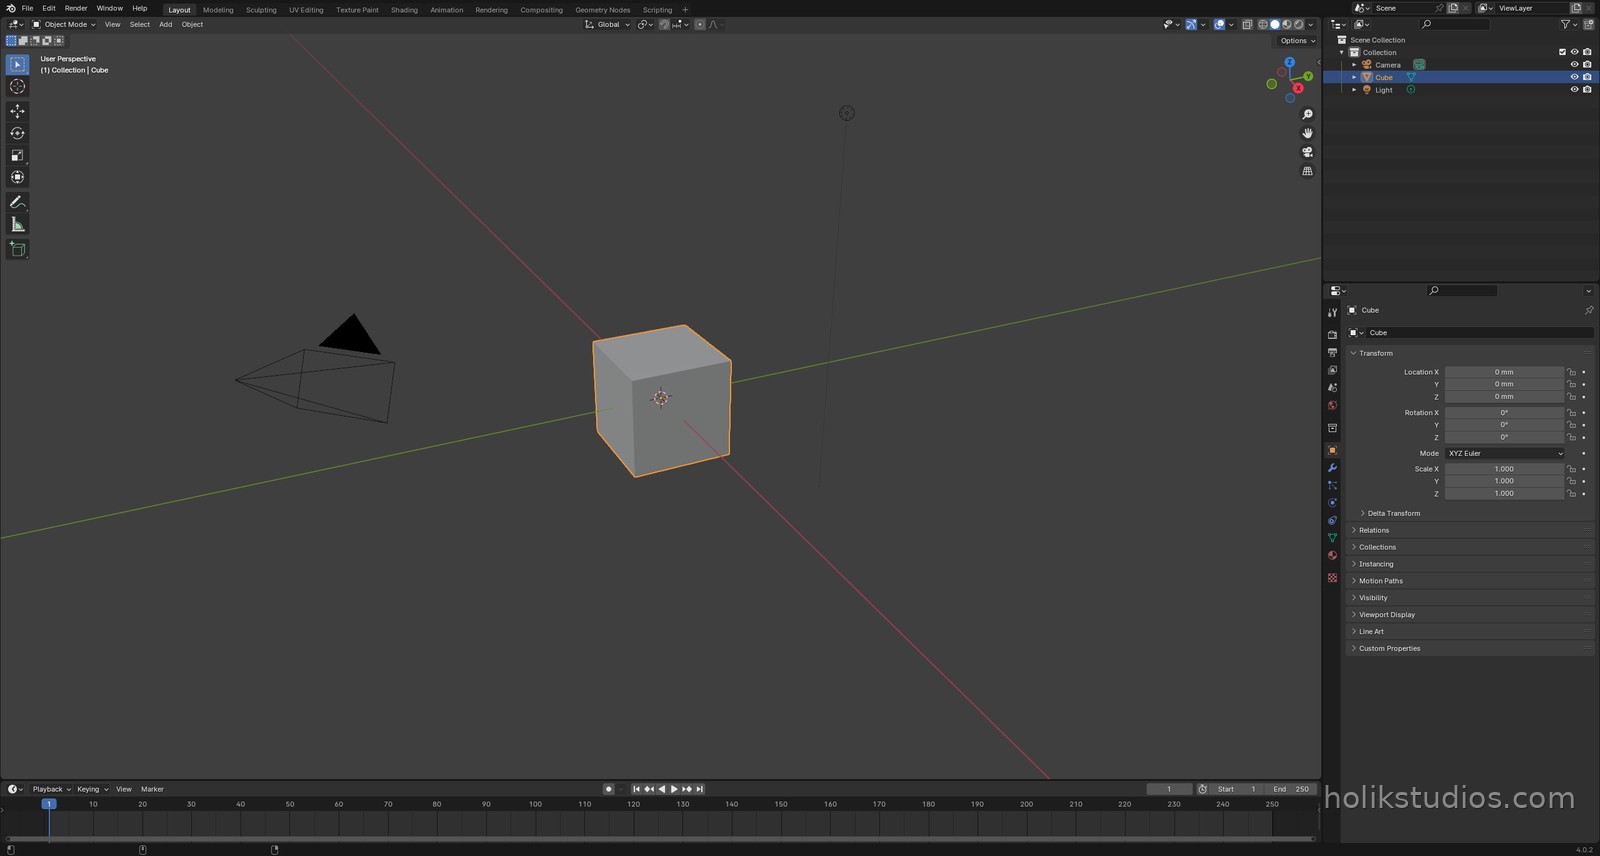
About that optional block: the clip range sets how close and how far the viewport can see (0.1 mm to 10 m here). It is not part of the unit system, but with tiny parts and a millimeter grid it keeps the view usable, so it is worth keeping in the same file.