
Rows and columns gave us a square. A circle needs a different idea: instead of a row number, we use an angle. Everything else stays the same: a loop, a formula, a name, and Blender places the part.
One angle per object
A full turn is math.tau radians, which is the same as 360 degrees. Divide it by the number of parts and you get the step between them: for twelve studs that is 30 degrees, or math.tau / 12. Then cos and sin turn that angle into X and Y, multiplied by the radius of the circle.
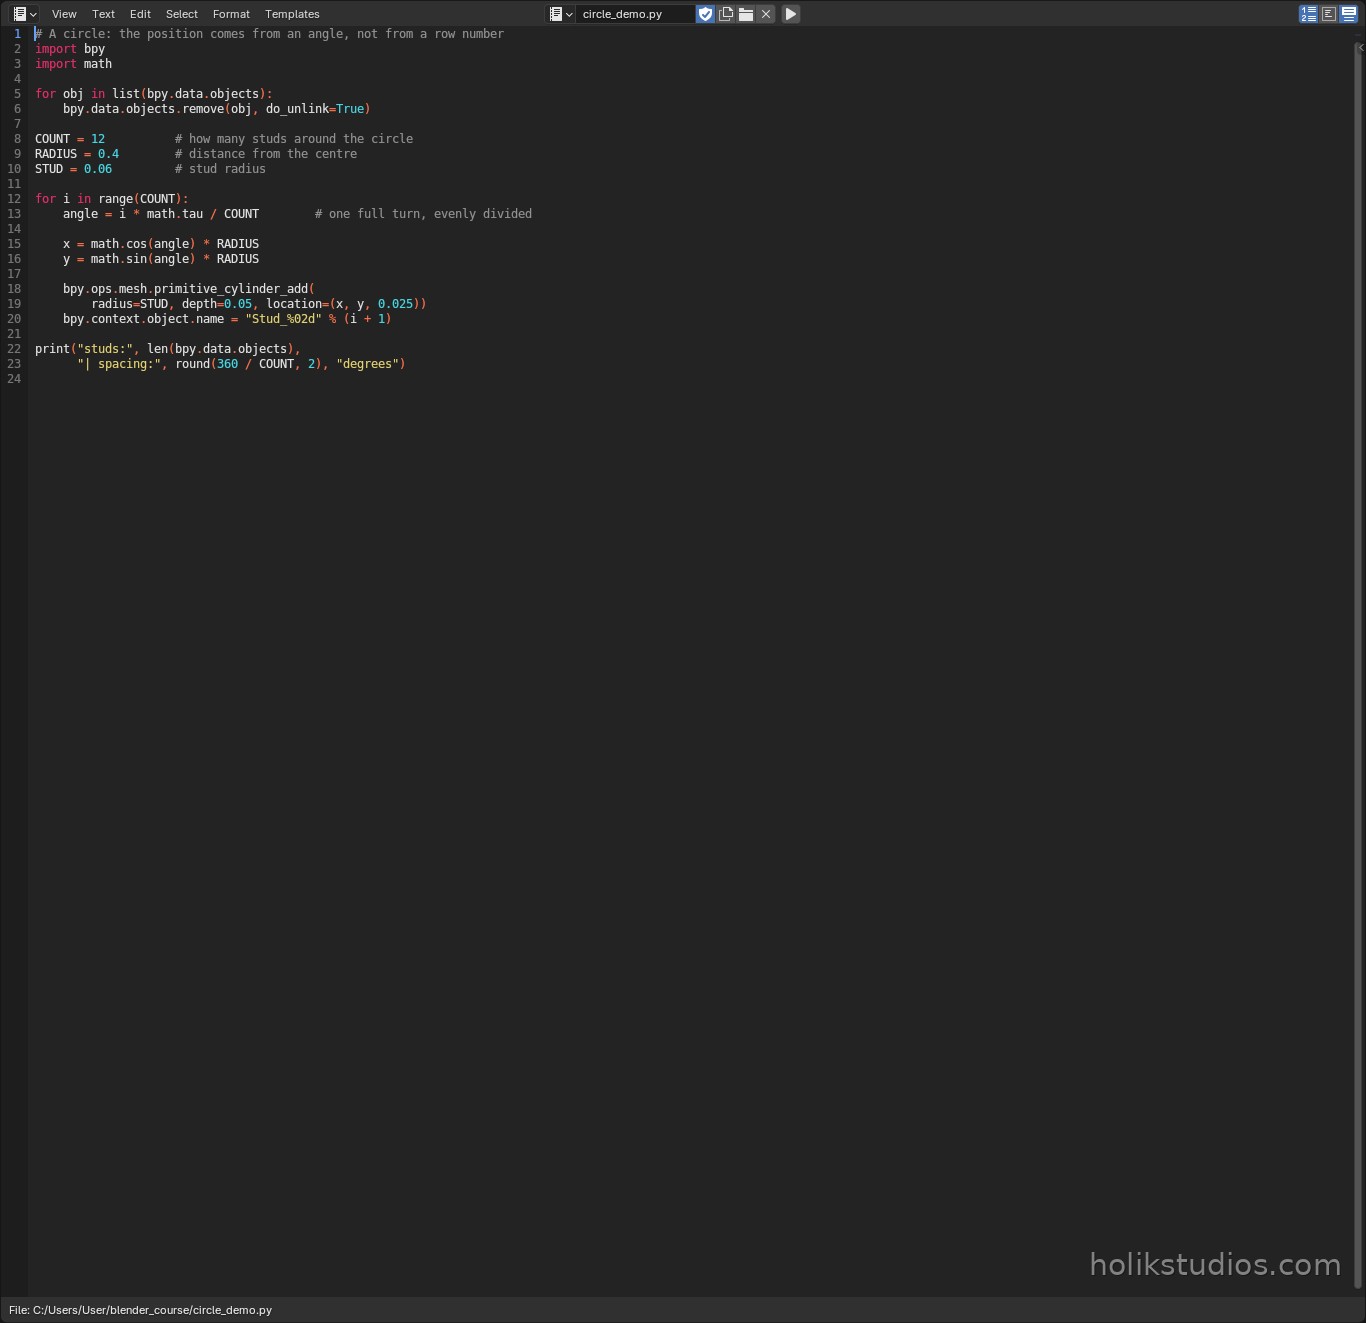
circle_demo.py
# A circle: the position comes from an angle, not from a row number
import bpy
import math

for obj in list(bpy.data.objects):
    bpy.data.objects.remove(obj, do_unlink=True)

COUNT = 12          # how many studs around the circle
RADIUS = 0.4        # distance from the centre
STUD = 0.06         # stud radius

for i in range(COUNT):
    angle = i * math.tau / COUNT        # one full turn, evenly divided

    x = math.cos(angle) * RADIUS
    y = math.sin(angle) * RADIUS

    bpy.ops.mesh.primitive_cylinder_add(
        radius=STUD, depth=0.05, location=(x, y, 0.025))
    bpy.context.object.name = "Stud_%02d" % (i + 1)

print("studs:", len(bpy.data.objects),
      "| spacing:", round(360 / COUNT, 2), "degrees")
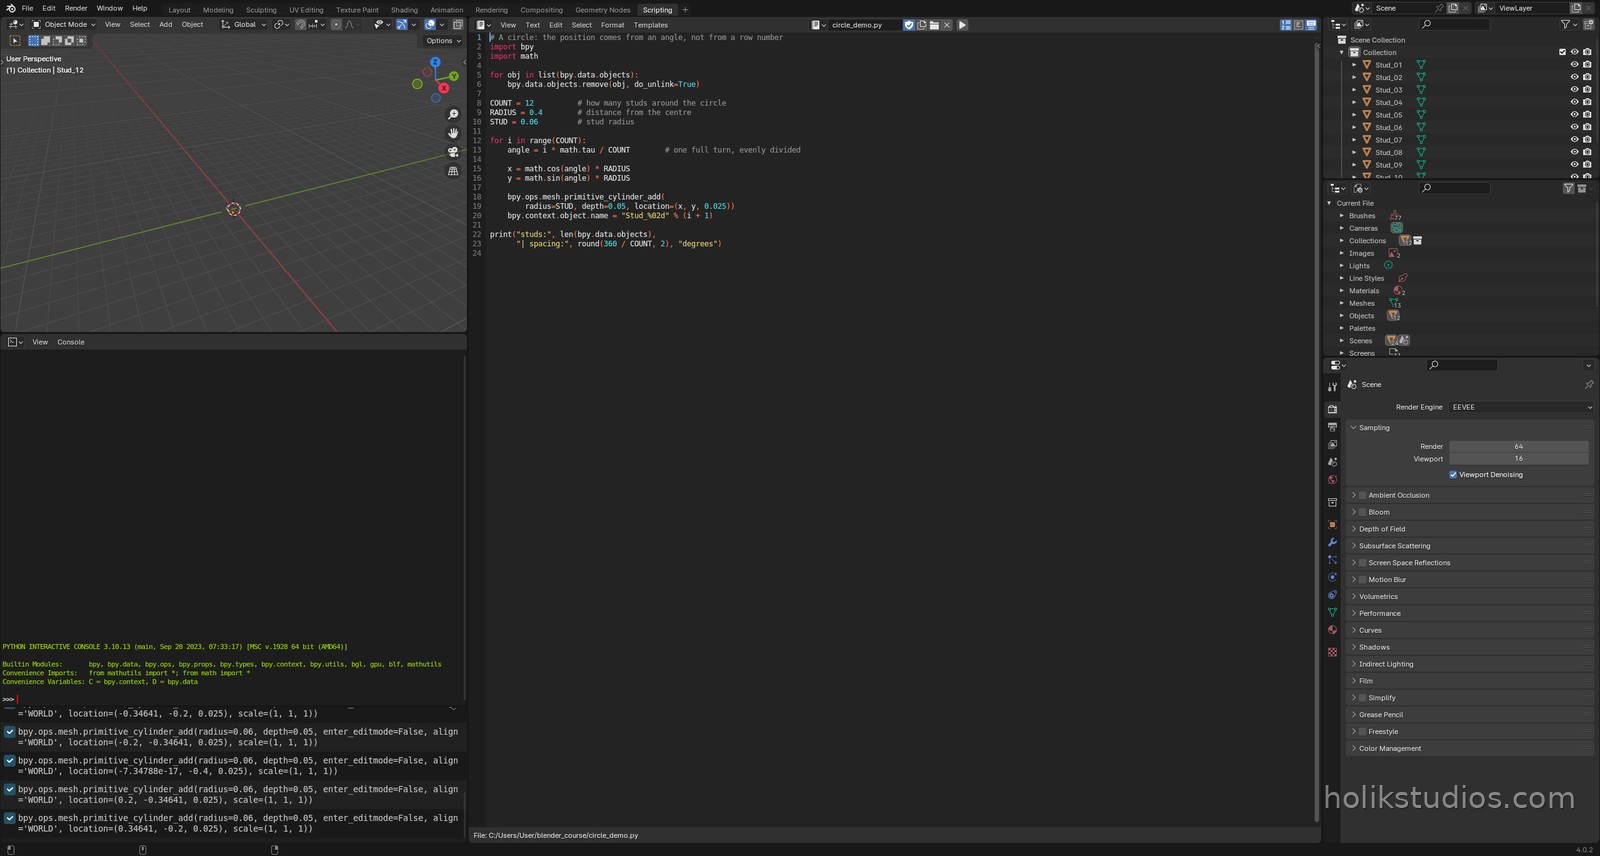
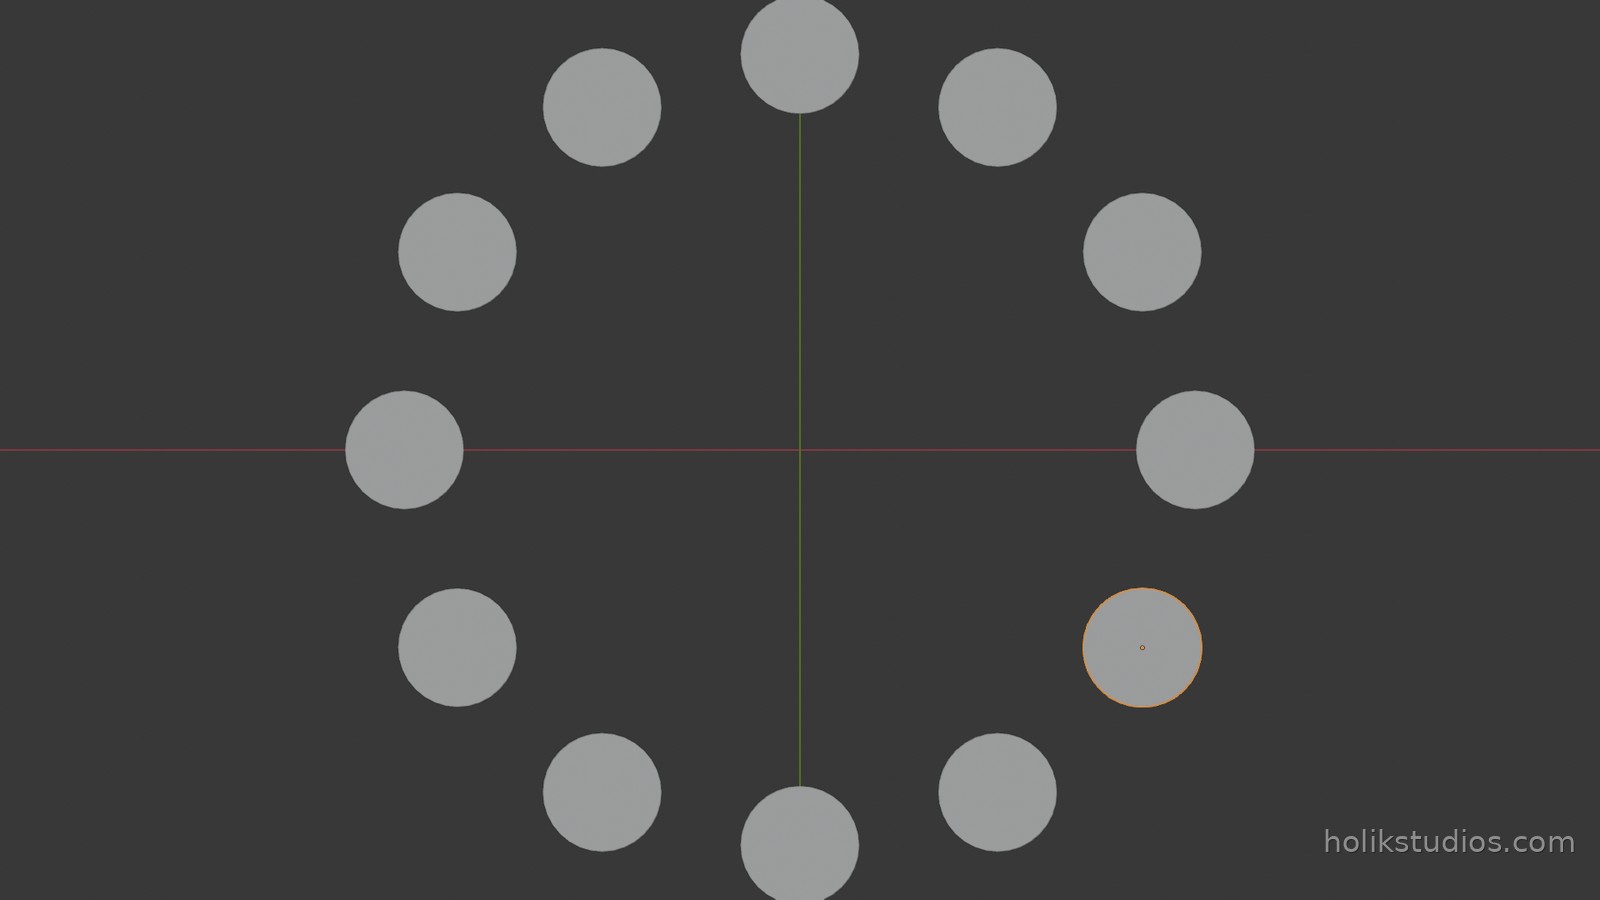
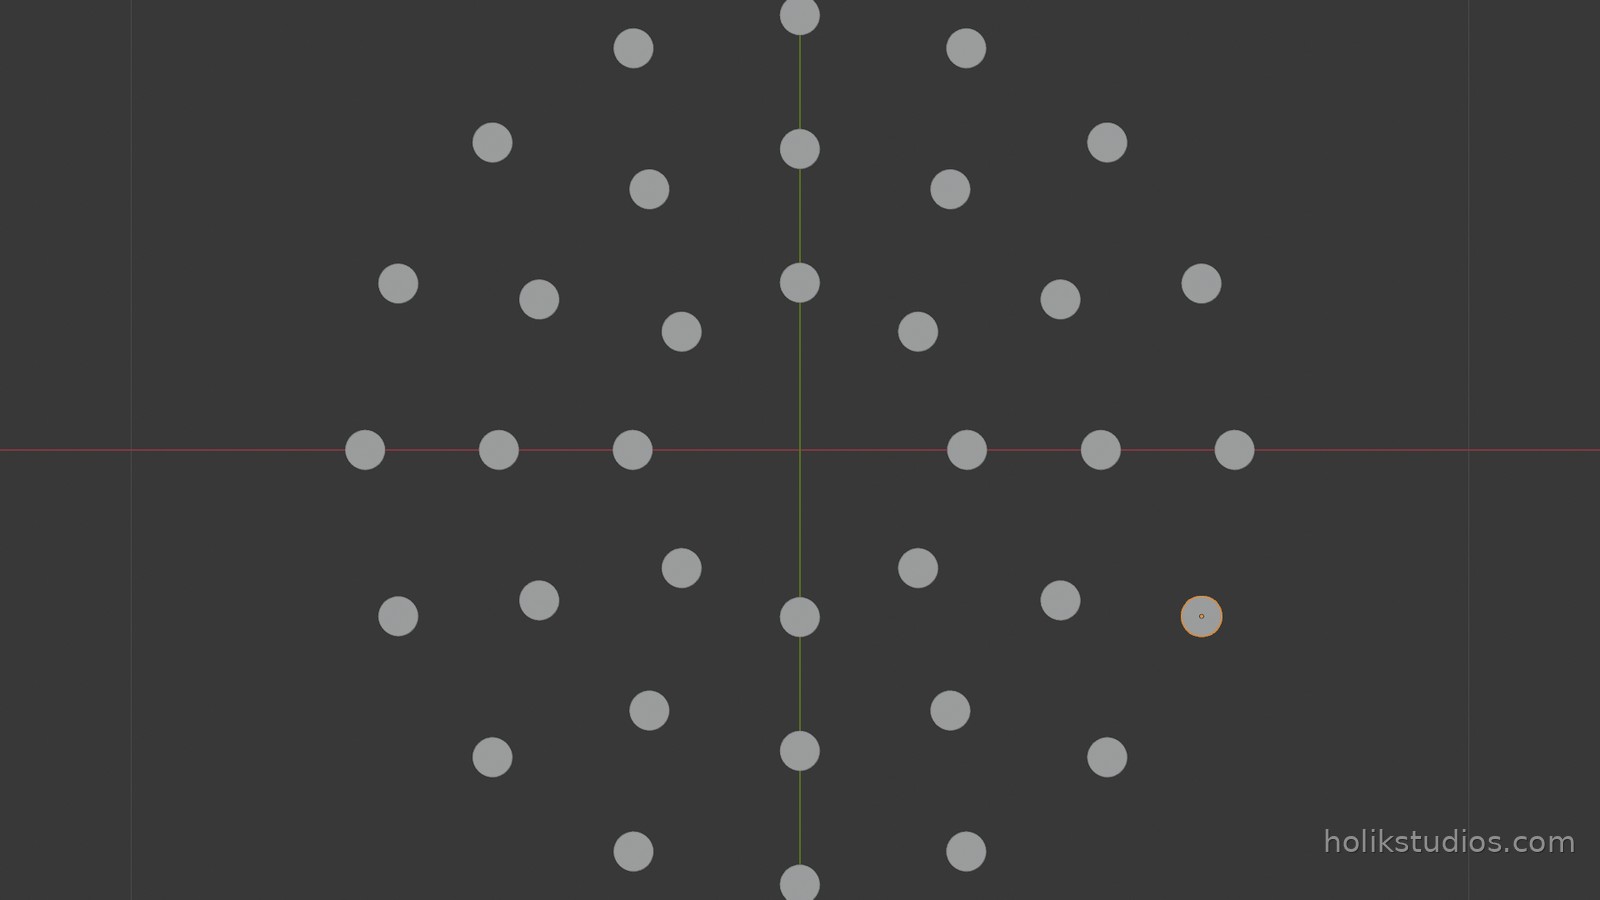
Look at it from above to check the work: press Numpad 7 for the top view and Numpad 5 for an orthographic (flattened) projection. From the top you can see immediately whether the ring is even, and the flat projection proves the spacing is exact rather than almost right. That habit, checking a pattern in plan view, is worth keeping for every circular layout you build.
Two numbers per ring
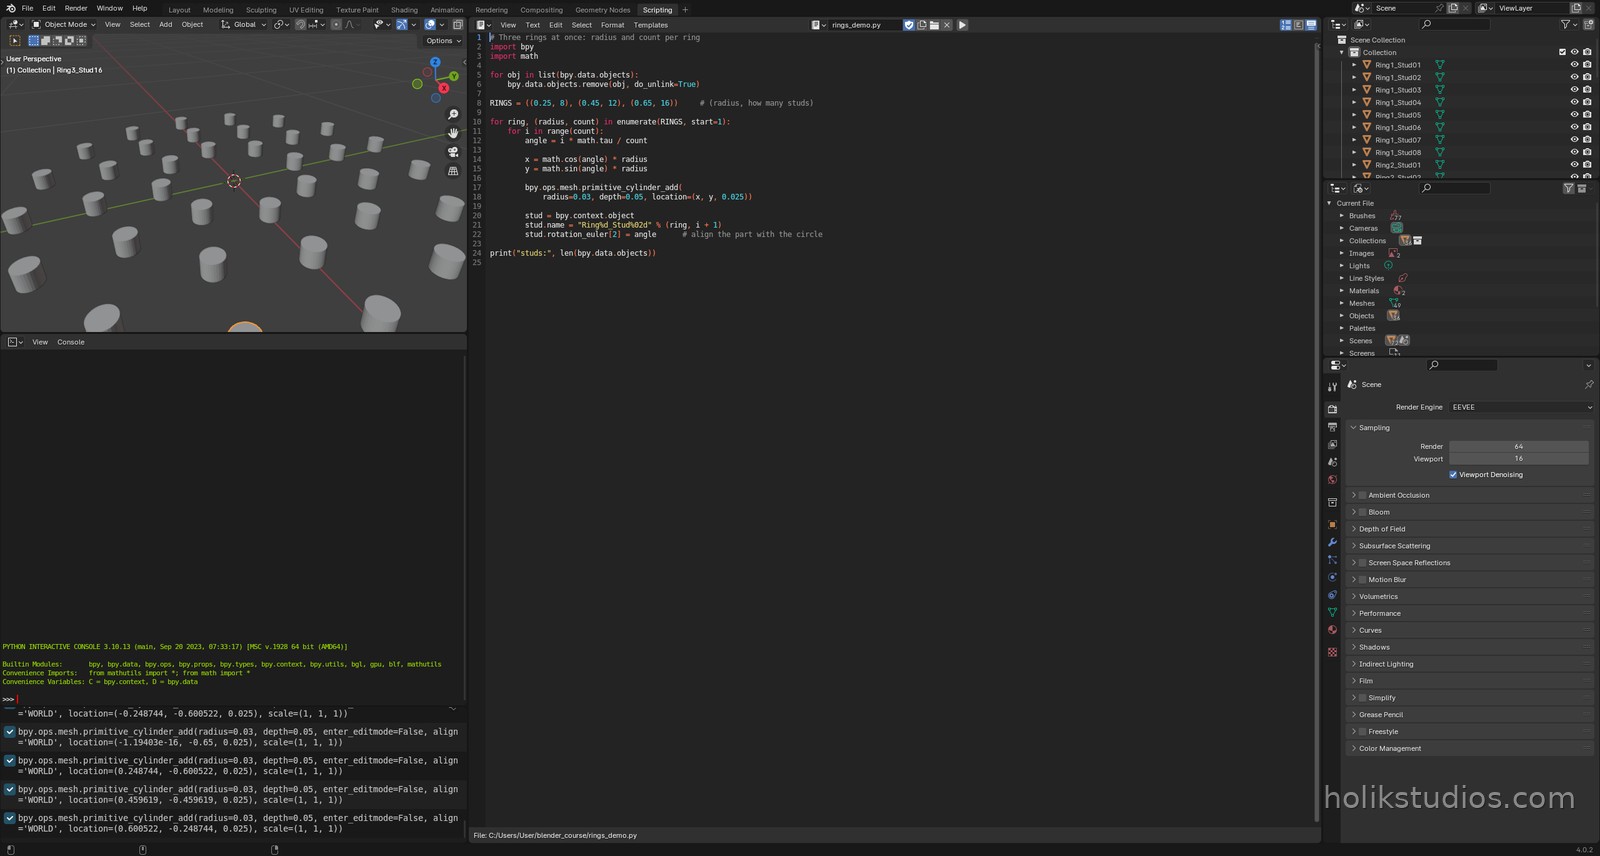
Once the position comes from data, adding more rings is just adding rows to a list. Each ring here is a pair: a radius and a count. The loop reads the pair and builds the ring, which is how a mounting plate, a flange or a dial of holes is actually defined in engineering drawings.
(0.25, 8): the inner ring, 8 studs, close to the centre.(0.45, 12): the middle ring.(0.65, 16): the outer ring, more studs because it is longer.rotation_euler[2] = angle: rotates each part so it points outward, which matters as soon as the part is not a cylinder.
rings_demo.py
# Three rings at once: radius and count per ring
import bpy
import math

for obj in list(bpy.data.objects):
    bpy.data.objects.remove(obj, do_unlink=True)

RINGS = ((0.25, 8), (0.45, 12), (0.65, 16))     # (radius, how many studs)

for ring, (radius, count) in enumerate(RINGS, start=1):
    for i in range(count):
        angle = i * math.tau / count

        x = math.cos(angle) * radius
        y = math.sin(angle) * radius

        bpy.ops.mesh.primitive_cylinder_add(
            radius=0.03, depth=0.05, location=(x, y, 0.025))

        stud = bpy.context.object
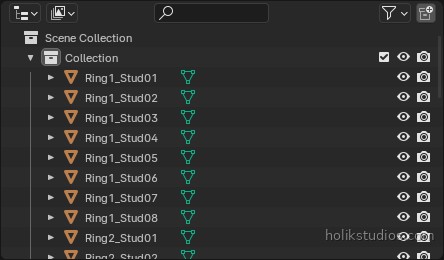
        stud.name = "Ring%d_Stud%02d" % (ring, i + 1)
        stud.rotation_euler[2] = angle      # align the part with the circle

print("studs:", len(bpy.data.objects))
Where this pays off in real work
- Bolt circles and flanges: the spacing has to be exact, or the part does not fit the machine.
- Mounting plates and adapter rings: change the count or the radius and the whole pattern follows.
- Dial markings, LED rings, decorative rims: even spacing by construction, never by eye.
- Print plates: place a dozen small parts on a circle so they are easy to break off and count.
The trick worth remembering is that nothing here is circular in the script. There is an angle, a radius and cos and sin. Circles in code are trigonometry with a nice name on top, and that is why they come out exact every single time.
Next: rows and grids again, this time with control over the spacing and the gaps, so a set of parts sits on the plate exactly the way the drawing says.