
The square from lesson 4.1 and the circle from 4.2 were both about the same thing: an object per step, and a formula that decides where the step lands. This lesson makes that formula explicit, because spacing is what usually goes wrong when a set of parts leaves the screen and goes to a machine.
One step, repeated
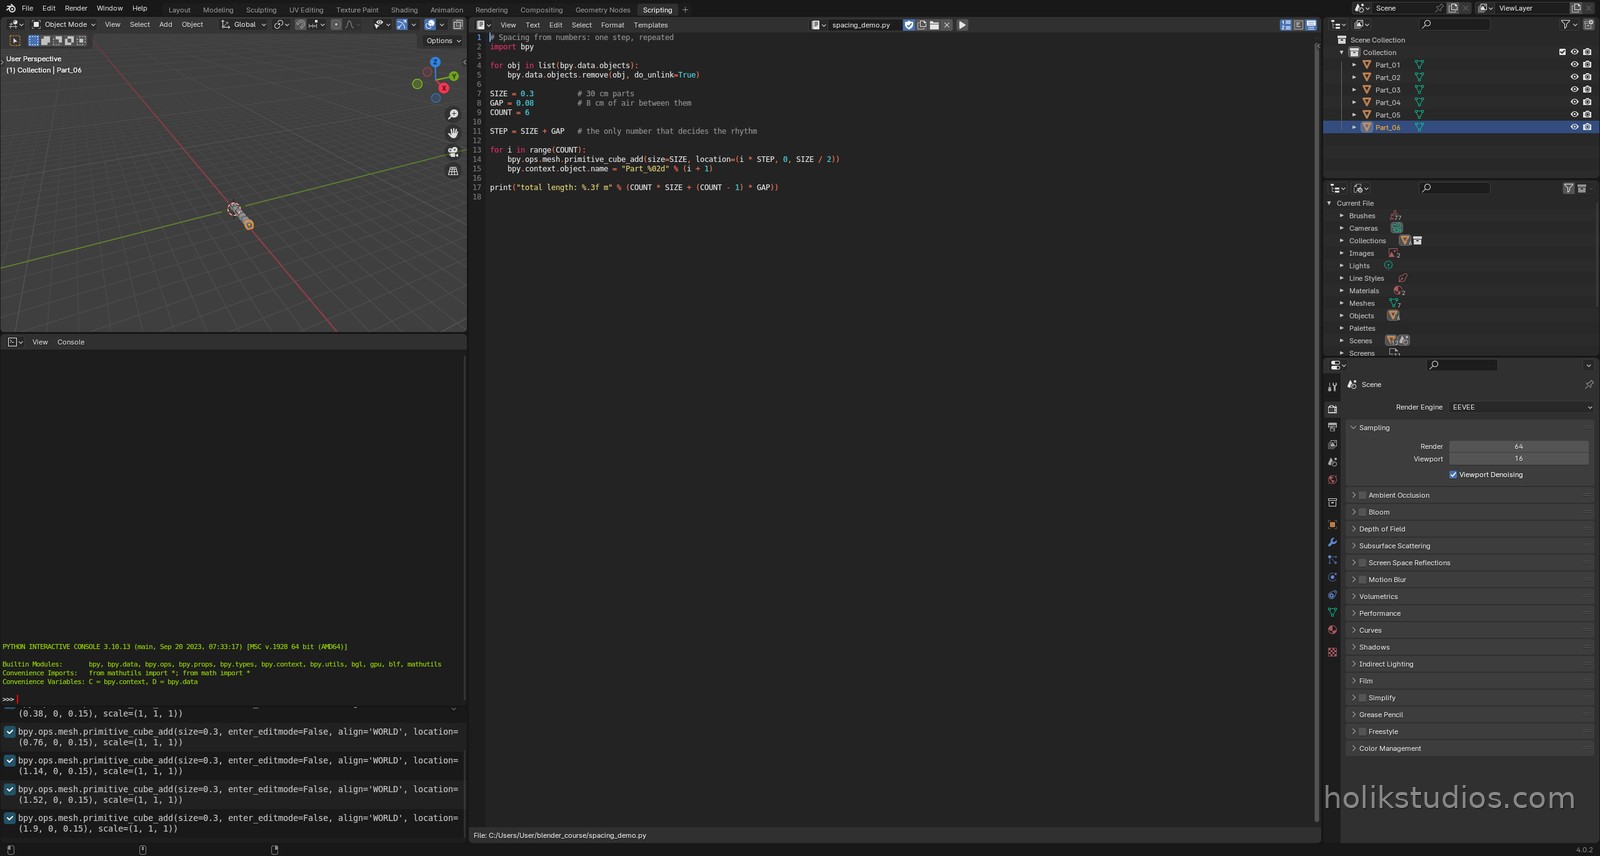
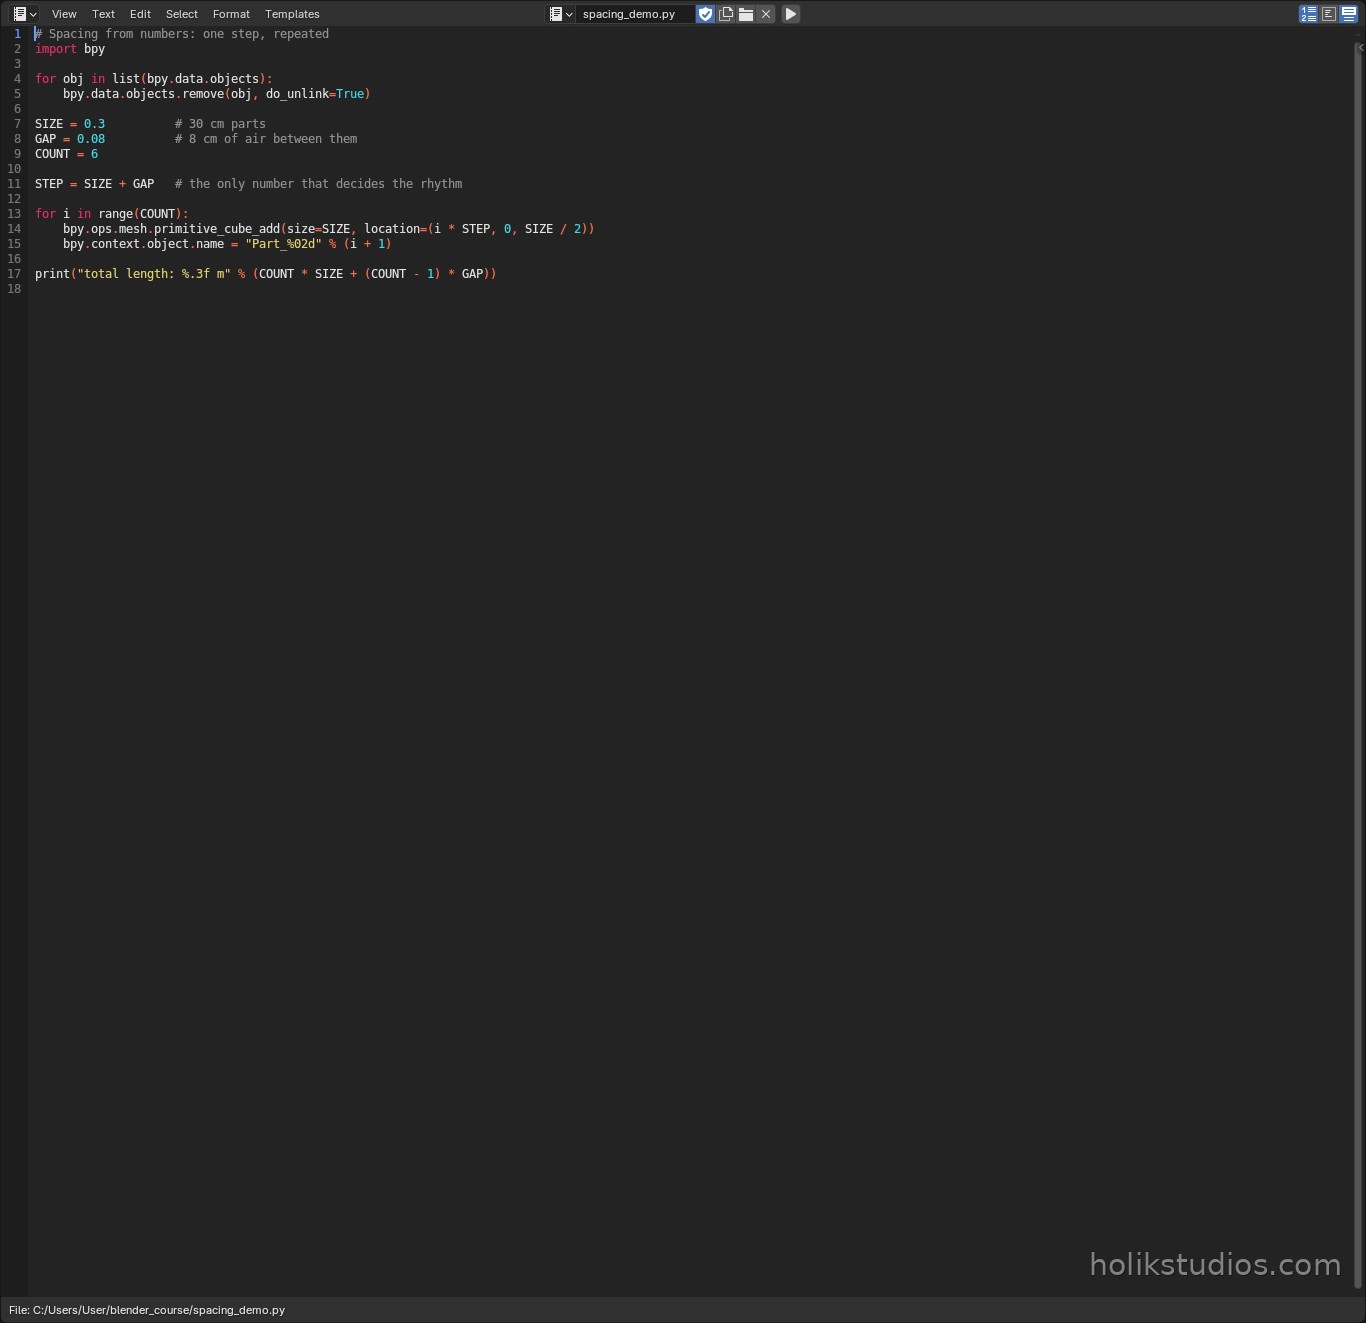
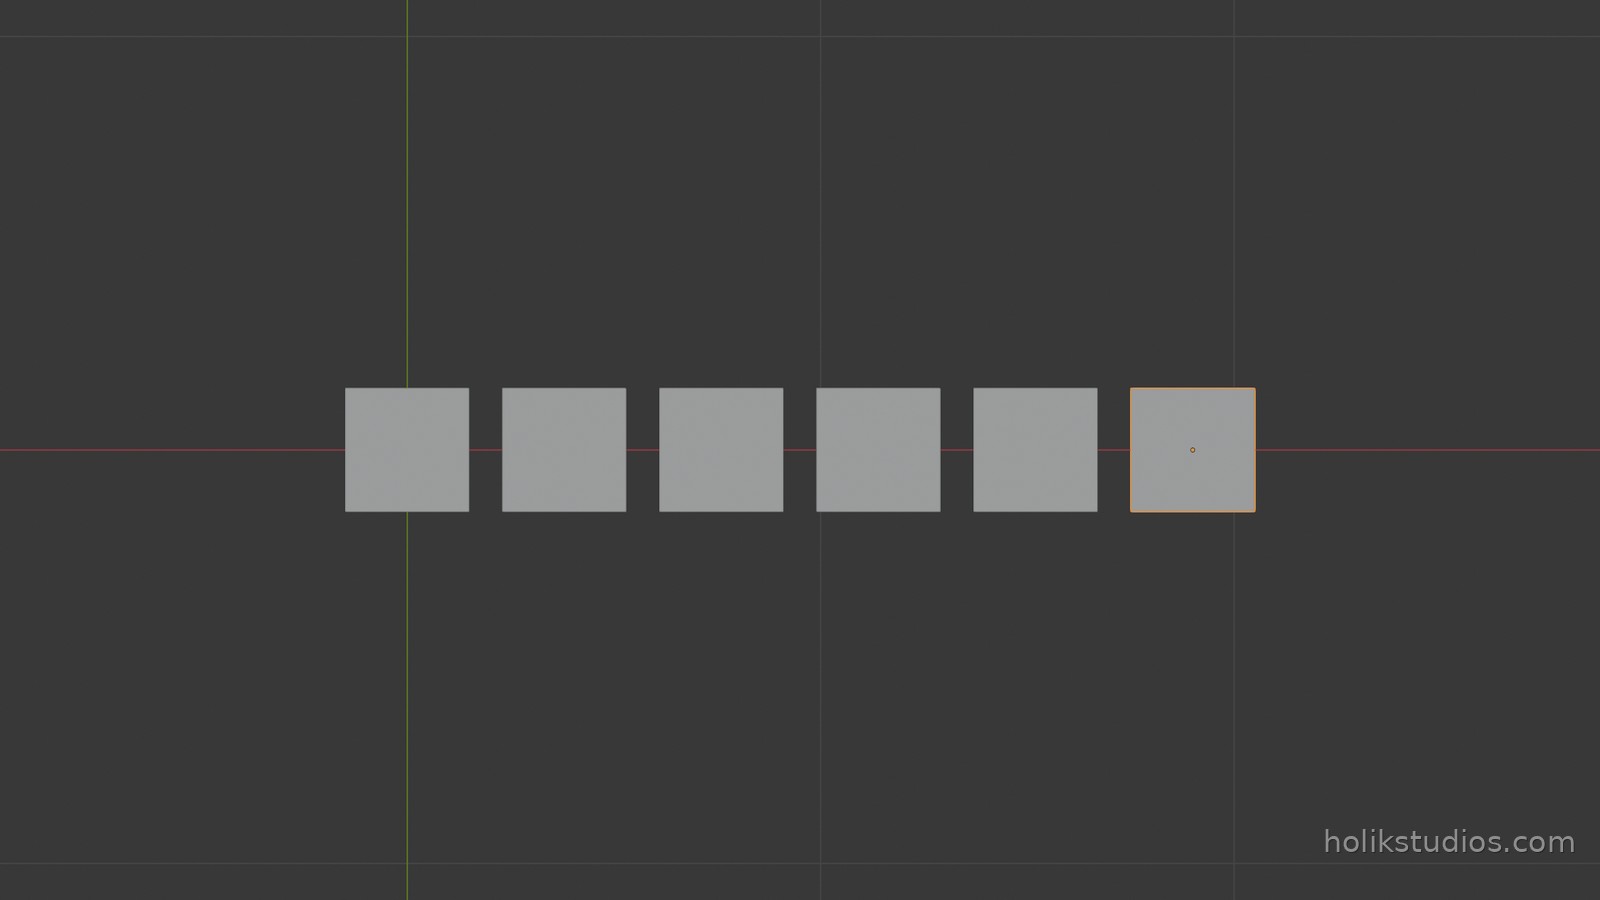
Everything here is STEP = SIZE + GAP. The size is fixed by the part, the gap is fixed by the process (or by the drawing), and the position is i * STEP. Change the gap and the whole row re-spaces itself, including the total length, which the script prints for you.
spacing_demo.py
# Spacing from numbers: one step, repeated
import bpy

for obj in list(bpy.data.objects):
    bpy.data.objects.remove(obj, do_unlink=True)

SIZE = 0.3          # 30 cm parts
GAP = 0.08          # 8 cm of air between them
COUNT = 6

STEP = SIZE + GAP   # the only number that decides the rhythm

for i in range(COUNT):
    bpy.ops.mesh.primitive_cube_add(size=SIZE, location=(i * STEP, 0, SIZE / 2))
    bpy.context.object.name = "Part_%02d" % (i + 1)

print("total length: %.3f m" % (COUNT * SIZE + (COUNT - 1) * GAP))
A plate you can trust
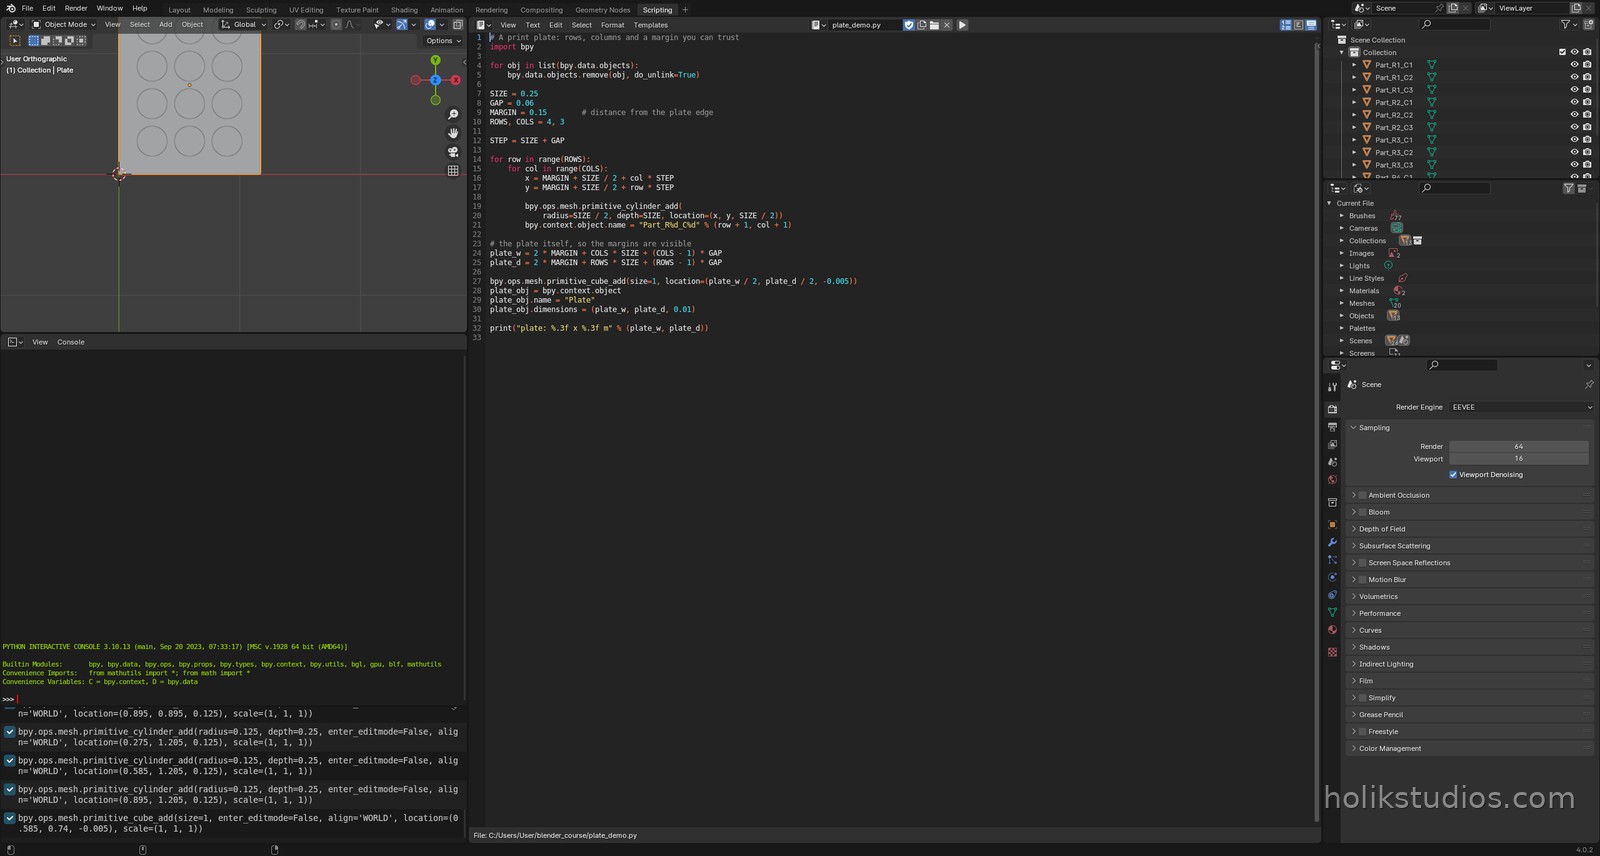
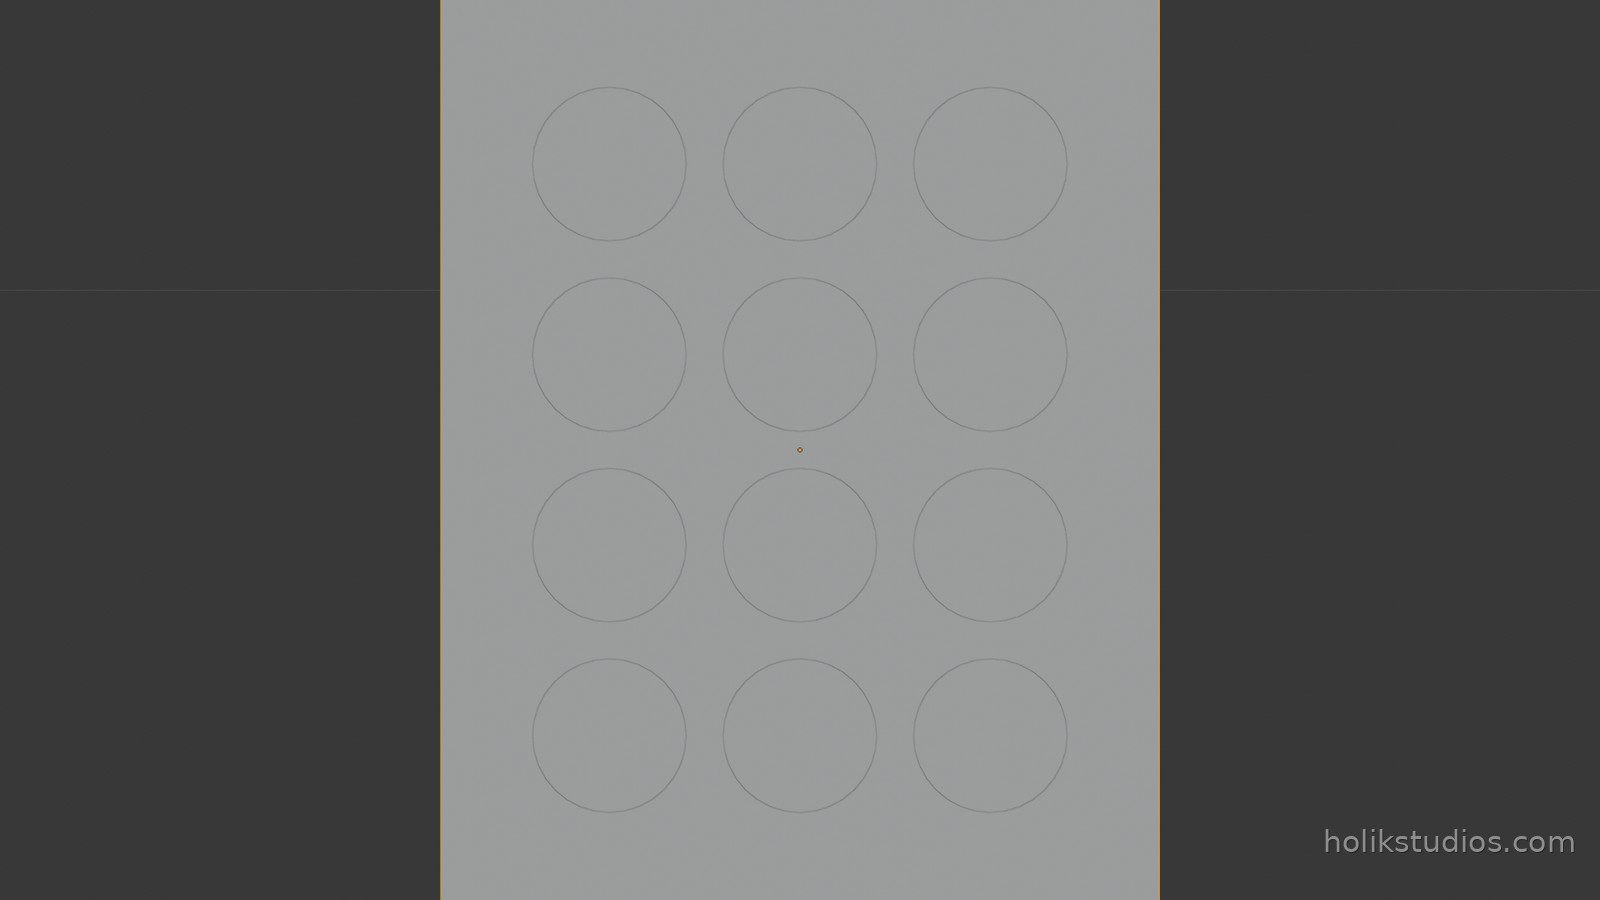
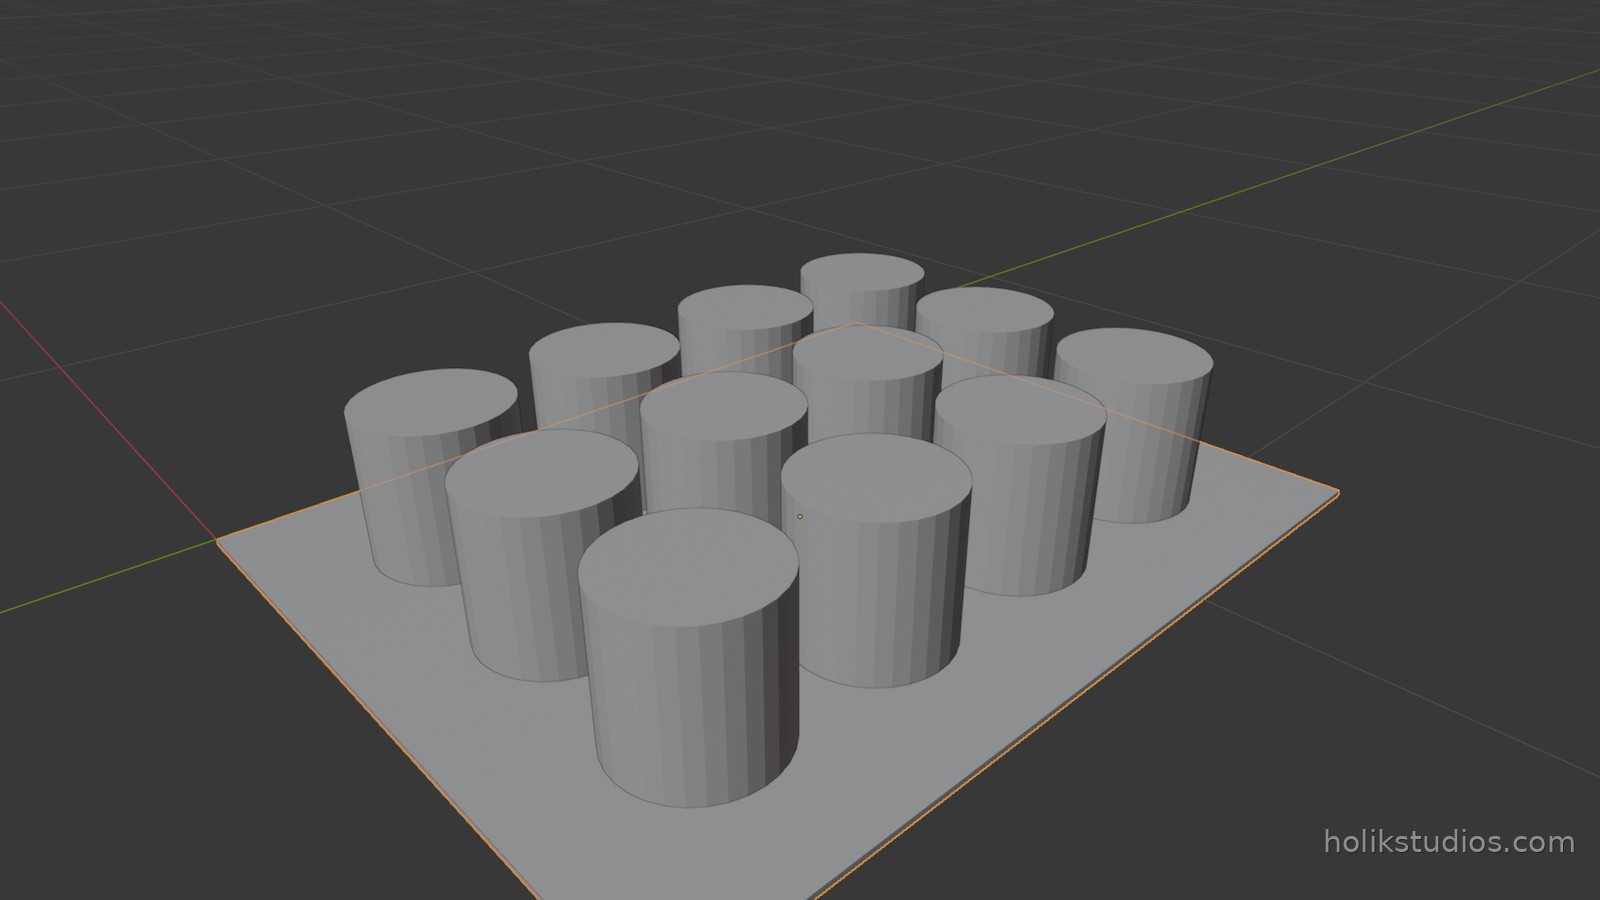
A print plate is the same idea in two directions, plus one more number: the margin between the parts and the edge of the plate. Add the margin, the part size and the gaps, and you know exactly how big the plate must be. The script also builds the plate to that size, which is how a set of parts stops being a pile and becomes something you can hand to a machine.
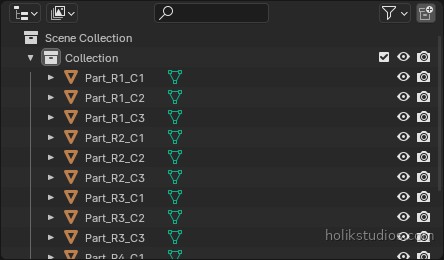
MARGIN + SIZE / 2 + col * STEP: the X position of a part in a column.MARGIN + SIZE / 2 + row * STEP: the Y position of a part in a row.plate_wandplate_d: the plate that holds everything with its margins.- Names carry the grid:
Part_R2_C3tells you exactly where a part belongs.
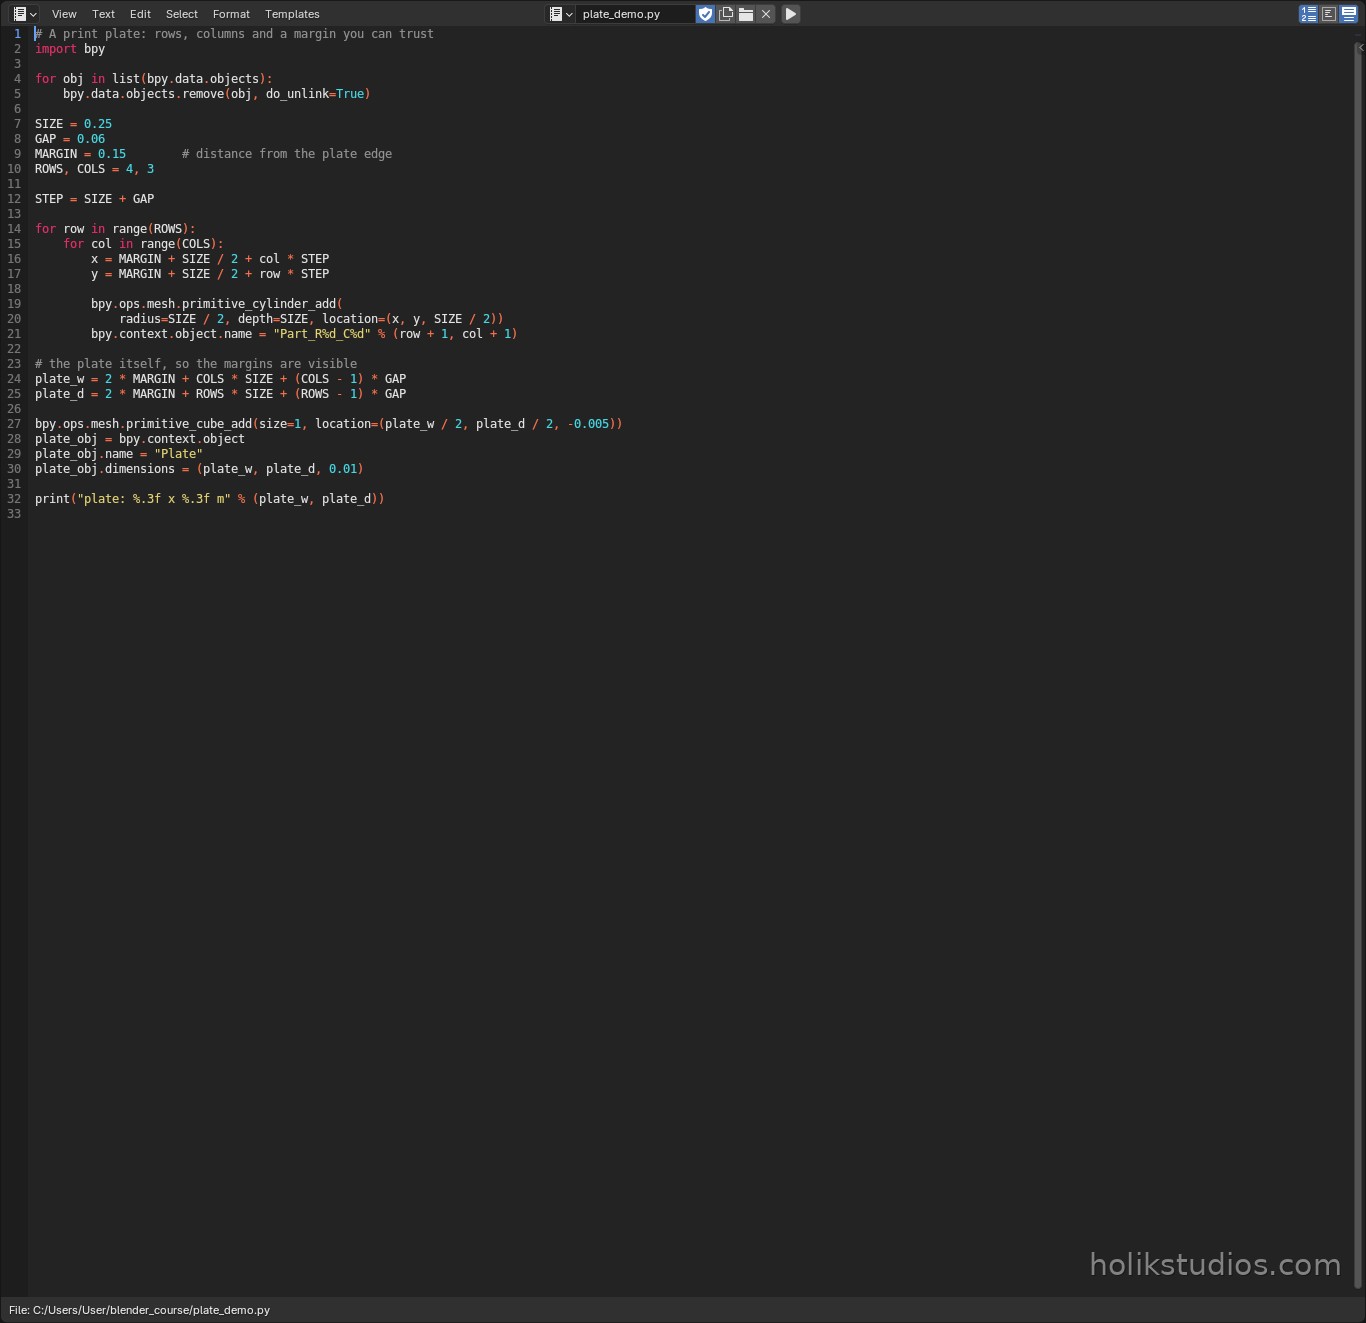
plate_demo.py
# A print plate: rows, columns and a margin you can trust
import bpy

for obj in list(bpy.data.objects):
    bpy.data.objects.remove(obj, do_unlink=True)

SIZE = 0.25
GAP = 0.06
MARGIN = 0.15        # distance from the plate edge
ROWS, COLS = 4, 3

STEP = SIZE + GAP

for row in range(ROWS):
    for col in range(COLS):
        x = MARGIN + SIZE / 2 + col * STEP
        y = MARGIN + SIZE / 2 + row * STEP

        bpy.ops.mesh.primitive_cylinder_add(
            radius=SIZE / 2, depth=SIZE, location=(x, y, SIZE / 2))
        bpy.context.object.name = "Part_R%d_C%d" % (row + 1, col + 1)

# the plate itself, so the margins are visible
plate_w = 2 * MARGIN + COLS * SIZE + (COLS - 1) * GAP
plate_d = 2 * MARGIN + ROWS * SIZE + (ROWS - 1) * GAP

bpy.ops.mesh.primitive_cube_add(size=1, location=(plate_w / 2, plate_d / 2, -0.005))
plate_obj = bpy.context.object
plate_obj.name = "Plate"
plate_obj.dimensions = (plate_w, plate_d, 0.01)

print("plate: %.3f x %.3f m" % (plate_w, plate_d))
Where this pays off in real work
- Print beds: pack twelve small parts with equal gaps so they print evenly and separate cleanly.
- Sheet and panel work: a row of holes, slots or studs at a fixed pitch, matching the drawing.
- Kits and sets: the same spacing on every project, because it is a number, not a habit.
- Batches for a client: change ROWS or COLS and the plate rebuilds itself, margin still correct.
This is the point where automation stops being about drawing and starts being about manufacturing. Spacing is a specification, and a script is the only way to keep a specification exact across a whole set of parts.
Next: the same loops, but with a little controlled randomness, which is how you build arrangements that look natural and still reproduce exactly when you need them to.