
Introduction:
Roblox game development often involves manipulating and customizing parts of the game world to create unique and engaging experiences. One powerful way to enhance the appearance of parts is by using decals. Decals are images that can be applied to the surfaces of 3D objects in Roblox games. In this lesson, we will explore a Lua script that demonstrates how to work with decals and apply them to a specific part.

How To Add Decal To Workspace?
Adding a decal to the workspace in Roblox Studio involves a few simple steps. Decals are textures or images that can be applied to the surfaces of 3D objects within the game. Here’s a step-by-step guide on how to add a decal to the workspace:
- Create or Find a Decal:
- You can either create your own decal by designing an image or use an existing decal from the Roblox library.
- To create a decal, go to the “Home” tab, click on “Decals,” and then choose “Create Decal.” Import an image or design your decal using the tools provided.
- Insert Decal into Workspace:
- Once you have a decal, go to the “Model” tab and select the “Explorer” window.
- Find the “Explorer” window on the right side of the screen, and if it’s not already open, you can open it by clicking on “View” and selecting “Explorer.”
- In the “Explorer,” locate and select the “StarterPlayer” folder. Right-click on it, choose “Insert Object,” and then select “Decal.”
- Configure Decal Properties:
- With the decal inserted into the workspace, you can now configure its properties.
- Select the decal in the workspace or in the “Explorer” window, and you’ll see its properties in the “Properties” window.
- Customize properties such as Texture, Transparency, and Color to achieve the desired appearance.
- Name the Decal:
- It’s a good practice to give your decal a meaningful name for easy reference in scripts. You can do this by selecting the decal in the “Explorer” window and changing its to “holik”.
Script Overview:
Let’s break down the provided script:
-- Create a reference to the part
local part = game.Workspace.Part
-- Create a reference to the decal
local decal = game.Workspace:FindFirstChild("holik")
-- If the decal exists
if decal then
-- Print a message
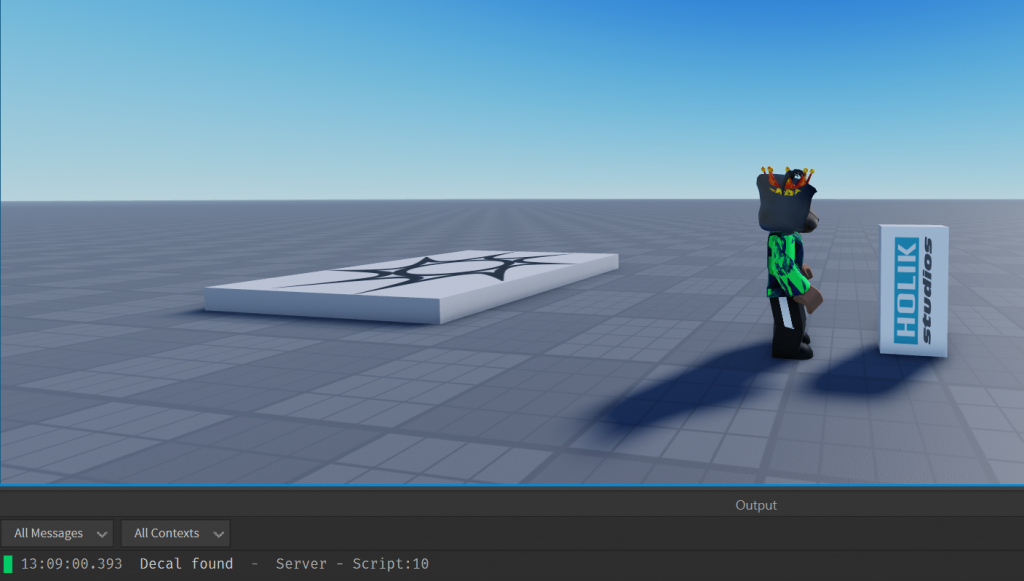
print("Decal found")
-- Create a new decal
local newDecal = decal:Clone()
-- Set the decal's parent to the part
newDecal.Parent = part
else
print("Decal named 'holik' not found in Workspace")
end
Explanation:
- Create References:
local part = game.Workspace.Part: This line creates a local variable namedpartand assigns it the value of a part named “Part” in the game’s workspace. This part will be the target for applying the decal.local decal = game.Workspace:FindFirstChild("holik"): This line creates a local variable nameddecaland assigns it the value of the first child in the workspace with the name “holik”. It searches for a decal named “holik” in the workspace.
- Check Decal Existence:
if decal then ... end: This conditional statement checks if the variabledecalis not nil, meaning a decal with the name “holik” exists in the workspace.
- Apply Decal:
local newDecal = decal:Clone(): This line creates a new decal by cloning the existing decal referenced bydecal.newDecal.Parent = part: If the decal exists, this line sets the parent of the newly created decal (newDecal) to the part referenced bypart.
- Print Messages:
print("Decal found"): If the decal exists, this message is printed to the output indicating that the decal was found.print("Decal named 'holik' not found in Workspace"): If the decal does not exist, this message is printed to the output, indicating that a decal with the name “holik” was not found in the workspace.
Lesson Exercise:
Now that you understand the script, let’s try an exercise:
- Create a new decal in Roblox Studio and name it “holik.”
- Attach this script to a part in the workspace.
- Run the game and observe the output.
This exercise will help you apply the learned concepts practically. Try modifying the script to enhance your understanding further.
Conclusion
Provided Lua script offers a practical demonstration of working with decals in Roblox Studio. Through this script, we’ve learned how to reference specific parts in the game world, search for a decal by name in the workspace, and dynamically apply the decal to a designated part.
The script’s structure is clear and concise, making it easy to follow the logic. It begins by creating references to the target part (game.Workspace.Part) and attempting to find a decal named “holik” in the workspace (game.Workspace:FindFirstChild("holik")). The conditional statement checks whether the decal exists, and if so, it prints a message, clones the decal, and assigns the cloned decal as a child of the specified part.
This script is a valuable starting point for game developers looking to incorporate dynamic decal application based on certain conditions. It illustrates the importance of error checking by verifying the existence of the targeted decal before attempting to use it. Additionally, it showcases the flexibility of Lua scripting in Roblox for creating interactive and visually appealing game elements.
As you continue to explore Roblox scripting, you can use this script as a foundation for more advanced features, such as user interactions, dynamic changes to game elements, or incorporating a wider range of decal manipulation techniques. Understanding how to work with decals opens up possibilities for creative and immersive game design in the Roblox platform.