
Unity is a popular game development engine that allows developers to create immersive and interactive experiences across various platforms. One crucial aspect of game development is the creation of 3D characters and animations, which bring life and personality to the virtual world. In this overview, we will explore the fundamentals of 3D characters and animations in Unity.
- 3D Character Creation: Creating a 3D character involves multiple steps, starting with modeling and sculpting the character’s shape and features. Artists typically use specialized software like Blender, Maya, or 3ds Max to design characters. Once the character’s basic structure is complete, the next step is to add details like textures, materials, and color schemes to enhance its appearance. These details contribute to the character’s overall look and feel.
- Rigging: Rigging is the process of creating a skeletal structure for a 3D character. It involves placing bones and joints within the character’s mesh, enabling it to move and deform realistically. Unity provides a powerful built-in animation system called Mecanim, which supports rigging and animation workflows. Artists can use Unity’s humanoid rigging system or create their own custom rigs to match specific character designs.
- Animation: Animation breathes life into 3D characters by enabling them to move, gesture, and express emotions. In Unity, animations are created using keyframes and transitions. Artists define keyframes at specific points in time to set the character’s pose or position. Transitions are used to smoothly interpolate between keyframes, creating fluid motion. Unity’s Animation window allows artists to manage and edit animations effectively, including blending multiple animations together for seamless transitions.
- Blend Trees: Blend Trees in Unity allow for smooth blending between different animations based on specific conditions. For example, a blend tree can be created to smoothly transition a character’s walk animation to a run animation based on the player’s input. By defining parameter conditions and assigning appropriate animations, developers can create dynamic and responsive character movements.
- State Machines: Unity’s state machine system enables developers to define the behavior and animation states of a character based on its environment and input. State machines provide a structured way to manage different animations and their transitions. By defining states such as idle, walk, run, jump, and attack, developers can create complex character behaviors that respond to player actions or other events.
- Animation Events: Animation events allow developers to trigger specific actions or events during an animation. These events can be used to synchronize sound effects, particle effects, or gameplay events with specific animation frames. For example, an animation event can trigger a character’s footstep sound effect when the character’s foot hits the ground during a walking animation.
- Blend Shapes (Morph Targets): Blend shapes, also known as morph targets, are used to create facial expressions and other deformations in characters. By morphing the character’s mesh between different pre-defined shapes, artists can achieve a wide range of facial expressions and emotions. Unity supports blend shapes and provides tools to control and animate them, allowing for expressive character performances.
- Asset Integration: Unity offers a wide range of asset formats that can be imported into a project for character creation and animation. Artists can import 3D models in various file formats (e.g., FBX, OBJ) and textures (e.g., PNG, JPEG) to populate their scenes. Additionally, Unity’s Asset Store provides a vast library of pre-made character models, animations, and tools that can be easily integrated into projects.
In conclusion, Unity provides a comprehensive set of tools and features to create and animate 3D characters. From character creation and rigging to animation and asset integration, Unity offers a robust ecosystem for developers and artists to bring their virtual characters to life in exciting and interactive game worlds.
Modeling and Rigging
Modeling and rigging are essential processes in creating 3D characters and objects within Unity. Modeling involves the creation and design of the 3D geometry, while rigging involves creating a skeletal structure and preparing the model for animation. In this overview, we will explore the key concepts and processes involved in modeling and rigging in Unity 3D.
- Modeling: Modeling is the process of creating the 3D geometry of characters, objects, or environments. Unity supports various modeling workflows, and artists often use external modeling software such as Blender, Maya, or 3ds Max to create their models. Once the model is ready, it is imported into Unity for further refinement and integration into the game or interactive experience.
- Importing Models into Unity: Unity supports various file formats for importing 3D models, including FBX, OBJ, and DAE. These formats preserve the geometry, textures, materials, and animations of the model. When importing a model into Unity, artists can configure settings such as scale, rotation, and coordinate system to ensure proper alignment and consistency within the Unity environment.
- Materials and Textures: Unity provides a flexible material system that allows artists to define the appearance and properties of surfaces on 3D models. Materials can incorporate textures, colors, shaders, and other visual effects to create realistic or stylized visuals. Artists can assign materials to different parts of the model, defining how light interacts with the surfaces to achieve the desired look and feel.
- UV Mapping: UV mapping is a process that involves unwrapping the 3D model’s surfaces onto a 2D plane, creating a set of coordinates (UV coordinates) that define how textures are applied to the model. Unity provides UV mapping tools to adjust and optimize the mapping of textures onto the model, ensuring accurate and consistent texture placement.
- Skeletal Structure and Joints: Rigging is the process of creating a skeletal structure for a 3D model, allowing it to be animated and deformed realistically. Unity uses the concept of joints and bones to define this structure. Artists place joints within the model, mimicking the hierarchical structure of a skeleton. These joints act as pivot points for rotations and transformations during animation.
- Skinning and Weight Painting: Skinning is the process of assigning vertices of the model to the corresponding joints. Each vertex of the model is associated with one or more joints, allowing the model to deform and move with the joints during animation. Weight painting is a technique used to define the influence or “weight” of each joint on the associated vertices. This process ensures smooth and accurate deformation of the model during animation.
- Unity’s Humanoid Rigging System: Unity provides a powerful humanoid rigging system called the Humanoid Avatar. This system simplifies the process of rigging characters by automatically mapping the model’s bones to a standardized humanoid structure. The Humanoid Avatar allows for easy integration of pre-made animations and supports advanced features such as inverse kinematics (IK) for realistic character movement.
- Custom Rigging: While Unity’s Humanoid Avatar provides a streamlined rigging solution, artists can also create custom rigs to match unique character designs or specific requirements. Custom rigs offer more control and flexibility but require manual setup and adjustment of joints, weights, and other rigging components. Artists can use Unity’s animation tools and scripting capabilities to create custom animations and behaviors for their characters.
- Animation and Rigging Tools: Unity provides a range of animation and rigging tools to streamline the workflow. The Animation window allows artists to create and edit keyframe animations, set up animation events, and manage animation clips. Additionally, Unity supports the use of animation controllers, state machines, and blend trees to create complex character behaviors and seamless transitions between animations.
In conclusion, modeling and rigging are crucial processes in Unity 3D that enable the creation of visually appealing and animated 3D characters and objects. With Unity’s robust tools and workflows, artists can bring their models to life and create immersive experiences with realistic and dynamic character movements.
Adding Details To The Model
Adding details to 3D models is a crucial step in creating visually appealing and immersive experiences in Unity. These details can range from intricate textures and materials to fine-tuned geometry and special effects. In this overview, we will explore various techniques and approaches to adding details to 3D models in Unity.
- Texturing and Materials: Texturing plays a significant role in adding visual details to 3D models. Unity provides a flexible material system that allows artists to assign textures, colors, and shaders to different parts of the model. Artists can create or import textures using image editing software and apply them to the model’s surfaces. By adjusting material properties and utilizing shaders, various effects such as reflections, transparency, and bump mapping can be achieved.
- Normal and Bump Mapping: Normal and bump mapping techniques are used to create the illusion of surface details and enhance the appearance of 3D models. Normal maps store information about the orientation of surface normals, giving the impression of fine surface details without increasing the model’s geometry. Bump maps are grayscale images that simulate surface irregularities and add depth to the model. These maps can be applied to materials in Unity to achieve realistic and intricate surface details.
- Displacement Mapping: Displacement mapping is a technique that modifies the geometry of a model based on a displacement map. Unlike normal or bump mapping, displacement mapping actually alters the vertices of the model, creating more pronounced surface details and physical variations. Unity supports displacement mapping, allowing artists to create highly detailed models without significantly increasing the polygon count.
- Procedural Generation: Procedural generation is a powerful technique for adding details to 3D models in a dynamic and efficient manner. Unity provides tools and scripting capabilities that allow developers to generate textures, patterns, and even geometry algorithmically. By defining rules and algorithms, artists can create complex and unique details that are procedurally applied to the models. This approach is particularly useful for generating terrains, foliage, and other organic or repetitive elements.
- Particle Systems: Particle systems are often used to add dynamic and immersive details to 3D models in Unity. Particle systems create and simulate a large number of particles that can represent effects such as fire, smoke, water, sparks, or dust. By attaching particle systems to specific parts of the model, artists can add movement, realism, and visual interest to the scene. Unity’s Particle System component provides a wide range of settings and options to customize and control particle behavior.
- Lighting and Shadows: Proper lighting and shadowing techniques can significantly enhance the level of detail in 3D models. Unity offers various lighting options, such as directional lights, point lights, and spotlights, that help create realistic and immersive environments. By adjusting the lighting setup, artists can emphasize certain details, create highlights and shadows, and add depth and realism to the models.
- Post-Processing Effects: Post-processing effects can be used to add visual details and polish to 3D models in Unity. These effects, such as bloom, depth of field, ambient occlusion, and color grading, are applied after the rendering process and can dramatically improve the overall visual quality. Unity’s built-in Post-Processing Stack provides a collection of effects and settings that can be easily applied to the scene to achieve desired visual enhancements.
- Animation and Interactivity: Animating the models and adding interactive elements can also contribute to the level of detail in Unity. By animating specific parts of the model, such as moving gears or opening doors, developers can bring the model to life and make it feel more dynamic and interactive. Interactivity, such as user-controlled movements or dynamic responses to user input, further adds detail and engagement to the experience.
In conclusion, adding details to 3D models in Unity involves texturing and material customization, applying normal and bump mapping, utilizing displacement mapping, procedural generation, using particle systems, optimizing lighting and shadows, applying post-processing effects, and incorporating animation and interactivity. By employing these techniques, developers and artists can create visually stunning and detailed 3D models that enhance the overall quality and immersion of their Unity projects.
Setting up the 3D Animation System
The animation system in Unity allows developers to bring 3D models to life by creating dynamic and realistic animations. Whether it’s character movement, object interactions, or environmental effects, setting up the animation system is a fundamental step in creating engaging and interactive experiences. In this overview, we will explore the key steps involved in setting up the 3D animation system in Unity.
- Importing the Model: The first step in setting up the animation system is to import the 3D model into Unity. Supported file formats include FBX, OBJ, and DAE. Unity retains the model’s geometry, materials, and textures upon import. Ensure that the model is properly scaled, rotated, and positioned within the Unity environment for consistent alignment.
- Creating an Animation Controller: Unity uses Animation Controllers to manage and control animations for a given model. An Animation Controller is a state machine that defines different animation states and transitions between them. To create an Animation Controller, right-click in the Project window, select Create > Animator Controller, and assign it to the model.
- Animation States: Animation states represent different animations that a model can be in, such as idle, walking, running, or jumping. In the Animation Controller window, you can create animation states and assign animation clips to each state. Animation clips are individual animations that define the keyframes and timing for specific actions or movements.
- Transitions: Transitions define how the animation system moves from one animation state to another. For example, when transitioning from an idle state to a walking state, you may want to blend or smoothly interpolate the animations. In the Animation Controller window, you can define conditions for transitions, such as user input, time thresholds, or trigger events.
- Animation Events: Animation events allow you to trigger specific actions or events during an animation. These events can be used to synchronize sound effects, particle systems, or gameplay events. In the Animation window, you can set up animation events at specific keyframes and define associated functions or scripts that handle the events.
- Blend Trees: Blend Trees provide a way to blend and interpolate between multiple animations based on specific conditions. They are useful for creating smooth transitions between animations, such as blending between walking and running based on the character’s speed. Blend Trees can be created in the Animation Controller window and controlled using parameters.
- Parameters and Variables: Parameters are variables that control the behavior of the animation system. They can be used to drive transitions, blend trees, and other animation properties. Parameters can be created and defined within the Animator Controller and accessed through scripts or external inputs to dynamically control the animation system.
- Scripting and Animation Events: Unity allows for scripting interactions with the animation system using C# or other supported languages. By accessing the Animator component attached to the model, developers can control animation parameters, trigger transitions, and respond to animation events. Scripting offers flexibility in creating dynamic and interactive animations.
- Testing and Iteration: After setting up the animation system, it’s crucial to test and iterate on the animations to ensure they look and feel as intended. Unity’s Play mode allows for real-time testing and tweaking of animations. Observing how the animations interact with the gameplay or user input can help fine-tune their timing, transitions, and visual quality.
In conclusion, setting up the 3D animation system in Unity involves importing the model, creating an Animation Controller, defining animation states and transitions, and utilizing features like animation events, blend trees, parameters, and scripting. With Unity’s robust animation system, developers can create immersive and engaging experiences with dynamic and lifelike character movements and interactions.
Creating Keyframe Animations
Keyframe animations are an essential part of bringing 3D models to life in Unity. They allow developers to define specific poses or transformations at different points in time, resulting in smooth and dynamic animations. In this overview, we will explore the process of creating keyframe 3D animations in Unity.
- Setting up the Animation Environment: Before creating keyframe animations, it’s important to ensure the animation environment is properly set up. This includes importing the 3D model into Unity, creating an Animation Controller, and defining animation states and transitions as outlined in the previous response.
- Opening the Animation Window: The Animation Window in Unity is where the creation and editing of keyframe animations take place. To open the Animation Window, select the desired model in the Unity editor, then go to Window > Animation > Animation.
- Creating Animation Clips: Animation clips are containers for keyframe animations. Each animation clip represents a specific animation sequence, such as a walk cycle or a jump animation. In the Animation Window, click on the “Create” button to create a new animation clip for the selected model.
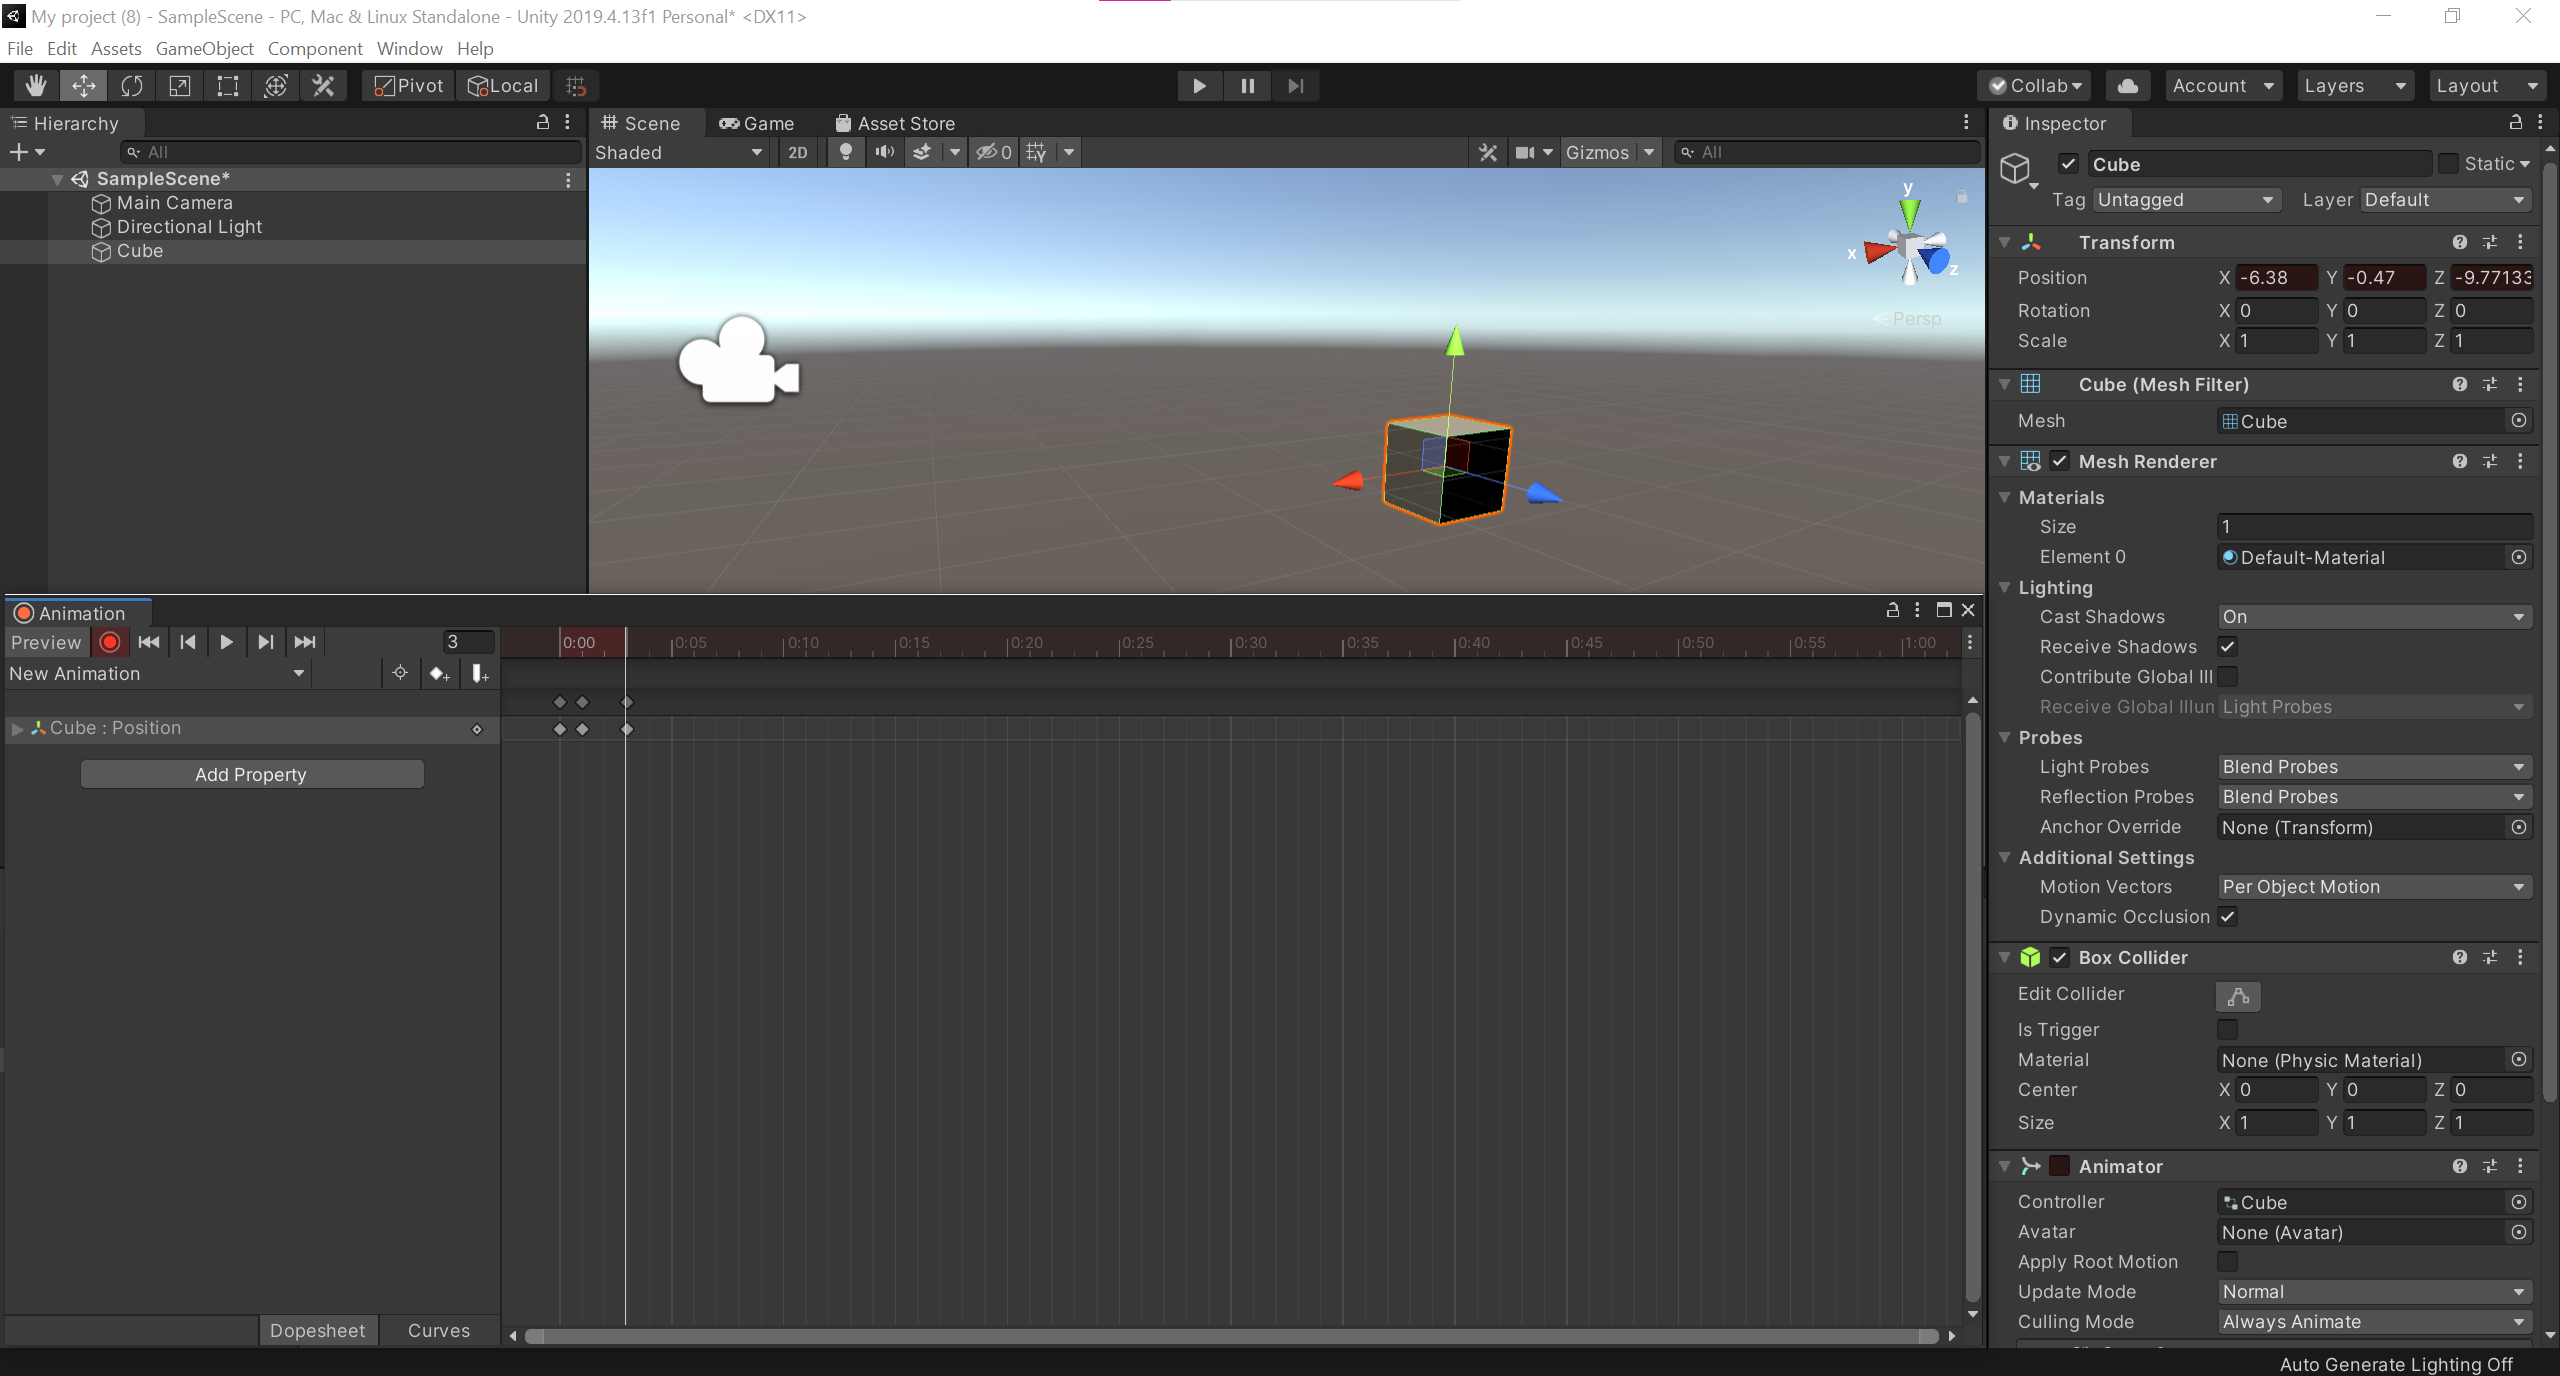
- Adding Keyframes: Keyframes represent the specific poses or transformations that the model will go through during the animation. To add keyframes, navigate to the desired point in the timeline within the Animation Window, select the model in the Scene or Hierarchy view, and adjust its position, rotation, or other properties in the Inspector view. Once the desired changes are made, click on the “Add Property” button in the Animation Window to add the modified property as a keyframe.
- Editing Keyframes: Keyframes can be edited to refine the animation’s timing and motion. Selecting a keyframe in the Animation Window allows for adjusting its properties in the Inspector view. Additionally, the Animation Window provides tools for manipulating keyframes, such as scaling, translating, or rotating them in the timeline.
- Interpolation and Easing: Unity offers various interpolation methods to smoothen the transition between keyframes. Interpolation determines how the values change over time. By selecting a keyframe and modifying its interpolation type in the Inspector view, developers can create different motion effects, such as linear, smooth, or eased transitions.
- Animation Curves: Animation curves allow for fine-tuning the animation’s timing and easing. They enable developers to control specific properties over time, such as the speed of movement or the intensity of a character’s expression. By modifying the animation curves associated with each property, developers can achieve more precise control and create dynamic animations.
- Looping and Repeating Animations: Unity provides options to loop or repeat animations, allowing them to play continuously or for a specific number of times. Developers can set the desired looping behavior for an animation clip by adjusting the settings in the Animation Window or by scripting.
- Blending and Layering Animations: Unity’s animation system supports blending and layering of animations, enabling complex and dynamic character animations. By blending multiple animation clips together, developers can create smooth transitions between different movements or actions. Layering allows for combining and blending animations from different sources, such as base animations, additive animations, and more.
- Testing and Playback: After creating the keyframe animations, it’s important to test and playback the animations in the Unity editor. The Animation Window provides playback controls, allowing developers to preview the animation and make any necessary adjustments or refinements.
- Scripting and Controlling Animations: Developers can also control keyframe animations through scripts using Unity’s scripting API. This allows for dynamic control of the animations based on gameplay events, user input, or other factors. By accessing the Animator component attached to the model, developers can modify animation parameters, trigger transitions, and control the playback of keyframe animations.
In conclusion, creating keyframe 3D animations in Unity involves setting up the animation environment, opening the Animation Window, adding and editing keyframes, utilizing interpolation and easing techniques, working with animation curves, and testing and refining the animations. With Unity’s powerful animation tools, developers can create captivating and lifelike animations that enhance the overall user experience in their games or interactive applications.
Conclusion
Creating 3D characters and animations in Unity is a dynamic and rewarding process that allows developers and artists to bring their visions to life. Unity offers a robust set of tools and features specifically designed to facilitate the creation of 3D characters and animations, enabling the development of immersive and engaging experiences.
The process begins with modeling and rigging, where artists create the 3D character models and define their skeletal structures. Rigging allows for the attachment of joints and controls, enabling realistic and flexible movements. Once the character is rigged, animations can be created using keyframe animation techniques. Keyframes define specific poses and transformations at different points in time, resulting in smooth and dynamic movements.
Unity’s animation system provides a comprehensive set of tools to manage and control animations, including Animation Controllers, animation states, transitions, animation events, blend trees, and scripting capabilities. These tools allow for the creation of complex and lifelike character behaviors, seamless transitions between animations, and dynamic responses to user input or gameplay events.
Adding details to the 3D models further enhances the visual quality and immersion of the characters. Techniques such as texturing and materials, normal and bump mapping, displacement mapping, procedural generation, particle systems, lighting and shadows, post-processing effects, and interactive elements contribute to the level of detail and realism in the characters and their environments.
Throughout the process, testing, iteration, and refinement are essential. Unity’s Play mode enables real-time testing and tweaking of animations, allowing developers to fine-tune the timing, transitions, and visual quality. This iterative approach ensures that the characters and animations meet the desired artistic and technical standards.
By combining these techniques and leveraging Unity’s powerful features, developers and artists can create captivating 3D characters and animations that elevate the overall quality and impact of their projects. Whether it’s in games, virtual reality experiences, or other interactive applications, Unity provides a versatile and intuitive platform for bringing 3D characters to life and captivating audiences.