
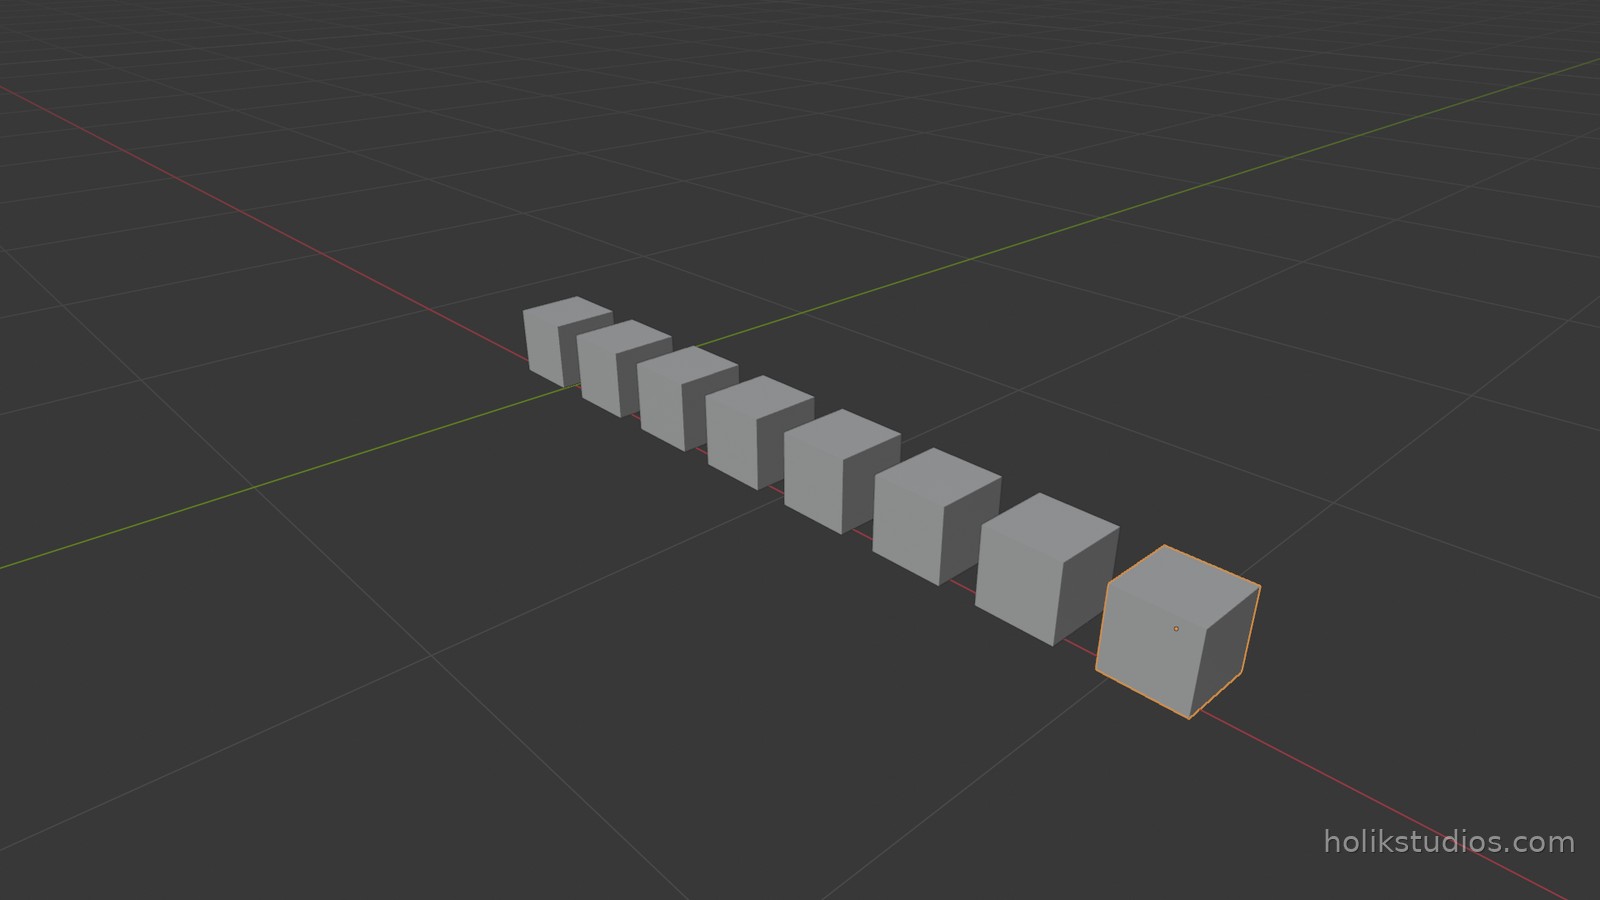
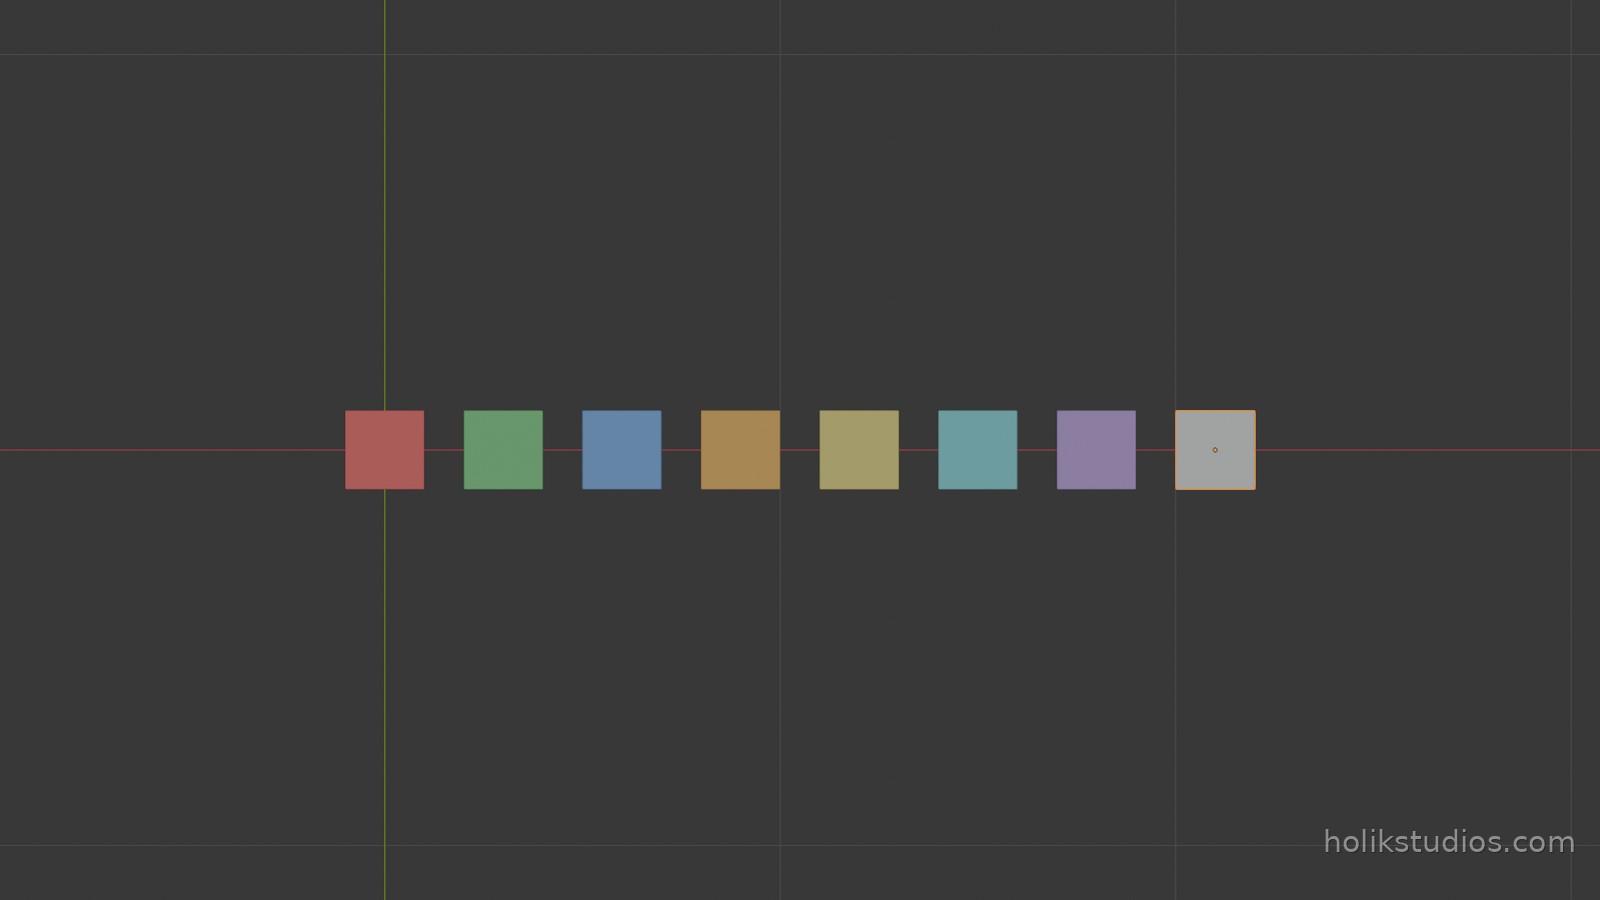
Batch work is where automation stops being elegant and starts being worth money. Renaming, moving, colouring and baking transforms across a whole set of parts is boring, slow and easy to get wrong by hand. In a script it is one loop, and here we make it visible: every part gets its own colour and a name that matches, so you can see at a glance what the code did.
A palette instead of a pile of cubes
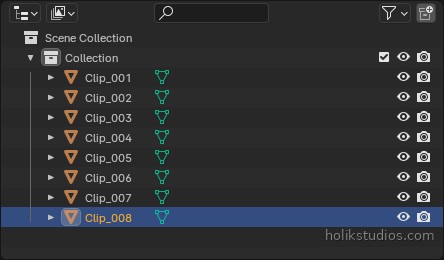
PALETTEis data: a colour name and an RGB value per part.part.name = colour_namegives every part a readable name in the Outliner.part.coloris the viewport colour, and the material colour is what you see once the viewport is in rendered shading (the screenshots here use it).- The batch loop renames with a fixed rule,
Part_01_Red, and takes the number from the palette index, never from the current name, so running it twice cannot stack prefixes. - The same loop lifts the whole row and bakes the transforms.
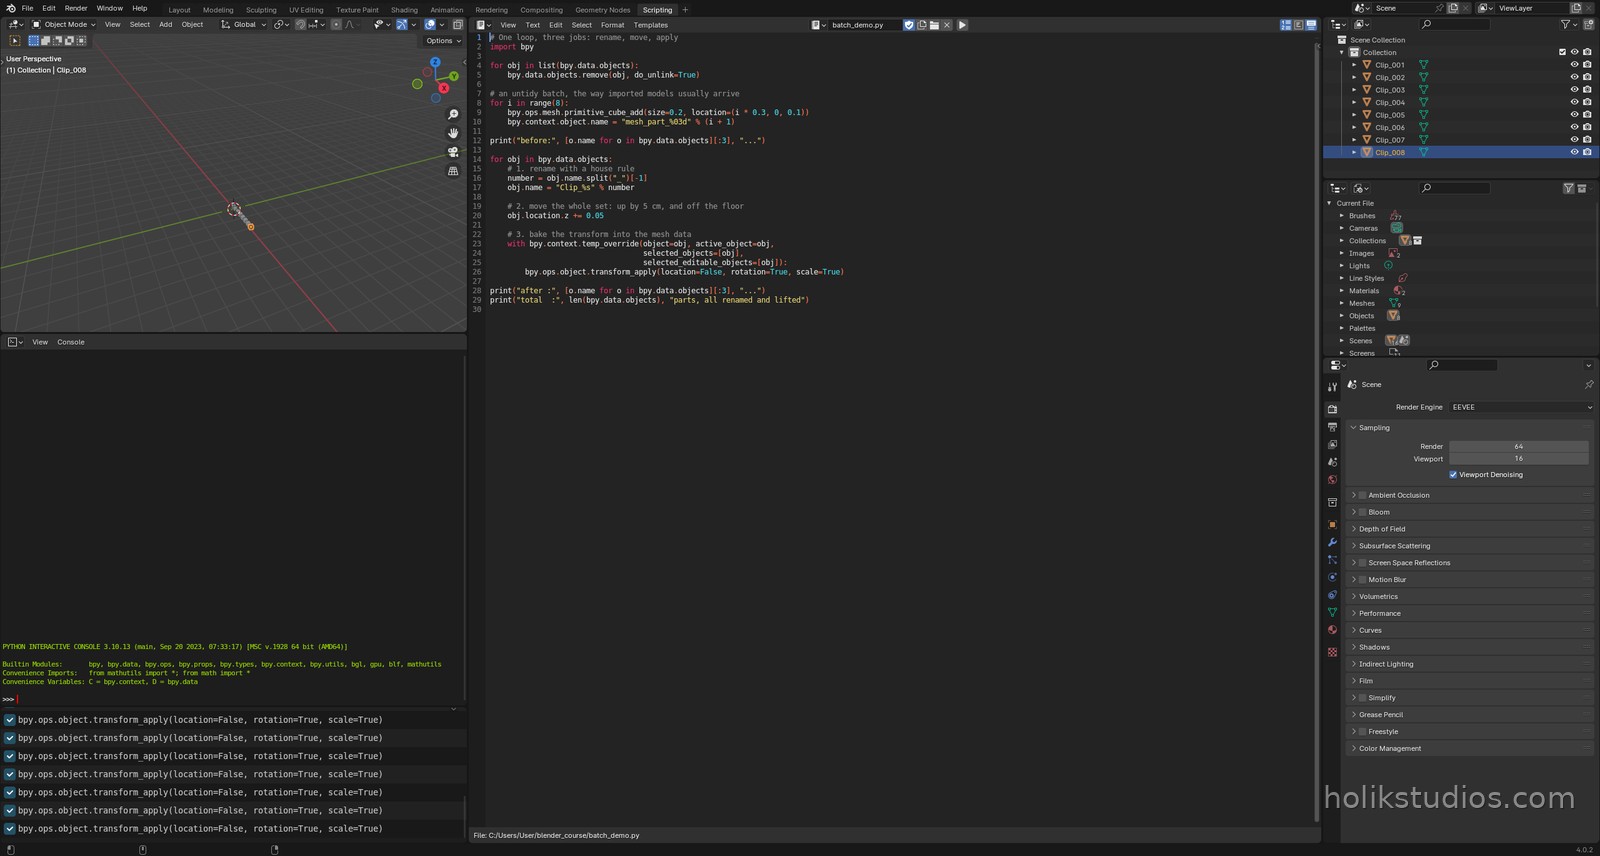
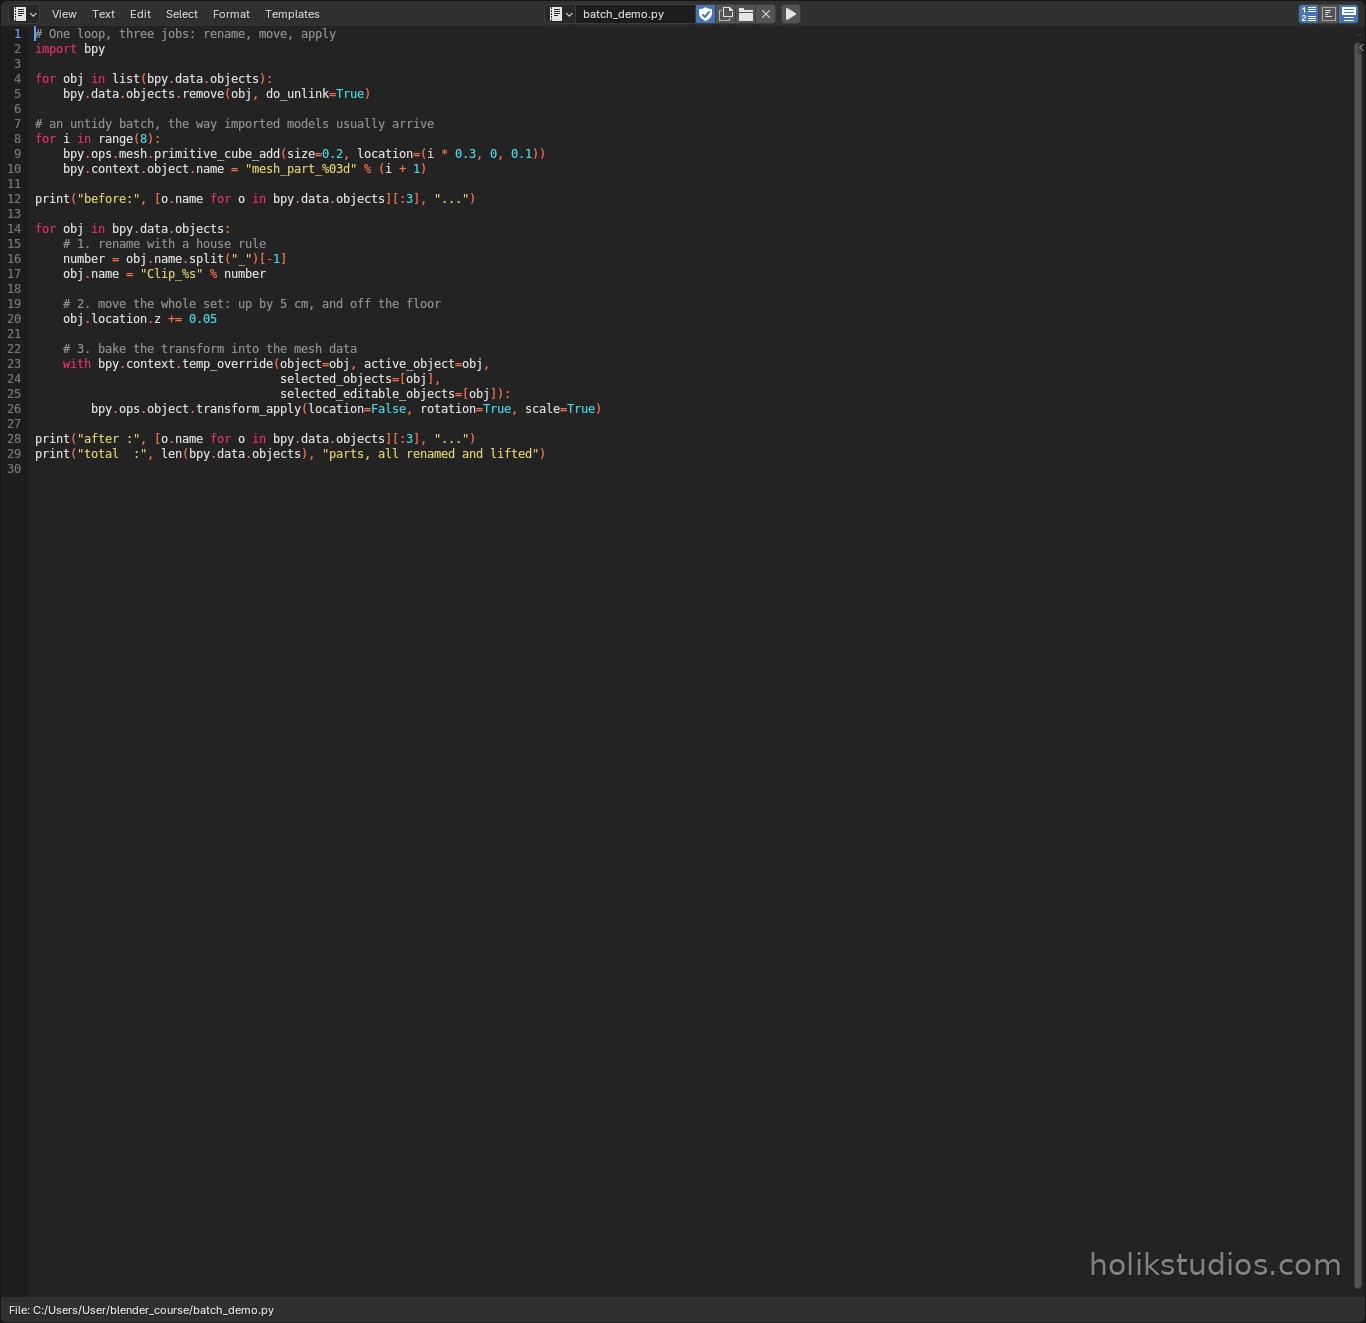
batch_demo.py
# Batch work you can see: parts with colour names and matching colours
import bpy

for obj in list(bpy.data.objects):
    bpy.data.objects.remove(obj, do_unlink=True)

# the palette: a name and a colour per part
PALETTE = (
    ("Red",    (1.00, 0.15, 0.15)),
    ("Green",  (0.20, 0.75, 0.25)),
    ("Blue",   (0.20, 0.45, 0.95)),
    ("Orange", (1.00, 0.55, 0.10)),
    ("Yellow", (0.95, 0.85, 0.20)),
    ("Cyan",   (0.20, 0.80, 0.85)),
    ("Purple", (0.60, 0.35, 0.85)),
    ("White",  (0.92, 0.92, 0.92)),
)

for i, (colour_name, rgb) in enumerate(PALETTE):
    bpy.ops.mesh.primitive_cube_add(size=0.2, location=(i * 0.3, 0, 0.1))

    part = bpy.context.view_layer.objects.active
    part.name = colour_name                       # the name says the colour
    part.color = (rgb[0], rgb[1], rgb[2], 1.0)    # viewport object colour

    material = bpy.data.materials.new("Mat_%s" % colour_name)
    material.diffuse_color = (rgb[0], rgb[1], rgb[2], 1.0)
    material.use_nodes = True
    bsdf = material.node_tree.nodes.get("Principled BSDF")
    if bsdf:
        bsdf.inputs["Base Color"].default_value = (rgb[0], rgb[1], rgb[2], 1.0)
        bsdf.inputs["Roughness"].default_value = 0.55

    part.data.materials.append(material)

# one loop, three jobs: rename, lift, bake the transforms
for i, (colour_name, _rgb) in enumerate(PALETTE, start=1):
    obj = bpy.data.objects.get(colour_name)
    if obj is None:
        continue

    obj.name = "Part_%02d_%s" % (i, colour_name)   # 1. rename with a house rule
    obj.location.z += 0.05                         # 2. lift the whole set by 5 cm

    with bpy.context.temp_override(object=obj, active_object=obj,
                                   selected_objects=[obj],
                                   selected_editable_objects=[obj]):
        bpy.ops.object.transform_apply(location=False, rotation=True, scale=True)

print("after:", [o.name for o in bpy.data.objects])
Creating a simple material from a colour
The palette loop is doing something worth slow reading: it is creating a material programmatically, one per part, and setting its colour from the table. This is the smallest useful material recipe in Blender, and once you know it you can colour anything from data.
one material, one colour
# The smallest useful material recipe in Blender
material = bpy.data.materials.new("Mat_Red")      # new material datablock
material.use_nodes = True                         # give it a shader node tree

bsdf = material.node_tree.nodes.get("Principled BSDF")
bsdf.inputs["Base Color"].default_value = (1.00, 0.15, 0.15, 1.0)   # RGBA, 0-1

part.data.materials.append(material)              # attach it to the mesh
bpy.data.materials.new("Mat_Red")creates a new material datablock in the file. It is empty: no colour, no nodes yet.material.use_nodes = Truegives it a shader node tree. This is what Blender calls “using nodes”, and it is the difference between a material that can be rendered and a material that is only a placeholder.material.node_tree.nodes.get("Principled BSDF")finds the main shader node Blender creates by default. Principled BSDF is the standard all-purpose shader: one node with inputs for base colour, roughness, metallic, transparency and the rest.bsdf.inputs["Base Color"].default_valueis the colour of that shader. Setting it to an RGBA tuple gives you a solid coloured surface.obj.data.materials.append(material)attaches the material to the object’s mesh, so the part actually uses it.
Two details about the colour itself. First, Blender works in floats from 0.0 to 1.0, not bytes from 0 to 255, so (1.00, 0.15, 0.15) is a strong red. Second, there are four numbers, not three: red, green, blue and alpha, and alpha 1.0 means fully opaque. If the fourth number were 0.3, you would be setting a colour you can see through.
Where do those numbers come from? In the course script, straight from the palette table, one tuple per part. That is the whole point: the loop does not invent colours, it reads them from data you can edit. Change a tuple, run the script, and the part is repainted.
A last habit worth taking away: material.diffuse_color and obj.color are the viewport colours (solid mode and object colour mode), while Base Color on the Principled BSDF is the colour a real render uses. We set both in this lesson, which is why the parts read correctly both while you work and after a render.
Why colours are not decoration here
A designer almost always needs to tell parts apart: this is the left bracket, that is the spacer, the red ones are the pieces the client changed. Assigning colours and names from the same list means the script documents its own output, and a mistake becomes something you notice in the viewport instead of something you discover at the printer.
Where this pays off in real work
- Imported models: forty meaningless names become your client’s part numbers, with a clear colour code.
- Revisions: lift a whole assembly, recolour a whole batch, apply every transform, once.
- Presentation: colour-coded sets read instantly in a client call or a portfolio image.
- Handover: names, transforms and colours all consistent, a file somebody can actually use.
Next: a modular set, where the same part is repeated with parameters instead of being modelled again and again.