
A modular set is one design that comes in several sizes. Think drawer inserts, storage trays or shelf modules: the walls are the same thickness, the depth is the same, the height is the same, and only the width changes. Done by hand that is copying and rebuilding the same box three times. Done in a script it is one function, called three times with a different width.
Shared numbers, one function, a table of variants
The trick is to split the numbers into two piles. Some numbers belong to the whole set and must never change between modules, because that is what makes the parts fit together: wall thickness, depth, height, gap. The rest is per module and lives in a table: a name, a width and a colour. The function make_tray() reads both and builds one module.
PANEL_T,DEPTH,HEIGHT,GAP: set-wide constants, written once at the top. ChangeHEIGHTand the whole family gets taller together.make_tray(name, width, x, rgb): the design. Every wall is positioned relative towidthand the module’s left edgex, so a wider module stays correct.x + PANEL_T / 2andx + width - PANEL_T / 2: the side walls sit inside the module, measured from its own edges. This is the part worth reading twice, because it is the whole difference between a modular set and three boxes that happen to be near each other.MODULES: the variant table. Adding a fourth module means adding one line, not writing code.add_part()is the same idea one level down: every part of every module is created by the same four lines, so nothing can quietly differ.
modular_set.py
# A modular set: one function, three widths, one row
import bpy

for obj in list(bpy.data.objects):
    bpy.data.objects.remove(obj, do_unlink=True)

# numbers every module shares (in metres)
PANEL_T = 0.010          # wall thickness
DEPTH = 0.160            # front to back, same for the whole set
HEIGHT = 0.100           # wall height, same for the whole set
GAP = 0.020              # air between two modules


def add_part(name, size, loc, rgb):
    """One part of the set: a box with a name, an exact size and a colour."""
    bpy.ops.mesh.primitive_cube_add(size=1, location=loc)

    part = bpy.context.view_layer.objects.active
    part.name = name
    part.dimensions = size
    part.color = (rgb[0], rgb[1], rgb[2], 1.0)   # viewport colour

    material = bpy.data.materials.new("Mat_%s" % name)
    material.diffuse_color = (rgb[0], rgb[1], rgb[2], 1.0)
    part.data.materials.append(material)

    return part


def make_tray(name, width, x, rgb):
    """One module: a floor, two side walls and two end walls, all from the same numbers."""
    x0 = x + width / 2                      # centre of this module on X

    add_part("%s_Floor" % name, (width, DEPTH, PANEL_T),
             (x0, DEPTH / 2, PANEL_T / 2), rgb)
    add_part("%s_Wall_L" % name, (PANEL_T, DEPTH, HEIGHT),
             (x + PANEL_T / 2, DEPTH / 2, HEIGHT / 2), rgb)
    add_part("%s_Wall_R" % name, (PANEL_T, DEPTH, HEIGHT),
             (x + width - PANEL_T / 2, DEPTH / 2, HEIGHT / 2), rgb)
    add_part("%s_Wall_B" % name, (width, PANEL_T, HEIGHT),
             (x0, PANEL_T / 2, HEIGHT / 2), rgb)
    add_part("%s_Wall_F" % name, (width, PANEL_T, HEIGHT),
             (x0, DEPTH - PANEL_T / 2, HEIGHT / 2), rgb)


# the design table: same module, three widths, one colour each
MODULES = (
    ("Mod_A", 0.20, (0.95, 0.25, 0.25)),
    ("Mod_B", 0.30, (0.25, 0.80, 0.35)),
    ("Mod_C", 0.42, (0.25, 0.50, 0.95)),
)

x = 0.0
for name, width, rgb in MODULES:
    make_tray(name, width, x, rgb)
    x += width + GAP

# the set is data, so the script can measure it too: one rail under the whole row
total = x - GAP
bpy.ops.mesh.primitive_cube_add(size=1, location=(total / 2, DEPTH / 2, -PANEL_T / 2))
rail = bpy.context.view_layer.objects.active
rail.name = "Set_Base_Rail"
rail.dimensions = (total, DEPTH, PANEL_T)

print("parts built:", len(bpy.data.objects))
for name, width, _rgb in MODULES:
    print("  %-6s %4.0f mm wide" % (name, width * 1000))
print("  set is %4.0f mm total, %d parts" % (total * 1000, len(bpy.data.objects)))
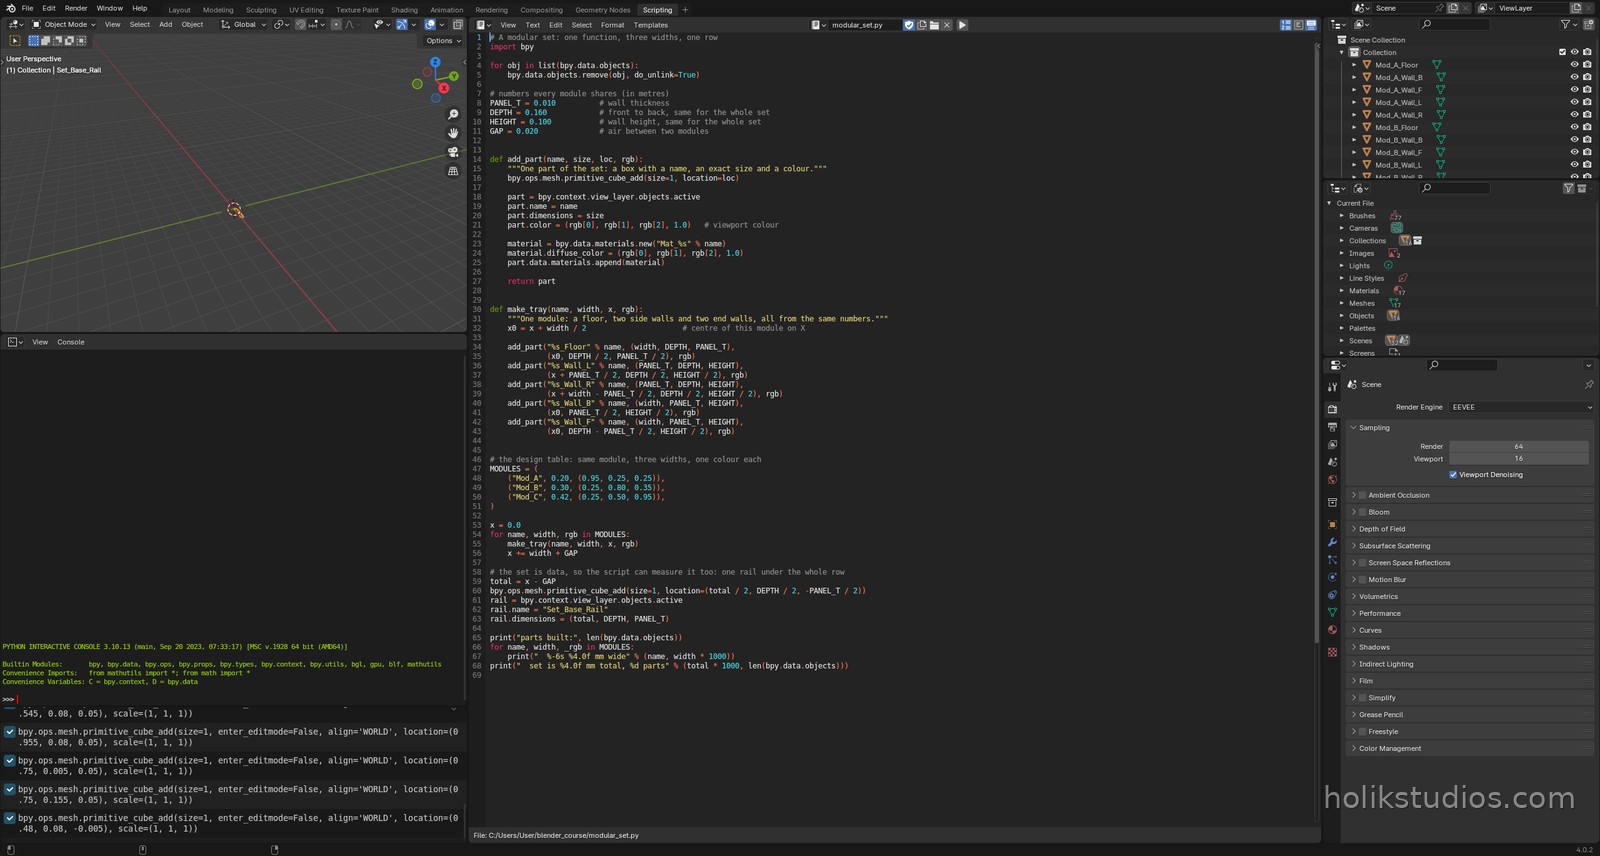
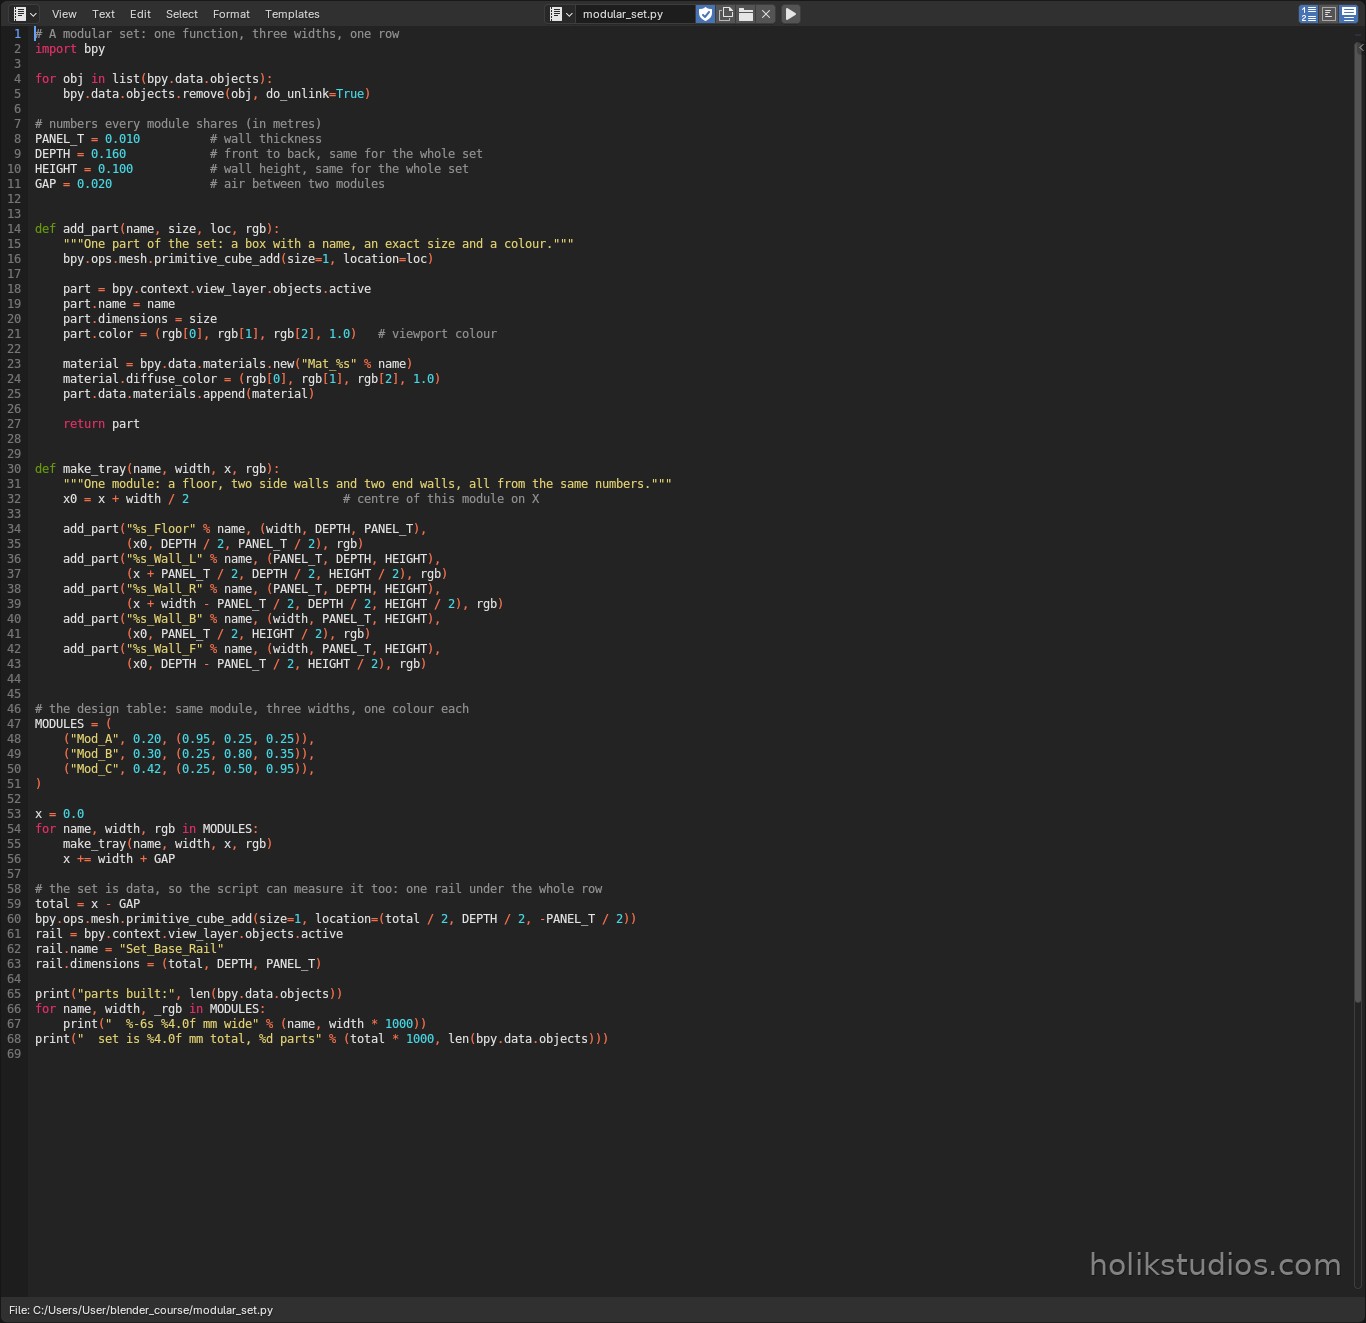
Why the loop walks a cursor
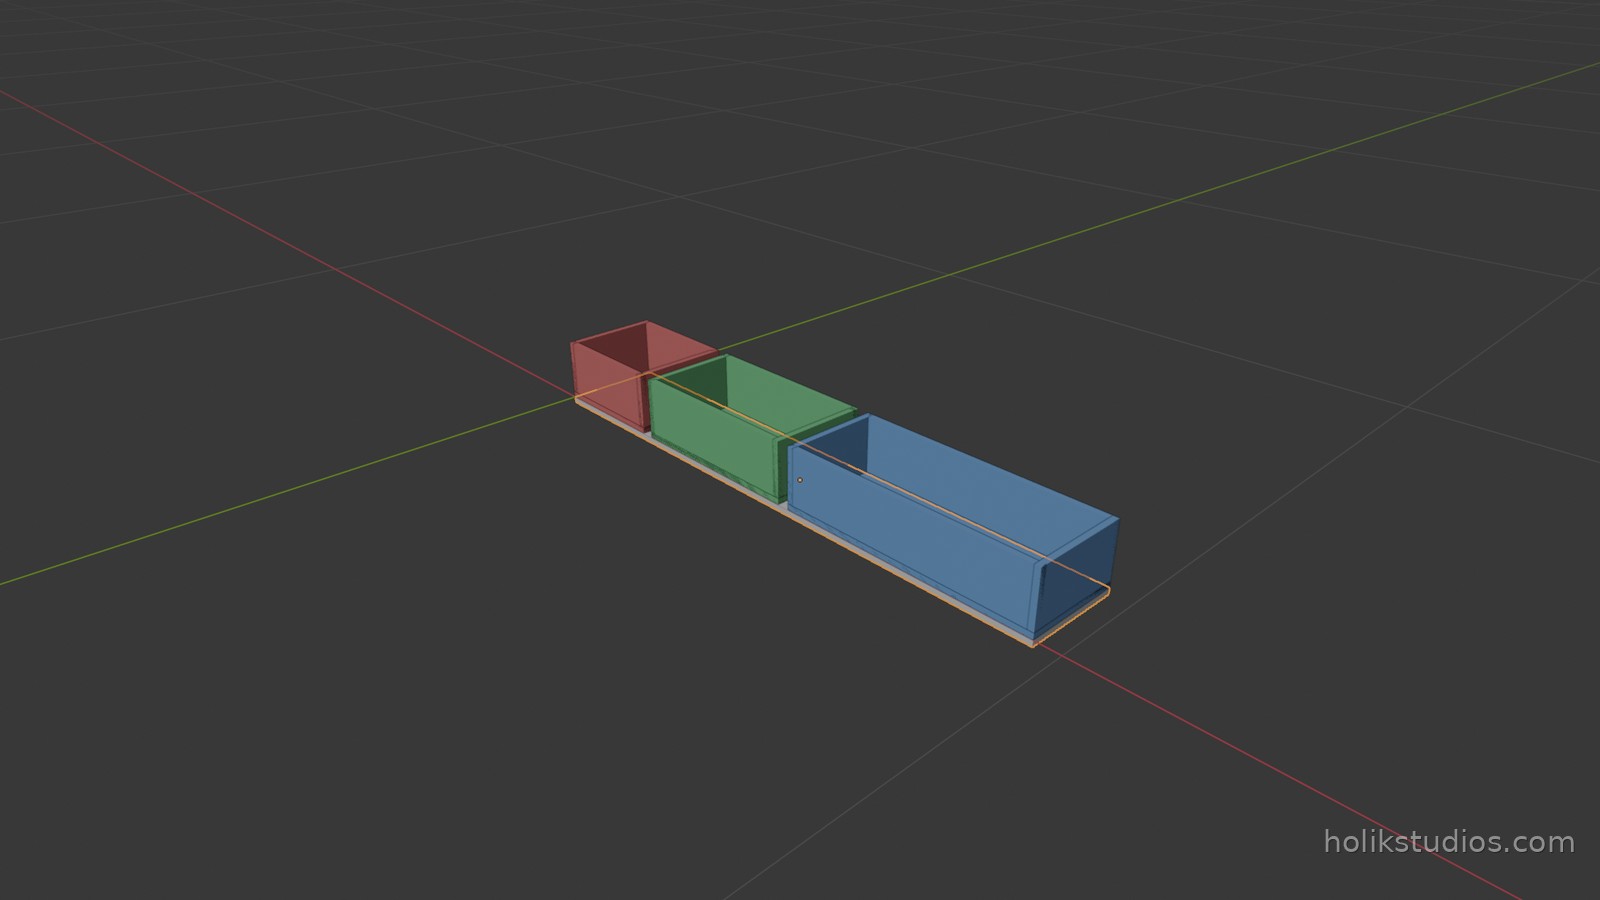
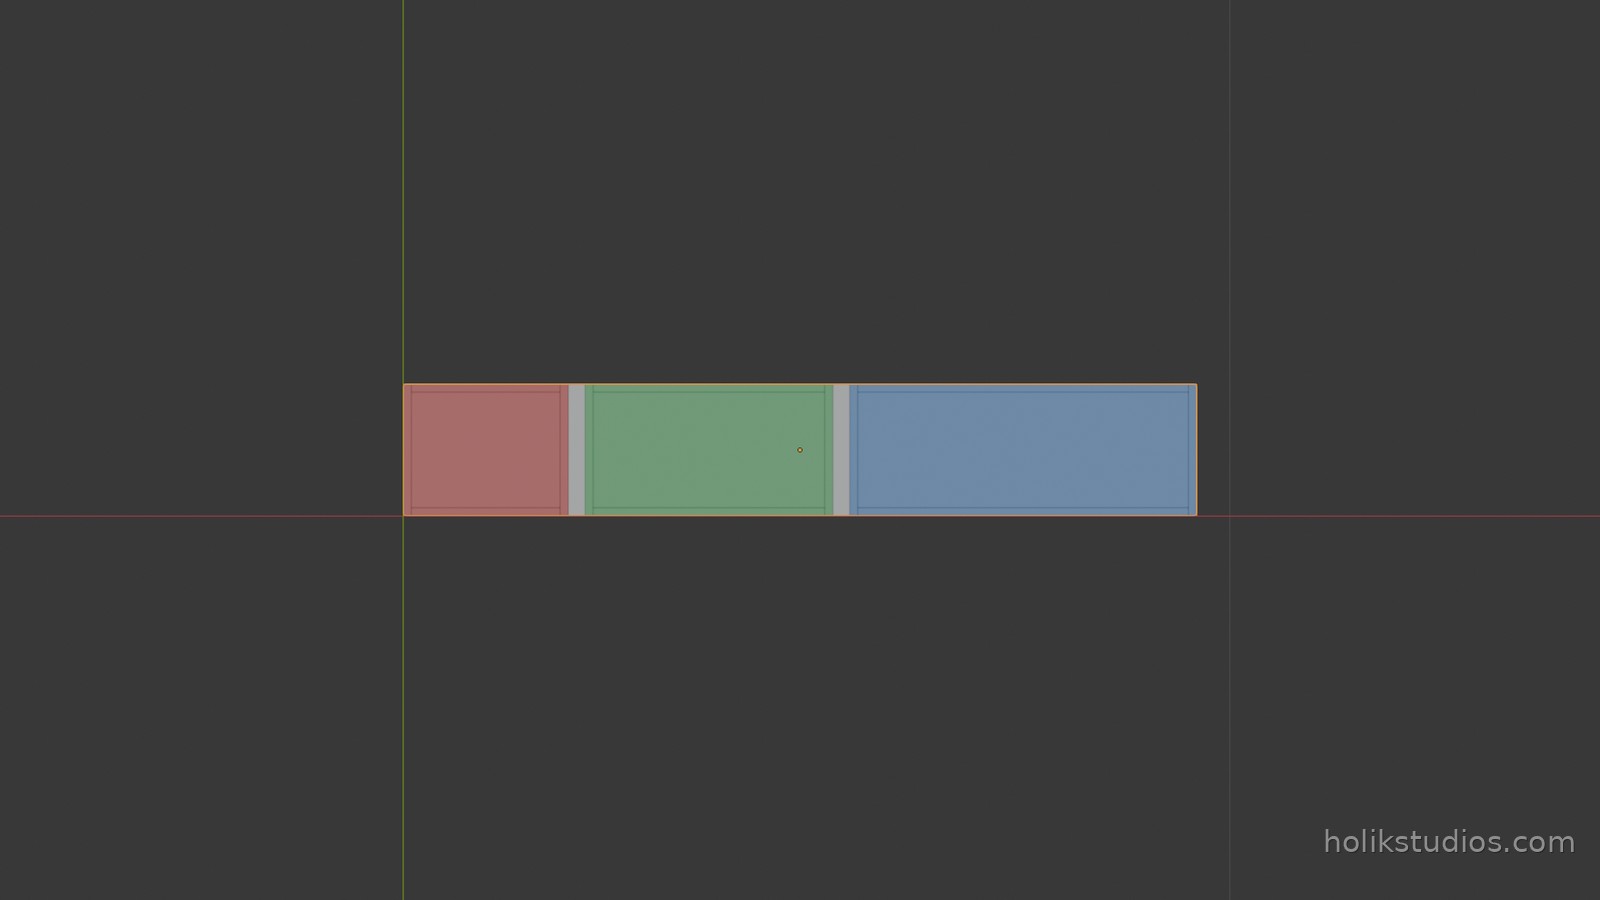
The modules are placed by carrying a running position, not by typing coordinates. Before each module is built the script calls it at x, and afterwards it moves the cursor forward by the module width plus the gap: x += width + GAP. That is why the row is evenly spaced no matter what widths you put in the table, and why adding or removing a variant cannot leave a hole or an overlap. When you catch yourself computing a position with a calculator, that is usually a sign the script should be carrying it instead.
The set can measure itself
Because the layout is data, the script can also do arithmetic on it. At the end the loop has already produced the total width of the row, so the same numbers place one rail under the whole set: Set_Base_Rail is total wide and sits at half of it. This matters in real work. The number you would otherwise measure by hand in the viewport is the number the script already knows, and the printout at the end turns it into a part list you can hand to a supplier.
What is still worth doing by hand
- Naming is the difference between a set and a mess, and it comes free here:
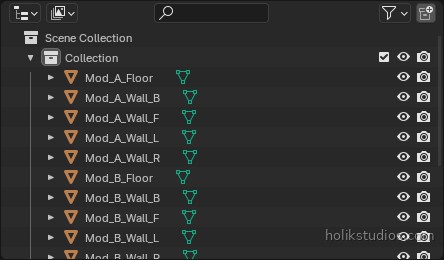
Mod_B_Wall_Ftells you the module, the part and its side. In the Outliner the three modules read as three groups. - Grouping the parts of one module into a real collection is the next step up. It is coming in Module 6, where we also sort the pyramid parts the same way.
- If a variant needs to be a different height, not a different width, the function is the single place to change: pass the height in as one more parameter instead of editing five positions.
Where this pays off in real work
- Product families: a single script covers a small, medium and large version of the same article.
- Interiors and shop fitting: module widths come from the wall dimensions, the design stays identical.
- Custom orders: the customer picks widths, you change the table and ship the printout.
- Prototyping: try five proportions in one run instead of modelling five times.
Next we take the whole set apart and write it out: one file per part, named after the object, in one run. That is what turns a nice scene into something a shop or a colleague can actually use.